Retail presentation
Keep a small packaged product visible at a counter or shelf while the printed front wall carries the brand.

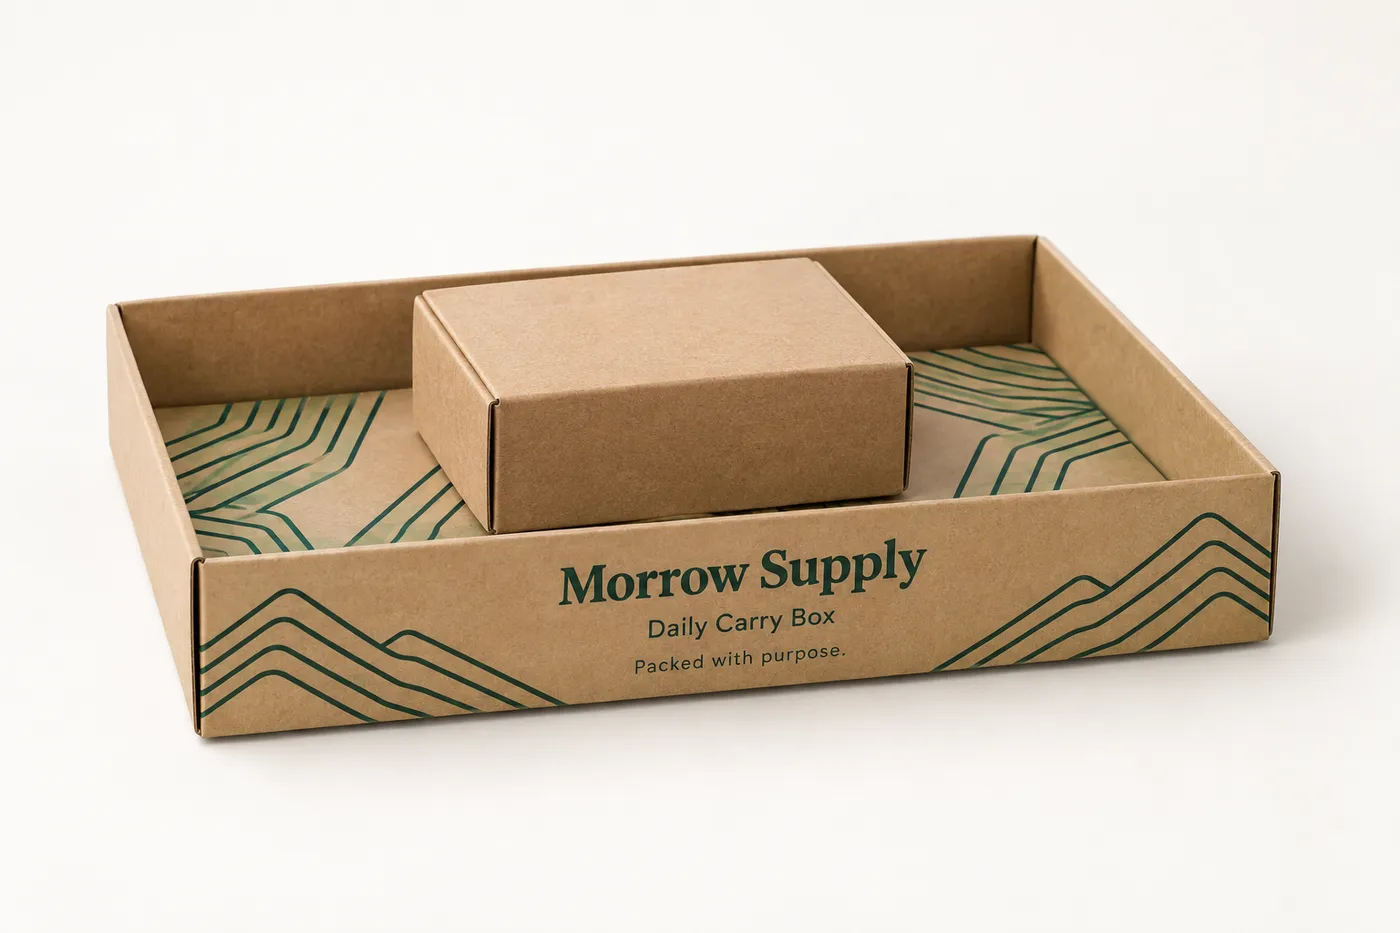
Printed kraft paperboard product tray holding one small retail product box
Product Boxes
Custom brand product trays are printed paperboard formats sized around the finished item, its insert, and the way it is handed over or shipped. Share the packed length, width, height, weight, tray depth, product orientation, artwork, and delivery route so the structure and printed panels can be reviewed together.
Last updated
Working quote
Product brief
A product tray gives a packaged item a defined place to sit while keeping the brand visible at the point of presentation. The useful starting point is the completed pack, not a stock tray size: measure the product with its cap, wrap, accessory, label, or inner carton in place. Record finished length, width, height, weight, orientation, and the clearance needed for loading and removal. A low tray can suit a counter handoff or a presentation set; a deeper tray or separate insert may be more appropriate when the item is heavy, fragile, or paired with accessories.
The tray can be reviewed as a standalone printed format or alongside an outer sleeve, carton, or shipper. That distinction matters. A presentation tray may keep the product visible, but it does not automatically replace the separate transit decisions for a parcel. Explain whether the tray is filled at retail, placed inside a gift box, or sent through an ecommerce route so the specification can account for handling and storage.
A paperboard tray is generally specified around the footprint and the way the item enters and leaves the cavity. The tray floor, side walls, tabs, and any riser or divider should be reviewed with the real item rather than inferred from the product name. If the product has a narrow base, an insert or shaped support can reduce movement. If it has a broad footprint or an uneven top, the wall height and clearance may need a different approach. The final geometry remains subject to dieline and proof review.
SBS paperboard can be considered when small type, color contrast, and a smooth printed face matter. Kraft paperboard can be considered when the natural brown surface is part of the visual direction. Corrugated board may be relevant when the tray must work with a heavier product or a longer delivery route, but board choice should be confirmed against packed weight and the outer pack. An FSC-certified paper option is available as a material choice; it should not be read as a certification of every finished tray.
Plan the broadest visible panel first. The front wall, rim, inner base, or a matching sleeve can carry the product name, instructions, or a short message, while the side walls can hold secondary information. Print coverage should follow the opening sequence: artwork that is hidden under the product should not be treated as the primary reveal. Matte lamination, gloss lamination, spot UV, foil stamping, and embossing or debossing can be reviewed against the substrate and artwork. A finish is a specification choice, not a promise of a particular color or texture until a proof is approved.
The product images show an illustrative print layout; your approved artwork replaces it at the proof stage. Send vector artwork when available and identify any small type, barcode, regulatory copy, or inside print that must remain readable after folding or assembly.
Include the packed dimensions in 3 directions, packed weight, quantity, product orientation, tray depth, insert or divider preference, opening and loading route, artwork status, print coverage, finish direction, and destination. Mention whether the tray needs to nest, ship flat, arrive assembled, or sit inside a separate box. The standard fulfillment path has a minimum order of 50 units. Production starts from 7 business days after digital proof approval, and free US shipping applies on the standard US route. Product-specific pricing stays quote-only because the approved sourcing record does not contain a defensible unit-price range for this tray.
Easy Box Packaging includes dieline and proof review at no extra charge, and quote requests are answered within 24 hours, typically the same business day. A sample kit has a $44.99 USD shipping charge credited toward the first order, which can help compare paper feel, print density, finish, tray depth, and the opening sequence before a larger run. Review the assembled tray with the actual product before approval: check that the item sits squarely, the printed face is visible, the walls do not interfere with removal, and the selected outer pack matches the delivery route.
Proof points
Practical choices for a printed tray that presents a product without assuming an unverified stock size.
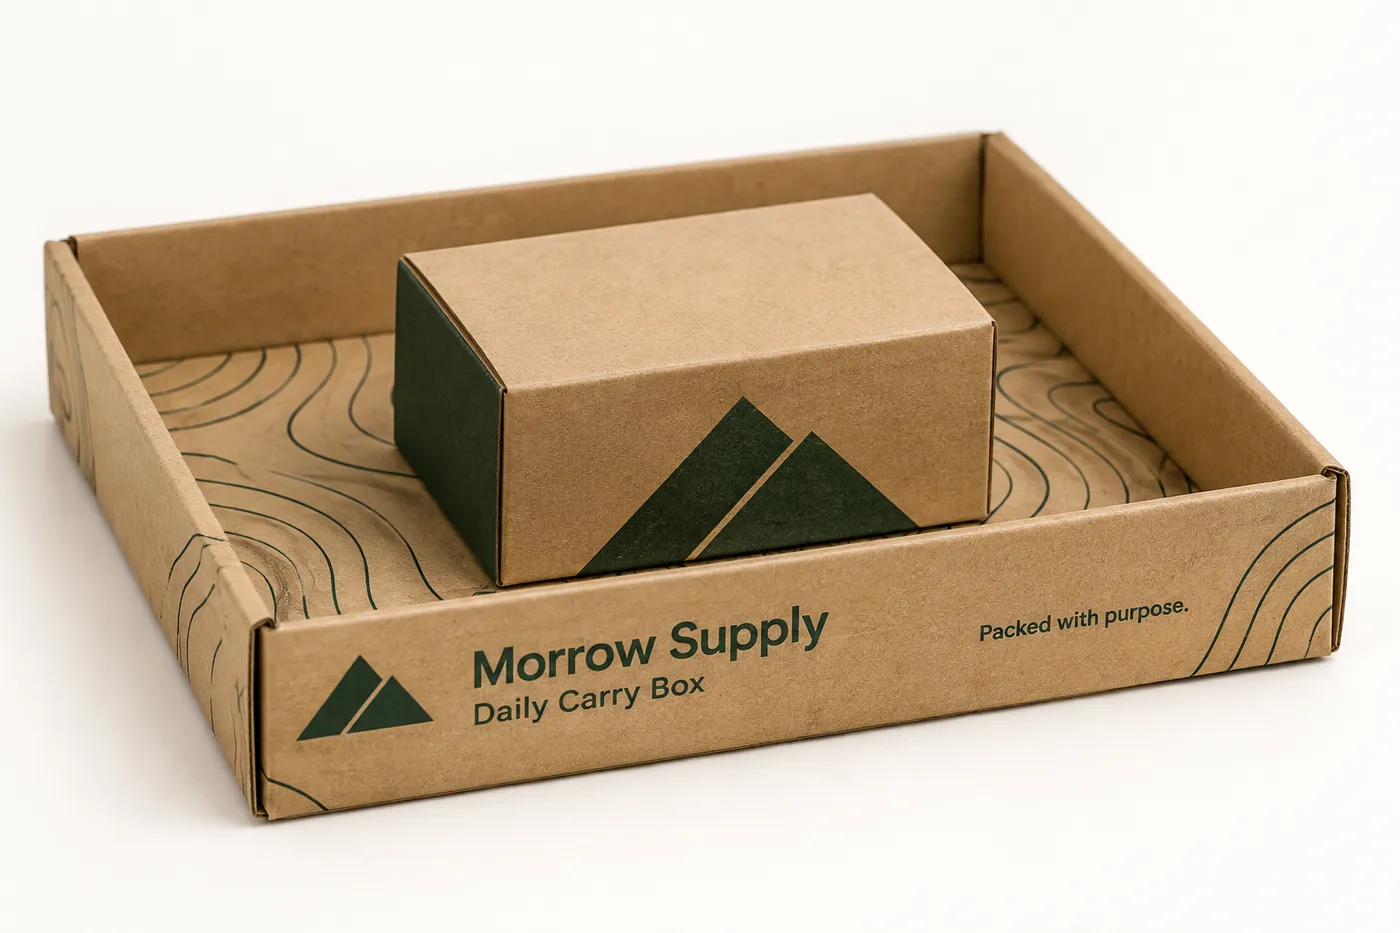
Share the completed product footprint, weight, orientation, tray depth, insert needs, printed panels, and delivery route so the tray and any outer pack can be reviewed as one specification.
Keep a small packaged product visible at a counter or shelf while the printed front wall carries the brand.
Use a tray or divider to arrange one item and its accessories inside an outer presentation box.
Coordinate the tray with an outer shipper when the package must travel beyond a controlled handoff.
Review the printed reveal, insert position, and finish against the first-run quantity and proof.
Plan artwork around the panels that remain visible when the item is seated, then match the finish to the board and use case.
The correct tray depth follows the product's geometry, weight, clearance, and the way it is removed; a deeper wall is not automatically more protective.
Measure the filled item in 3 directions, including a cap, wrap, accessory, or inner carton that changes the outline.
A heavier or fragile item may call for a fitted insert, riser, divider, or a separate outer structure to limit movement.
Set the wall height and clearance around how the tray is loaded, lifted, displayed, and removed after handover.
These are the practical steps between a first brief and production.
Send dimensions in 3 directions, weight, orientation, quantity, and any wrap, accessory, or inner carton.
Confirm tray depth, walls, tabs, insert or divider, opening route, and any outer pack.
Check print coverage, small type, finish direction, and the assembled digital proof.
Production starts from 7 business days after digital proof approval on the standard route.
Need help with structure, materials, or production planning? See how we manufacture custom packaging.
A sample kit carries a $44.99 USD shipping charge credited toward your first order, useful for checking paper feel, printed coverage, finish, wall height, and the opening sequence before approving a larger run.
Shipping charge: $44.99. Credited toward your first order.
Request a Sample KitFind clear answers about fit, materials, and ordering below.
Send the finished packed length, width, and height, plus packed weight, orientation, clearance, and any cap, wrap, accessory, or inner carton that changes the footprint.
Yes. An insert, riser, or divider can be reviewed when the product needs a defined position, accessory separation, or a controlled opening reveal. The approach follows the item geometry and handling route.
Not by itself. A tray can present and locate the product, while an outer carton or shipper may still be needed for the delivery route, packed weight, and transit handling.
The standard fulfillment path has a minimum order of 50 units. Production starts from 7 business days after digital proof approval.
Yes. Printed panels and finish directions can be reviewed around the dieline, artwork coverage, substrate, and the panels that remain visible when the product is seated.
Orders start at 50 units and scale up to 500,000 for bulk runs, with pricing from $0.31 per unit on larger quantities. Standard production is from 7 business days after digital proof approval.
Common uses include retail presentation, gift and set packaging, direct-to-customer packs, and product launches. The final specification is set by the packed product and how it will be handled.
Compare nearby products and request the format that best fits your next run.
Available product
Available product
Available product
Available product
Ready to specify the fit?
Share the packed dimensions, weight, quantity, insert needs, artwork, finish, and delivery route so the team can prepare a quote and proof around the real item.
Add your product details to see a quote summary.