Retail cartons
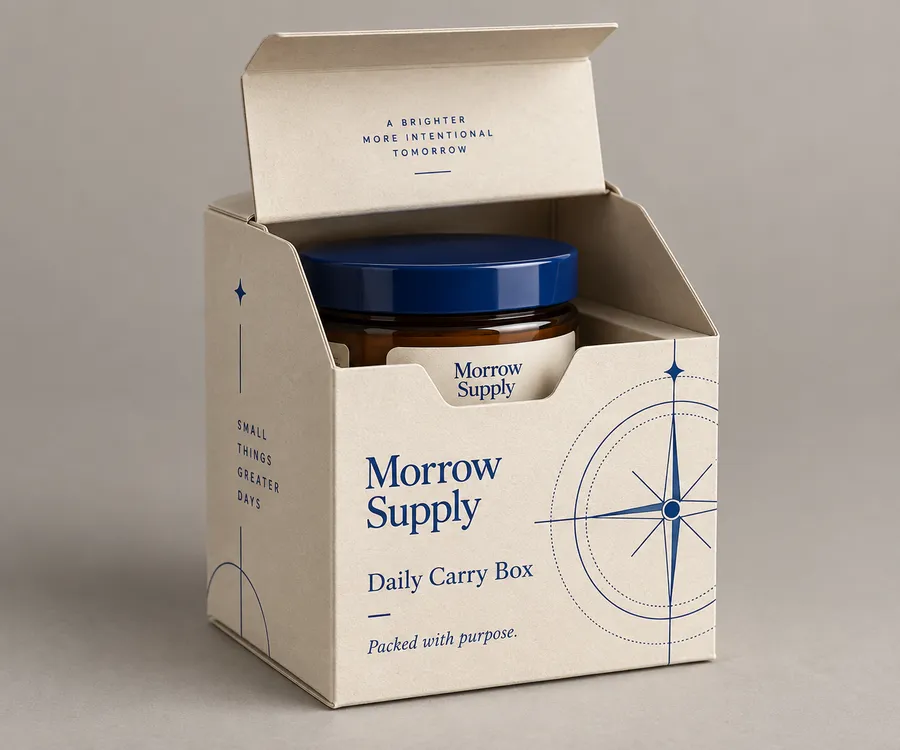
Keep the product name and variant on the customer-facing panel while placing the label clear of folds, tuck flaps, and glue seams.
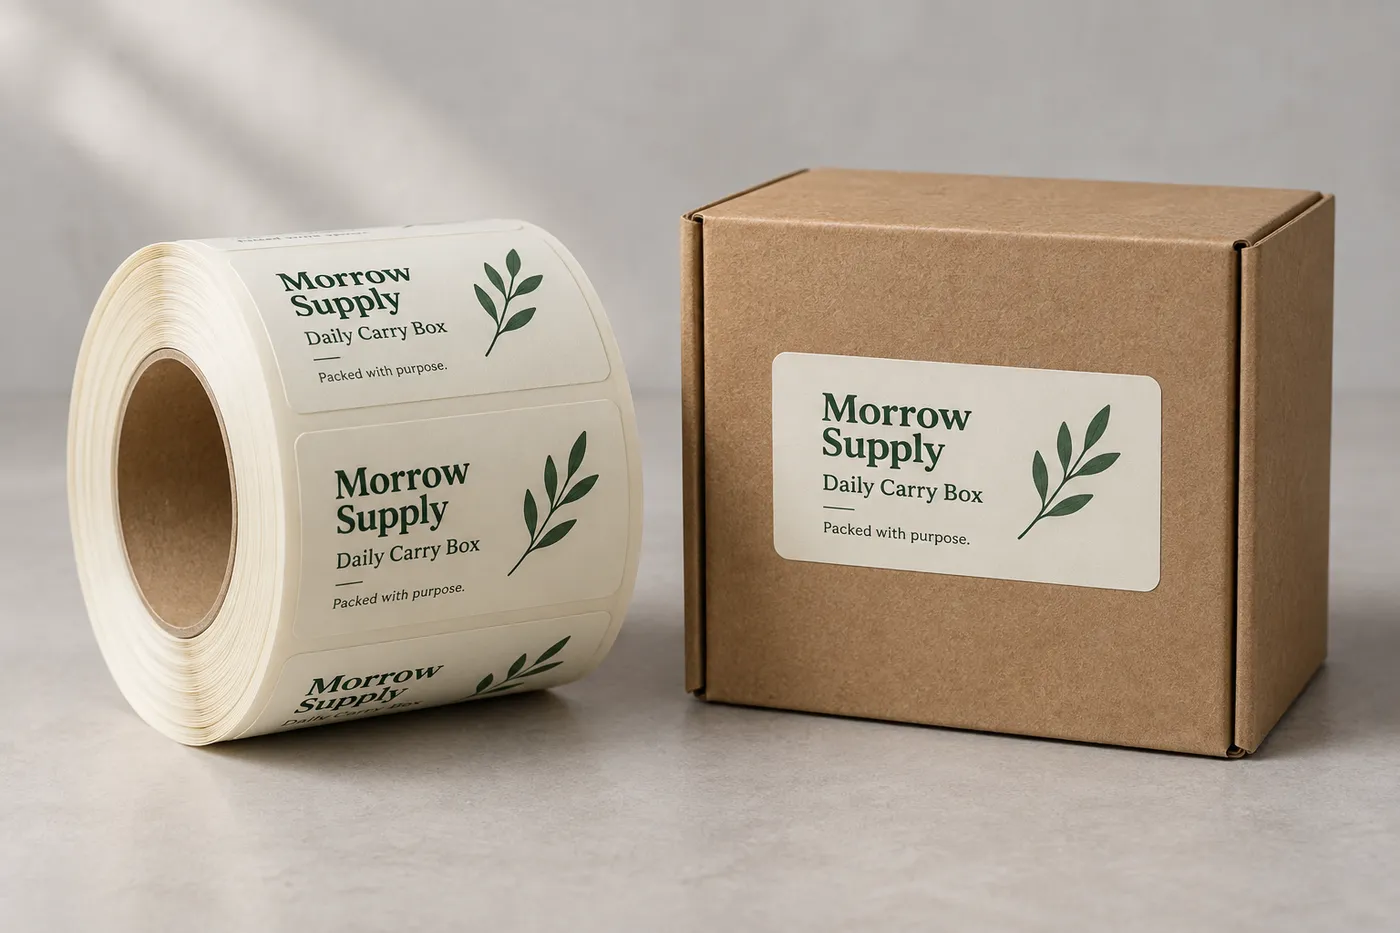
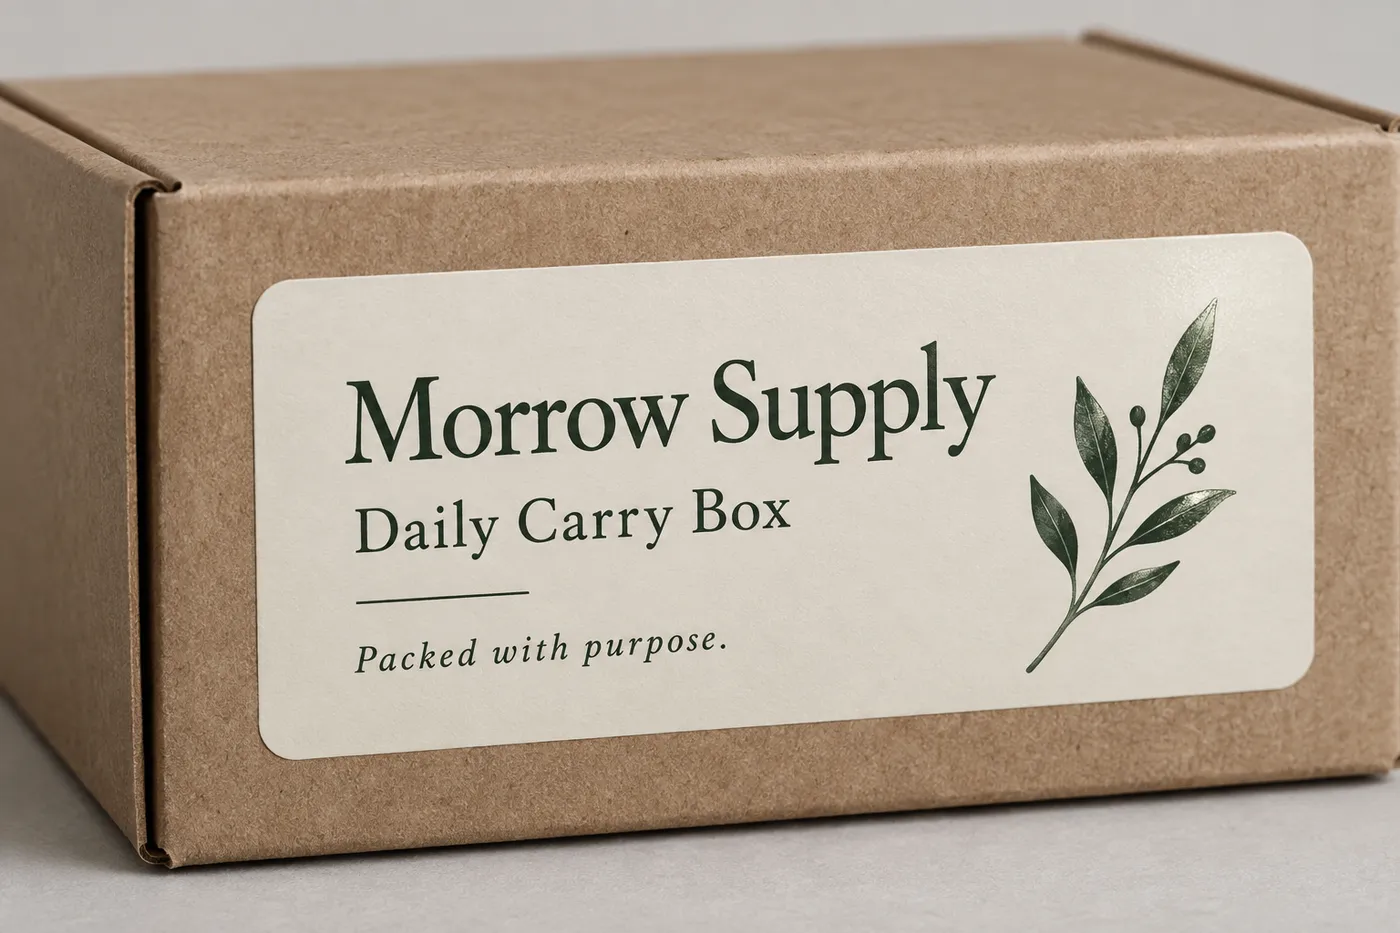
Custom product label applied to a warm kraft folding carton beside a matching loose label
Product Boxes
Product labels give a carton, jar, pouch, bottle, or other pack a clear printed identity. Easy Box Packaging scopes the label around the finished surface, then aligns the front read, supporting copy, cut shape, and finish with the way the product is handled and presented. Provide the product footprint, usable panel, artwork, quantity, and preferred material or finish for a focused quote.
Last updated
Working quote
Product brief
Product labels work best when the printed area is measured on the package that will actually receive them. A folding carton, jar, bottle, pouch, and rigid box each expose a different usable panel. Start with the product as packed, including a cap, closure, seam, shoulder, gusset, or accessory that changes the surface. That information keeps the label layout connected to the real object rather than a generic rectangle.
Send the finished length, width, and height of the receiving pack, then identify the widest face, any taper, and the area that must remain clear. If the label wraps around a box or container, note the wrap direction and where the seam may land. A photograph or marked-up sketch helps explain the orientation, but written measurements remain the basis for the quote and proof. For a product box, also show the assembled carton so the front panel can be kept clear of folds, tuck flaps, glue seams, and closure edges.
A front label can carry the brand and product name when one face needs to be scanned quickly. A front-and-back arrangement leaves room for supporting information, while a wraparound format can organize a complete hierarchy around a cylindrical or rectangular pack. A shaped label may follow a badge, seal, or product silhouette when the contour is part of the identity. The useful format depends on the available panel, the order in which customers read the information, and the way the label is applied.
Separate the primary read from secondary copy before artwork is prepared. State the brand name, product name, variant, size or quantity wording, and any supporting information that must appear. Keep the front panel away from the box fold or container seam, and explain whether the label is applied by hand or in a repeatable packing process. If several sizes share one design, list each finished panel so the family can be reviewed without assuming one label fits every pack.
The product-boxes category supplies Kraft Paperboard, SBS Paperboard, and Corrugated Board as material directions for the pack, with Matte Lamination, Gloss Lamination, Spot UV, Foil Stamping, and Embossing/Debossing as finish directions. For a label, the receiving surface and the amount of handling should lead the discussion. A smooth printed face can support small type and color-led artwork, while a paper-led surface can keep a natural board character visible. The final stock, adhesive direction, and compatibility must be confirmed for the specific product.
Matte Lamination gives a lower-glare surface for information-led artwork. Gloss Lamination creates a brighter reflective appearance. Spot UV, Foil Stamping, or Embossing/Debossing can be reserved for a mark or selected detail rather than covering copy that needs easy reading. These are category directions, not blanket performance claims. The proof should show the finish locations with the flat label or carton so folds, edges, and seams are considered together.
Artwork should be checked on the assembled pack, not only as a flat file. Identify the customer-facing panel, the reading direction, and the point where the label begins and ends. Keep the product name clear of a corner radius, carton fold, or overlap. If a small label has limited space, reduce decorative detail before shrinking essential information. If a large box has several visible faces, assign each panel a job so the front, side, and back do not repeat the same message.
Easy Box Packaging can review a supplied file, a simple dieline, or a brief that still needs layout support. Include the intended colors, artwork status, cut shape, print coverage, finish preference, and whether the label will be supplied as individual pieces or another agreed format. A digital proof is the checkpoint for orientation, panel sequence, visible copy, cut line, and finish placement before the run begins.
Retail cartons use a product label when the printed identity needs to remain distinct from the underlying box construction or when a short-run variant must be added to an existing pack. A label can also identify a jar, bottle, pouch, or accessory inside a larger presentation box. For direct-to-customer packaging, the front read can identify the product while the secondary panel carries handling or opening guidance supplied by the customer.
Gift and presentation packs need the label to work with the visible lid, sleeve, or front face. A shipping route adds another variable: leave room for the label to remain readable after packing and avoid placing critical copy where an outer pack or tape will cover it. If a product has inserts or multiple components, describe the complete packed arrangement so the label does not promise a presentation that the assembled box cannot deliver.
The standard fulfillment path starts at 50 units. Production is estimated from 7 business days after digital proof approval, and Free US shipping applies on the standard path. Dieline and proof review are included at no extra charge. A sample kit can be requested when the printed surface or finish needs to be compared in hand; the sample-kit shipping charge is $44.99 and is credited toward the first order. Product-specific pricing is not confirmed in the supplied evidence, so the quote remains dependent on label size, material direction, artwork coverage, finish, quantity, and receiving surface.
Start with the receiving pack measurements, product photos, quantity, and application method. Add the desired label format, artwork or brand assets, product copy, print colors, cut shape, material preference, finish direction, and destination. If the label is going on a carton, include the assembled box or dieline with fold and seam locations. If it is going on a curved container, include the widest body, shoulder, neck, closure, and usable panel.
The resulting proof should make the physical decisions visible: where the label starts and ends, which panel faces the customer, how the artwork reads after application, and where any finish is placed. Review that proof against the actual pack before approval. With those inputs in hand, Easy Box Packaging can discuss a product-label direction that is specific enough to quote without treating an unverified material, adhesive, price, or shipping performance as a fixed specification.
Proof points
The proof connects artwork to the assembled package so the label can be checked as a physical component rather than an isolated graphic.
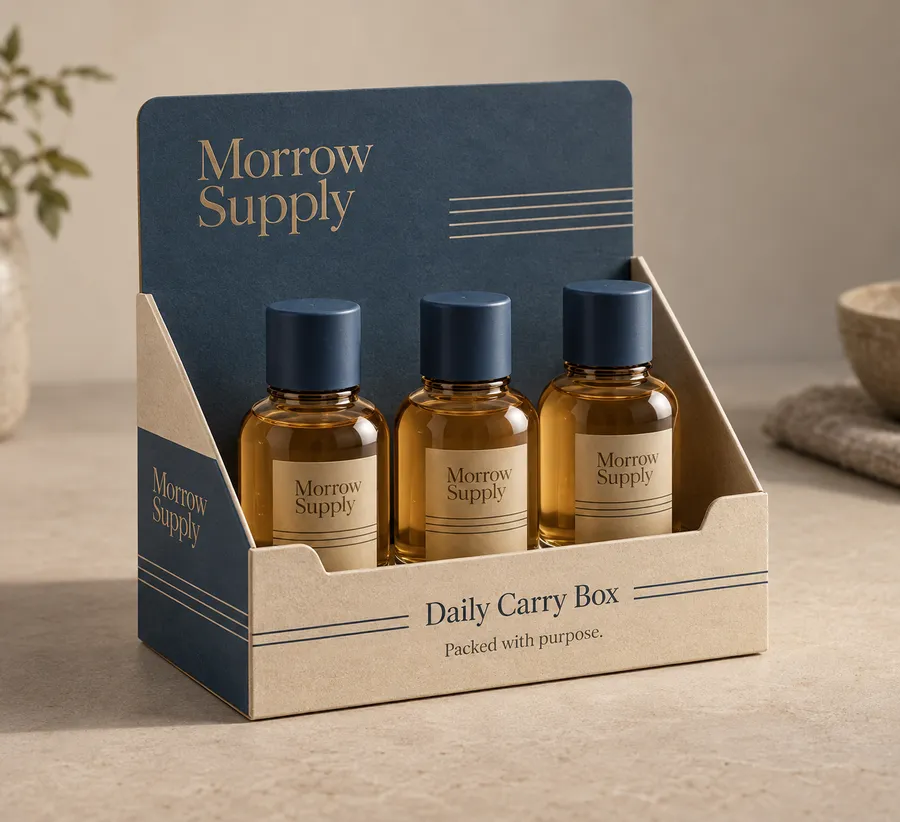
A product label is specified around the actual carton, bottle, jar, pouch, or box it will cover. The brief accounts for the usable panel, seams, folds, curves, reading direction, and application method before artwork and finish are finalized.
Keep the product name and variant on the customer-facing panel while placing the label clear of folds, tuck flaps, and glue seams.
Plan the wrap, seam, shoulder, neck, closure, and readable front panel together so the label follows the container profile.
Use the available flat panel for identity and supporting copy, then confirm how gussets, seals, or accessory edges affect application.
Coordinate the visible label with the lid or outer pack and keep critical copy readable after the product is packed for handoff or transit.
The printed face should make the product easy to identify first, then use surface treatment to support the intended presentation and handling.
A focused brief connects the visible artwork with the surface and handling conditions. These three inputs let the proof answer physical questions before production.
Share the assembled product dimensions, widest face, taper or curve, seam, closure, folds, and any area that must remain clear.
Identify the brand, product name, variant, quantity wording, supporting copy, and which face should be read first.
State how the label will be applied, the preferred cut or supply format, and whether Matte Lamination, Gloss Lamination, Spot UV, Foil Stamping, or Embossing/Debossing is being considered.
Start with the assembled pack and application method, then use the proof to confirm the label as it will be seen and handled.
Provide the product type, finished dimensions, widest panel, curve or taper, seam, closure, photos, quantity, and destination.
Choose the front, back, wraparound, or contour format and identify the primary and supporting copy.
Send brand assets, colors, print coverage, cut shape, material direction, and any lamination, foil, Spot UV, or embossing request.
Check orientation, panel sequence, cut line, visible copy, seams, folds, and finish placement against the assembled pack.
Confirm the reviewed specification and proof before the standard production estimate begins from 7 business days.
Need help with structure, materials, or production planning? See how we manufacture custom packaging.
Request a sample kit when you need to compare printed surface and finish character before a larger run. Sample-kit shipping is $44.99 and is credited toward the first order.
Shipping charge: $44.99. Credited toward your first order.
Request a Sample KitFind clear answers about fit, materials, and ordering below.
Send the assembled pack length, width, and height, plus the widest face, curve or taper, seam, closure, folds, and usable label panel. A photo or sketch can clarify orientation, but written measurements are still needed.
Yes. The label format is planned around the actual receiving surface, so a folding carton, bottle, jar, pouch, accessory, or rigid box can have its own panel arrangement and proof review.
The category directions include Matte Lamination, Gloss Lamination, Spot UV, Foil Stamping, and Embossing/Debossing. The selected treatment is checked with the artwork, cut, material, and receiving surface.
Easy Box Packaging reviews the label footprint, orientation, panel sequence, visible copy, cut line, and requested finish in a digital proof against the supplied pack details.
The standard fulfillment path starts at 50 units. Production is estimated from 7 business days after digital proof approval, with Free US shipping on the standard path.
No product-specific price range is confirmed in the supplied evidence. Pricing remains quote-based and depends on the finished label size, material direction, artwork, finish, quantity, and receiving surface.
Orders start at 50 units and scale up to 500,000 for bulk runs, with pricing from $0.37 per unit on larger quantities. Standard production is from 7 business days after digital proof approval.
Compare nearby products and request the format that best fits your next run.
Available product
Available product
Available product
Available product
Specify the receiving pack
Send the pack dimensions, panel arrangement, artwork status, quantity, application method, and finish preference. Easy Box Packaging can then discuss a quote that reflects the physical product rather than a stock label size.
Add your product details to see a quote summary.