Retail cartons
A printed folding carton can present one stable product on a shelf when the front panel, closure, board, and required information are mapped together.

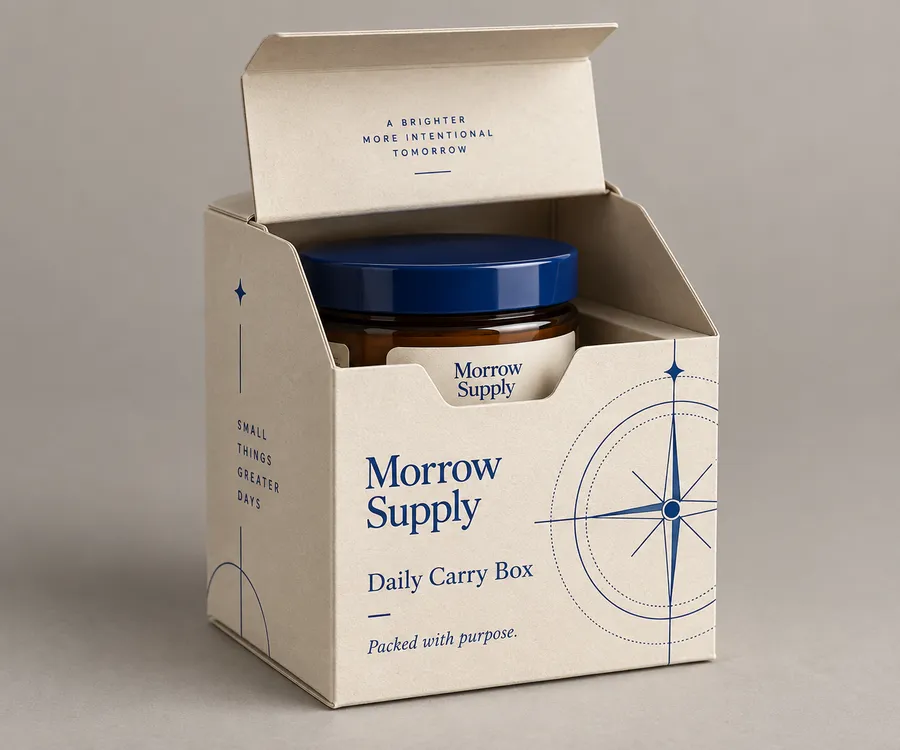
Warm ivory custom printed product box with cobalt print, tuck flap, and amber jar
Product Boxes
Custom printed product boxes are built around the finished item, its accessories, and the route from pack line to customer. Choose a folding carton, rigid two-piece format, corrugated layer, insert, or window only when that construction supports the product's weight, presentation, and handling. Share packed dimensions, artwork, board direction, finish, quantity, and destination so the box is reviewed as an assembled package rather than a nominal stock size.
Last updated
Working quote
Product brief
Custom printed product boxes work best when the package is specified from the item outward. Start with the product as it will actually enter the box: include its cap, lid, wrap, accessory, instruction card, sleeve, and any protective layer that remains with the sale. Record finished length, width, height, approximate weight, the widest corners, and the face that should greet a customer. A close, considered fit can reduce movement and make the printed opening feel intentional, while a fragile or heavy item may need a stronger structure or a fitted insert.
The standard fulfillment path starts at 50 units, with production from 7 business days after digital proof approval. Free US shipping and dieline and proof review are included on the standard route, and quote requests are typically answered the same business day and always within 24 hours. Pricing remains quote-only because the finished footprint, board, closure, artwork, finish, quantity, and delivery route determine the final specification.
A folding carton can keep a retail pack light and printable when the product is stable and the box is displayed or placed inside a shipping carton. Tuck ends, sleeves, and reverse-tuck panels create different opening motions and different areas for required copy. A rigid two-piece box may be a better direction when the box remains visible during handover or when the product and insert need a more substantial presentation. Corrugated board can be considered when the product travels through a parcel route and the outer layer needs a different role from the printed inner pack. These are construction directions, not guarantees of a board grade or compression result.
Describe how the box will be filled, stacked, handed over, or shipped. If the item has a glass edge, a projecting closure, or a heavy accessory, note that before the dieline is drawn. An insert can keep one product centered, separate multiple components, or stop a lid from moving; it also occupies space that must be included in the finished footprint. A window is useful only when seeing the product supports the purchase decision and does not leave a fragile edge exposed.
Measure the packed arrangement, not the product name. Include the item with its cap or closure in place, then add the wrap, insert, card, or accessory that will travel inside. State whether the contents sit upright, flat, or at an angle, and identify the surface that must remain visible after opening. The quote brief should also include approximate weight, count per box, and any corner, seam, or clearance concern. If a retail carton will be placed inside a shipper, describe both layers so the printed product box is not asked to provide protection it was never designed to provide.
The outside dimensions and the usable cavity are not identical. Board thickness, fold allowances, glued seams, tuck flaps, and insert walls all consume space. A digital dieline review should show the assembled relationship between those features and the product. Check that the closure does not press a hard corner, that an insert does not hide a required message, and that the opening route matches the way a packer and customer will handle the box.
The front panel normally carries the clearest product name and brand cue, while side, back, lid, and interior panels can carry instructions, ingredients, care notes, origin information, or a short opening message. Map the artwork on the folded box rather than sending a flat file without panel labels. Confirm reading direction around scores, glue areas, windows, and tuck flaps. A restrained finish can protect hierarchy: matte lamination reduces glare on a broad printed panel, spot UV can isolate a mark, and foil or embossing can be reserved for a detail that merits touch or contrast.
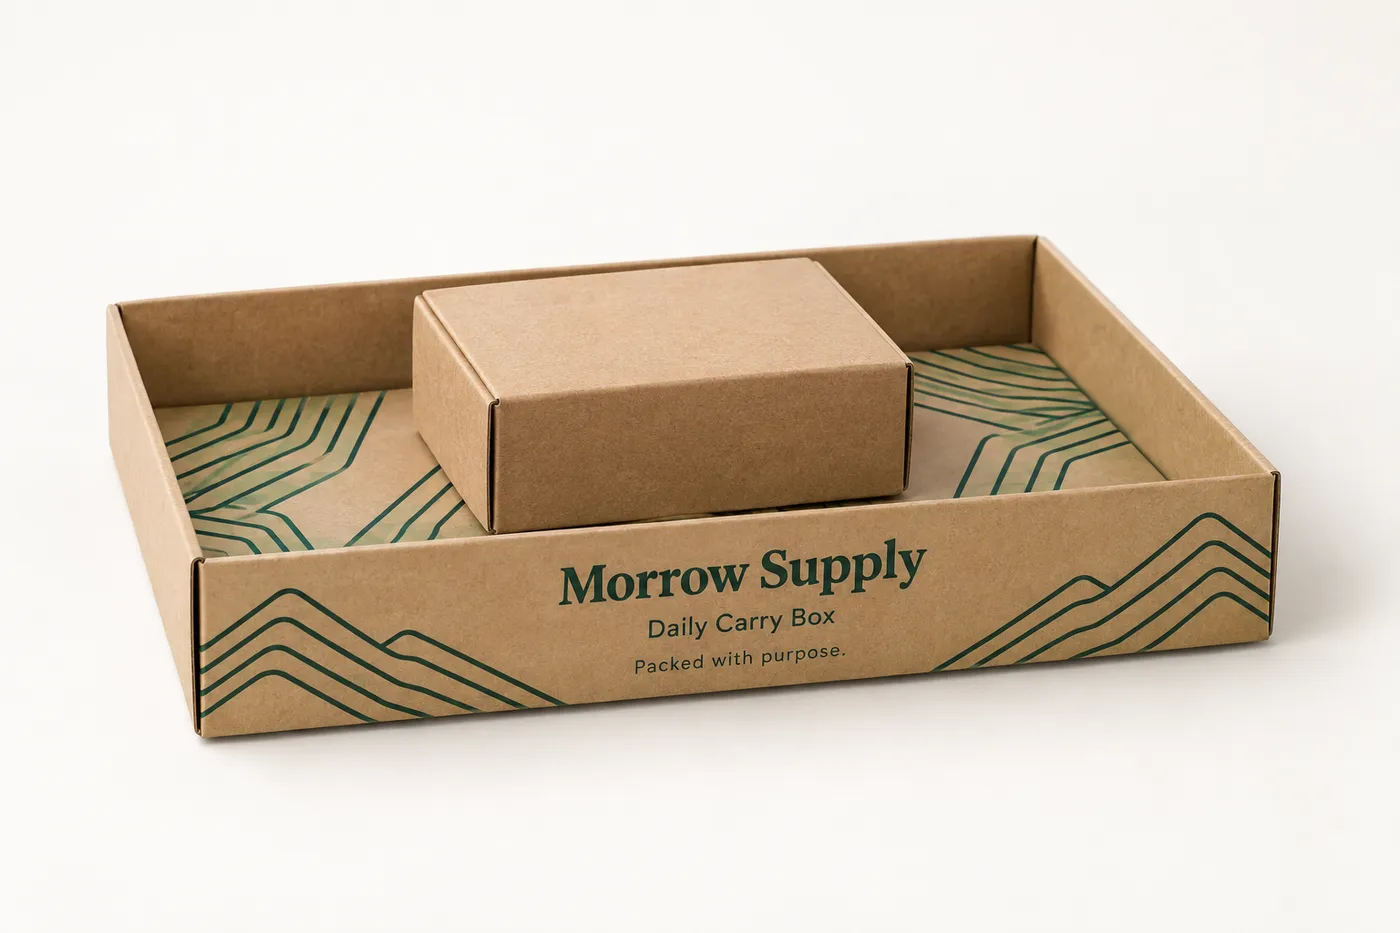
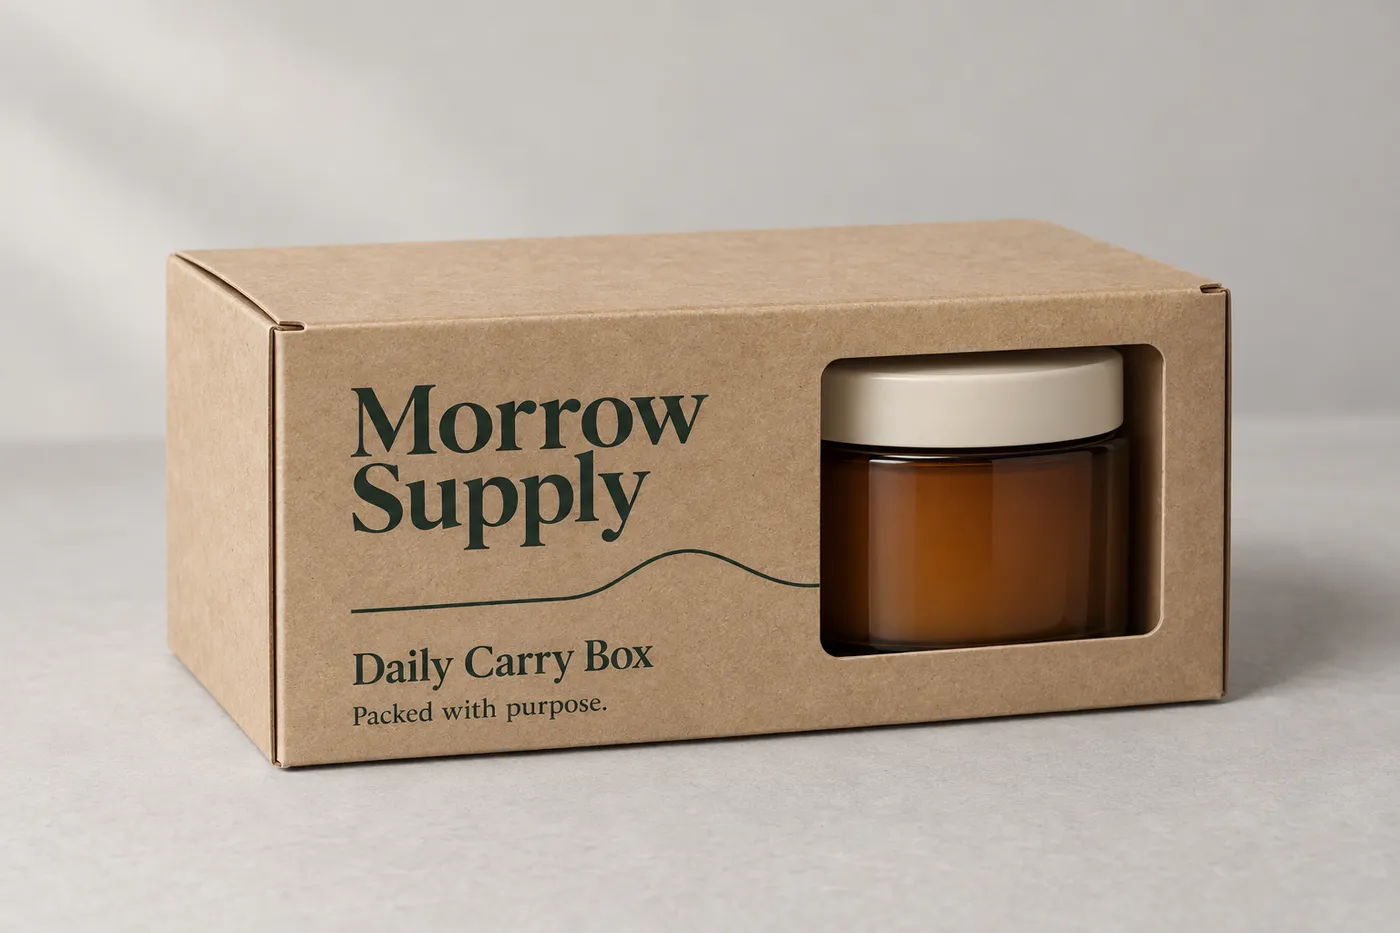
Kraft Paperboard, SBS Paperboard, and Corrugated Board are useful material directions to compare with the item and delivery route. A smooth SBS face may help small type and color-critical artwork read cleanly; kraft can keep visible fiber character; corrugated board can separate the printed presentation from a shipping layer. Final board, coating, and finish choices must be confirmed against the product brief. The printed example in the images shows print placement only. Production artwork should use the buyer's approved brand and required information.
Send the packed length, width, height, weight, product count, orientation, insert or accessory details, preferred structure, board direction, artwork status, print coverage, finish request, quantity, and delivery destination. A photograph or sketch of the filled arrangement helps a reviewer understand clearance and opening order. Explain whether the pack is handed over at retail, placed in a parcel, or used as an inner presentation box. That route determines which surfaces need to be visible and where protective structure belongs.
A sample kit carries a $44.99 USD shipping charge credited toward the first order. It can help compare paper character, printed contrast, fold behavior, insert feel, and finish direction before a custom box is approved. Use the proof stage to confirm panel copy, barcode quiet zones, scores, seams, window edges, and the relationship between the product and the printed front.
Review the digital proof as a folded package, not only as a flat artwork sheet. Confirm that the product fits without unnecessary movement, that the insert supports the intended orientation, and that the closure can be packed without catching a corner. Check the front panel, side panels, lid or flap, underside, and interior message for reading direction. If the box will travel inside another shipper, confirm which layer carries impact or moisture concerns rather than assigning unsupported performance to the printed carton.
A clear brief lets the box balance fit, protection, presentation, print, and shipping. When the dimensions, structure, board, artwork, finish, quantity, and route are named together, the proof can resolve practical questions before production and keep the final custom printed product box specific to the item it holds.
Proof points
The proof should connect the chosen construction to the actual product so fit, opening, print orientation, and material direction can be checked together.
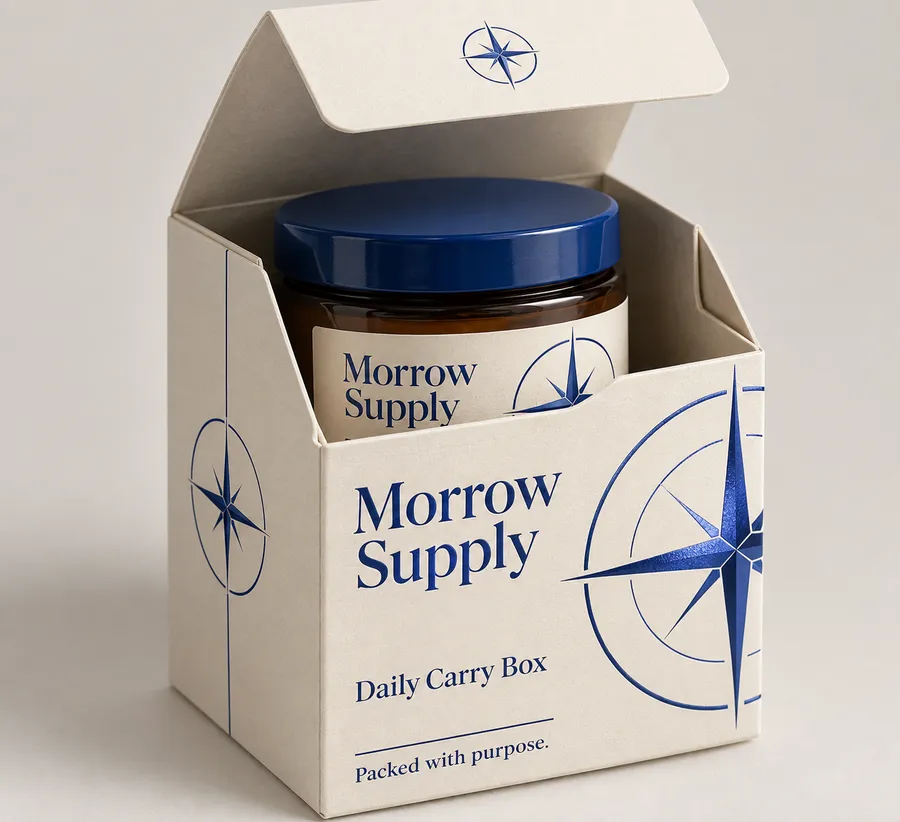
Share the packed footprint, opening route, accessories, board direction, artwork, and delivery conditions first; the dieline and printed panels can then be reviewed around the assembled package.
A printed folding carton can present one stable product on a shelf when the front panel, closure, board, and required information are mapped together.
A considered opening, interior message, sleeve, or insert can guide a parcel unboxing when the printed box travels inside a suitable outer layer.
Dividers or fitted inserts can keep multiple parts aligned when their count, orientation, and clearance are included in the finished footprint.
A rigid or lidded format may keep the box visible after handover when the product, surface, opening, and finish are reviewed as one presentation.
The front, back, sides, lid, flap, and interior form one folded surface system. Map the artwork on the assembled box so reading direction, seams, closures, and required information remain intentional.
A complete brief keeps the product box discussion tied to fit, handling, and printed communication instead of a generic size or finish list.
Provide finished length, width, height, weight, count, orientation, widest points, and every wrap, insert, card, or accessory that remains inside.
Explain whether the box is displayed, handed over, placed inside a shipper, or sent directly, then note the closure and protection concern.
Identify the main panel, required copy, board direction, print coverage, finish request, barcode area, and any message that must remain readable after folding.
A quote is easier to evaluate when the box, packed contents, construction, print map, and delivery route are described together rather than reduced to a size or color name.
Provide length, width, height, count, weight, orientation, wrap, accessories, widest points, and any insert or clearance notes.
State the folding, rigid, sleeve, window, divider, or corrugated direction and explain how the box will be displayed, handed over, or shipped.
Identify panels, required copy, brand colors, print coverage, barcode area, finish direction, and artwork status.
Confirm fit, closure, insert placement, reading direction, seams, surface character, and selected finish before production begins.
Need help with structure, materials, or production planning? See how we manufacture custom packaging.
A sample kit carries a $44.99 USD shipping charge credited toward the first order, useful when you need to compare paper character, fold behavior, insert feel, closure, or printed contrast before approving a custom product box.
Shipping charge: $44.99. Credited toward your first order.
Request a Sample KitFind clear answers about fit, materials, and ordering below.
Share the packed length, width, height, count, approximate weight, orientation, accessories, insert or wrap, preferred structure, artwork status, print coverage, finish direction, quantity, and delivery destination.
Size from the finished packed arrangement, not a stock label. Include the cap or closure, wrap, insert, accessory, fold allowances, seams, flap overlap, and any widest corner that affects the cavity.
A folding carton may suit a stable retail product, a rigid two-piece box may suit a visible presentation, and a corrugated layer may support a parcel route. The packed weight and handling conditions decide the direction.
Yes, when the feature solves a real fit or presentation need. Describe the number of components, the desired orientation, clearance, and whether the product must be visible so the feature can be reviewed in the assembled footprint.
Kraft Paperboard, SBS Paperboard, and Corrugated Board are material directions. Matte Lamination, Gloss Lamination, Spot UV, Foil Stamping, and Embossing/Debossing are finish directions subject to artwork, fold, and substrate review.
The standard minimum is 50 units, and the approved production estimate is from 7 business days after digital proof approval. Free US shipping and dieline and proof review are included on the standard fulfillment path.
Your final unit price is confirmed in a quote because the packed size, structure, board, print coverage, finish, quantity, and delivery details define the final specification. Send those inputs for a product-specific quote.
Orders start at 50 units and scale up to 500,000 for bulk runs, with pricing from $0.40 per unit on larger quantities. Standard production is from 7 business days after digital proof approval.
Compare nearby products and request the format that best fits your next run.
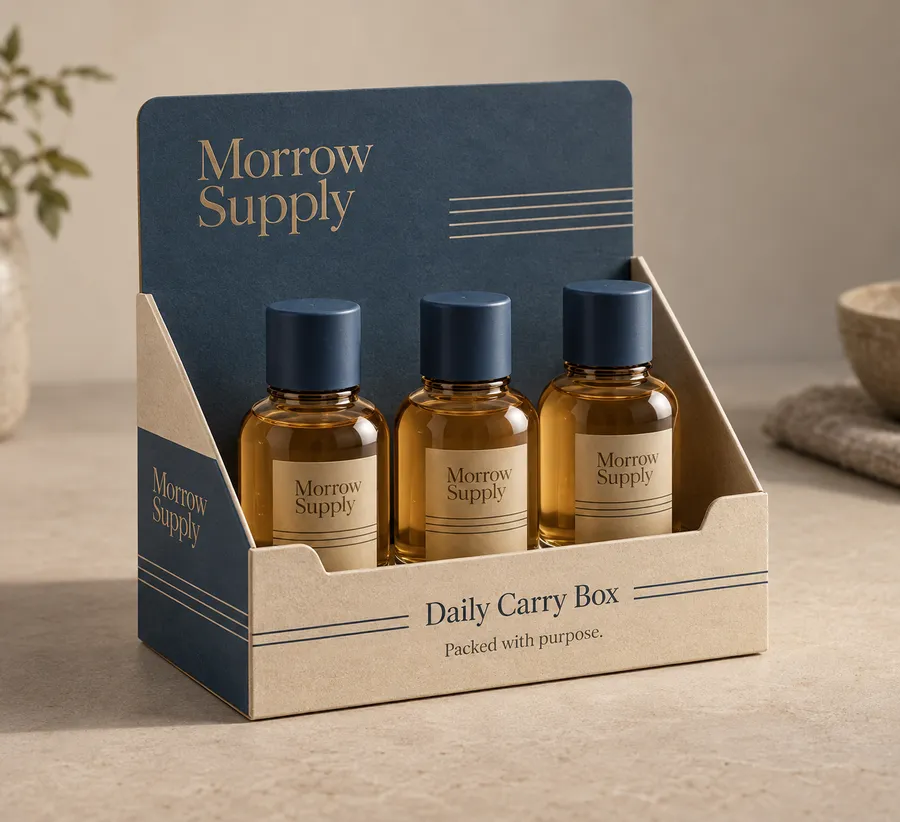
Available product
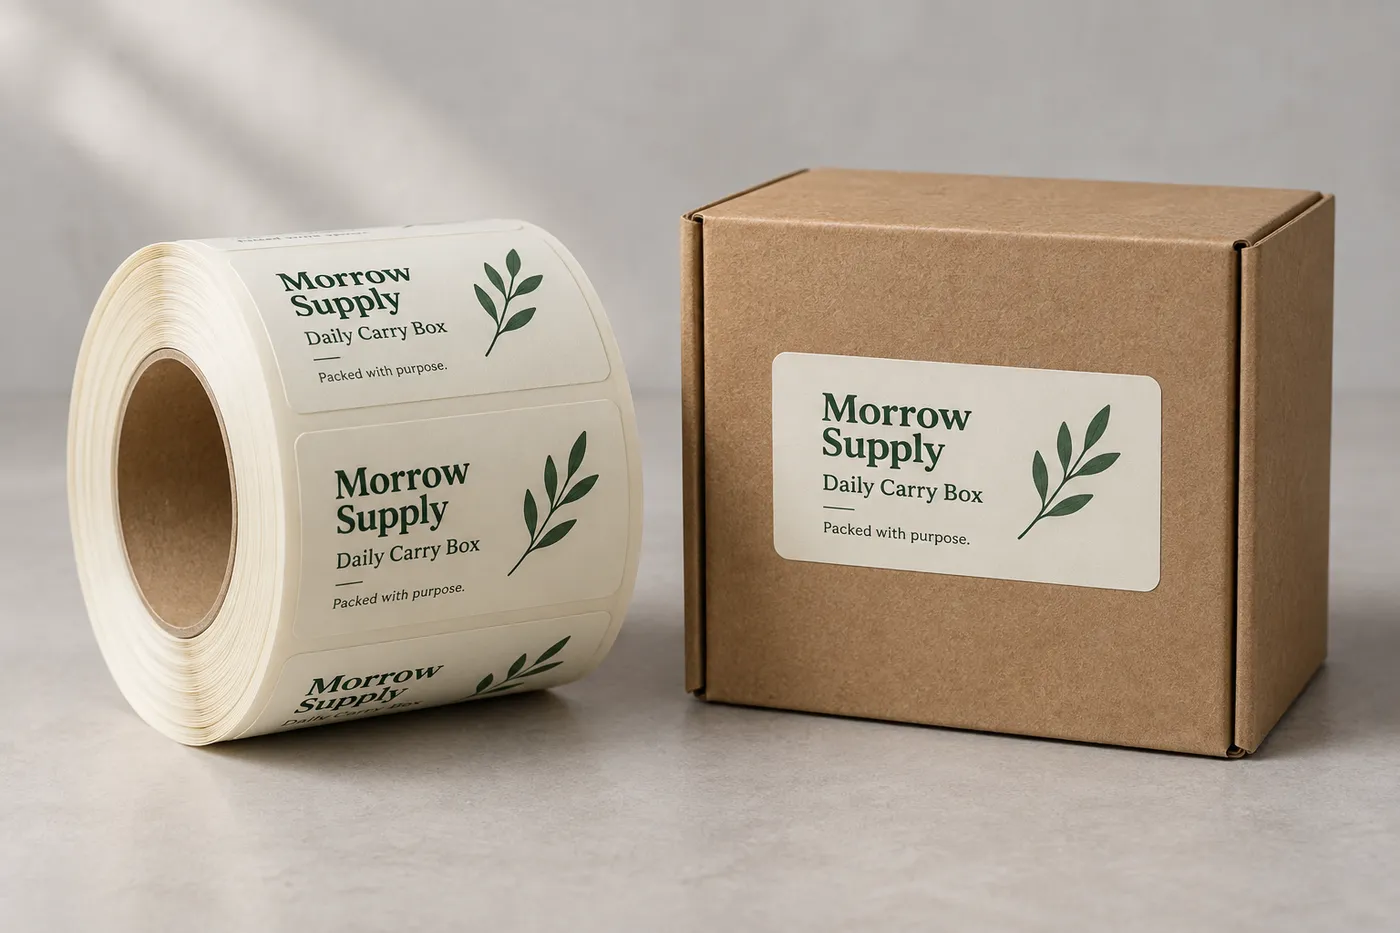
Available product
Available product
Available product
Match the box to the product
Send the packed dimensions, product count, structure preference, artwork status, board and finish direction, quantity, and destination. The brief can then be reviewed around fit, printed panels, opening route, and delivery conditions.
Add your product details to see a quote summary.