Serum and dropper bottles
Plan a clear front panel for the product name, then use the wrap or back area for supporting copy while keeping the dropper closure and shoulder in view.
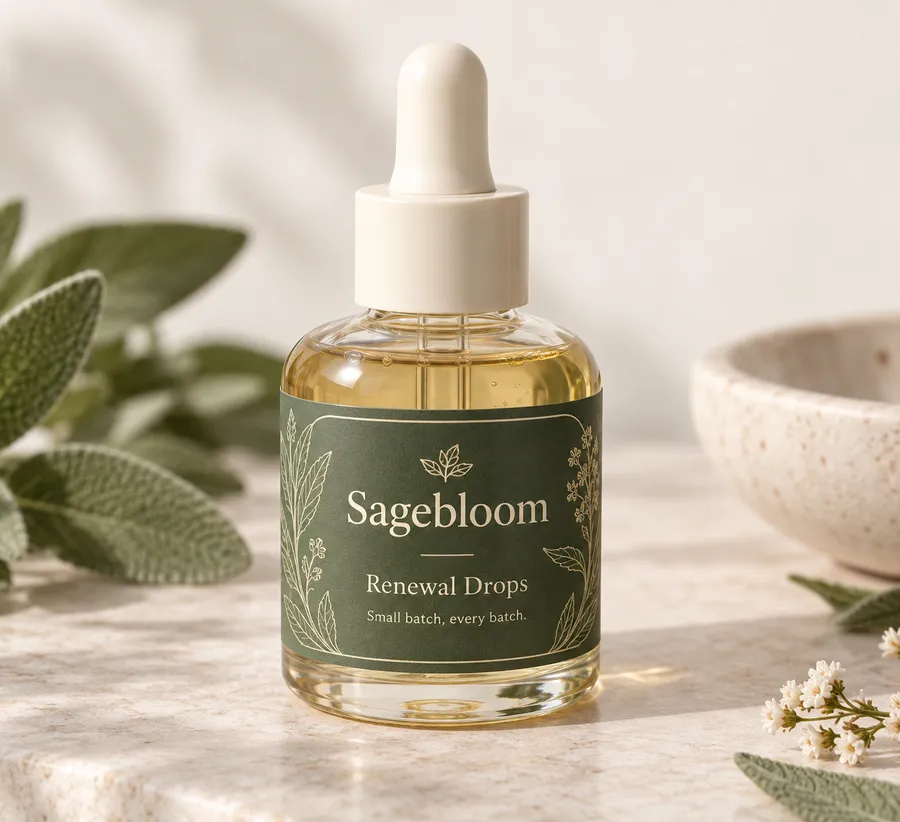
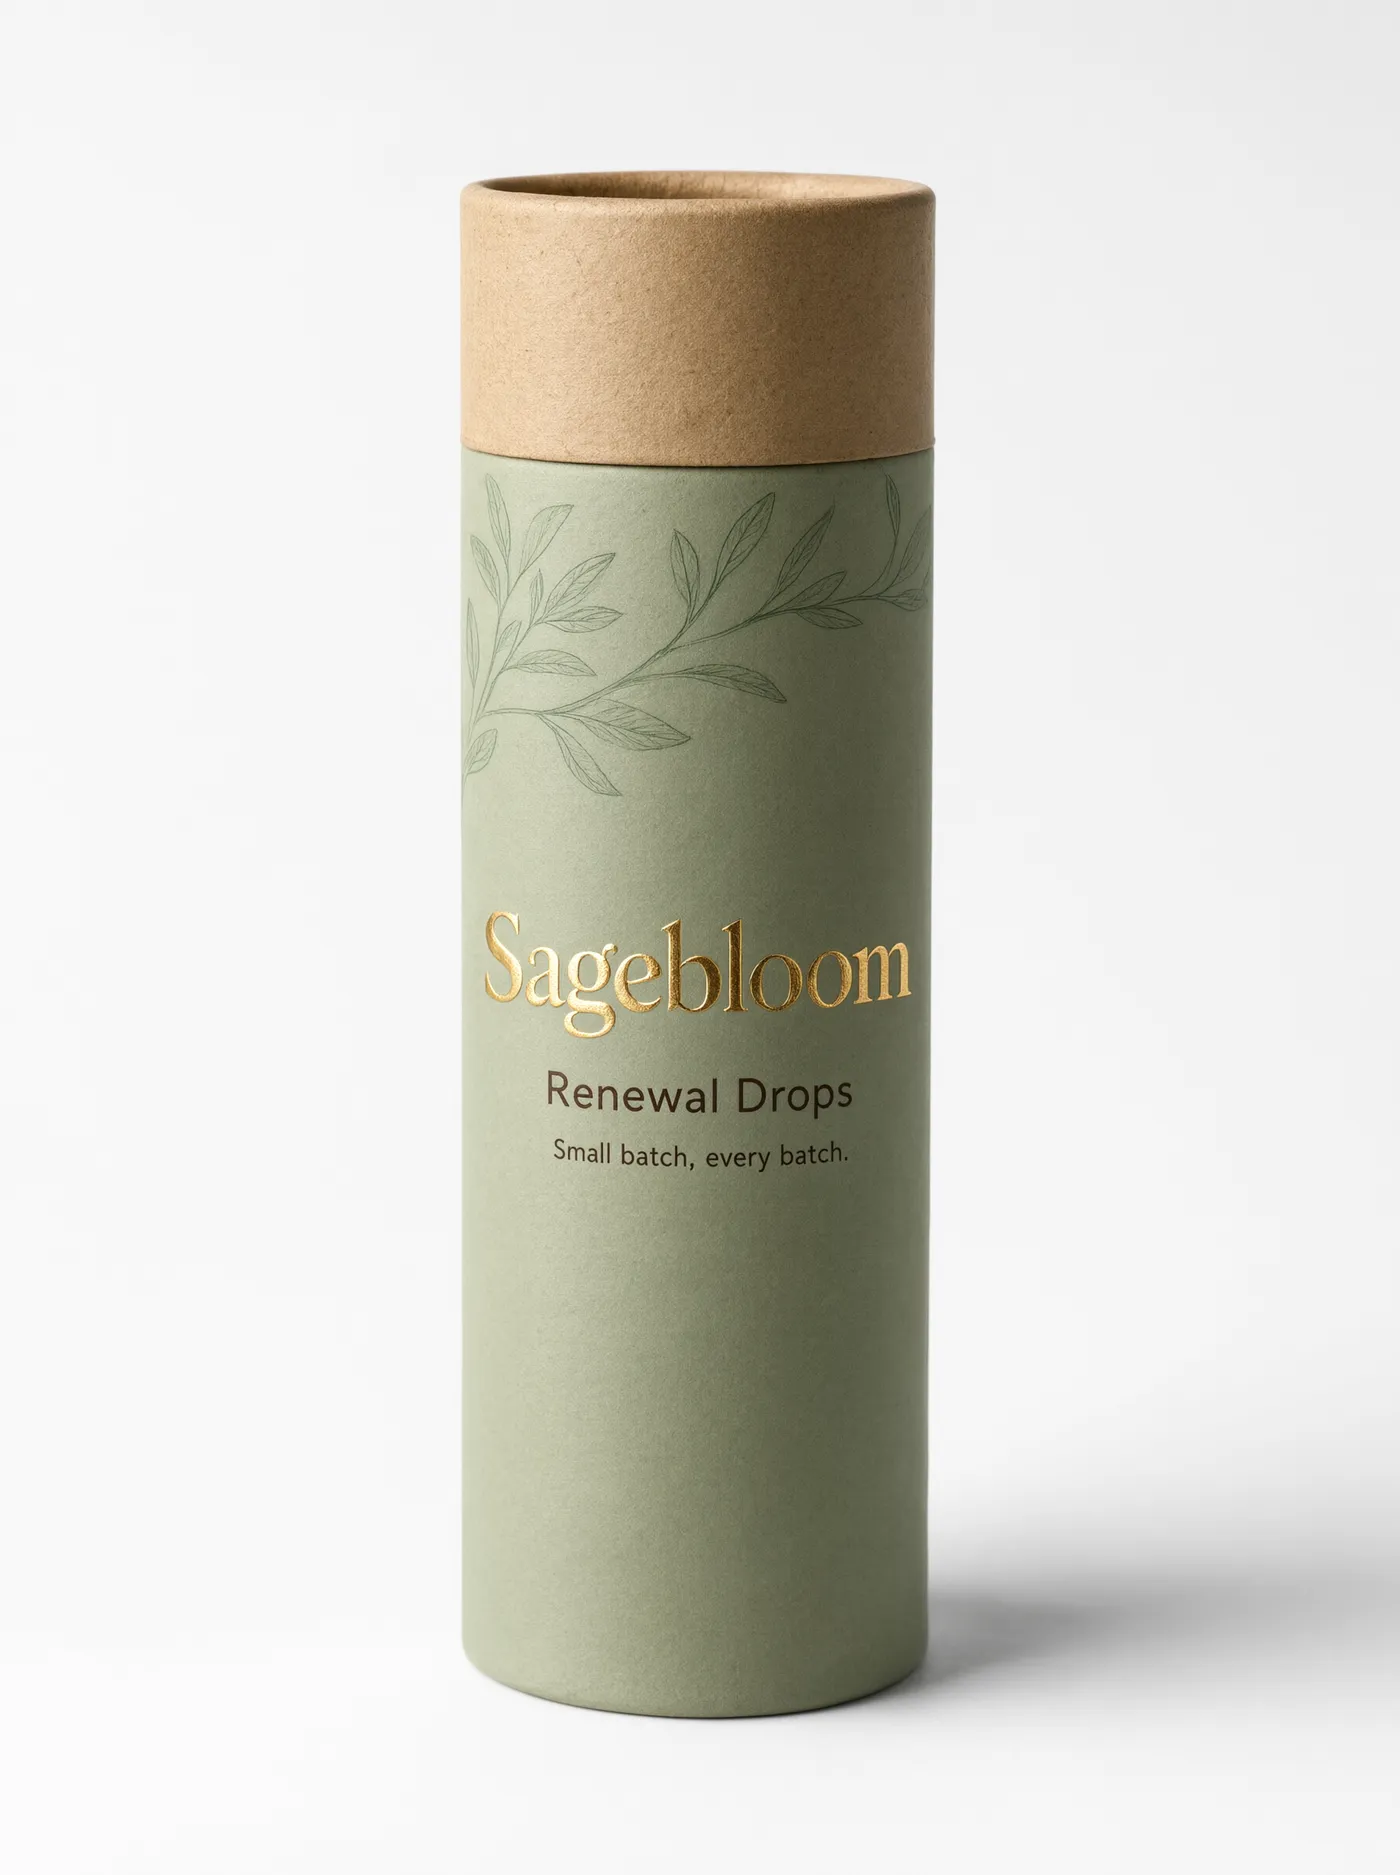
Sagebloom Renewal Drops cosmetic label applied to a small glass serum bottle with a cream dropper cap.
Custom Cosmetic Boxes
Custom cosmetic labels give skincare, makeup, and salon products a clear printed identity on bottles, jars, tubes, and sample containers. EBP scopes the label around the actual container geometry, then aligns panel layout, artwork, and finishes such as matte lamination, gloss lamination, foil stamping, or Spot UV with the product's presentation.
Last updated
Working quote
Product brief
A good label makes the product recognizable while respecting the container it has to sit on. Custom cosmetic labels can carry a brand name, product name, variant, and supporting panel copy across a serum bottle, cream jar, cosmetic tube, or sample container. The useful starting point is not a generic label shape; it is the actual pack and the area available for print.
For a small beauty product, front-panel hierarchy matters. The brand and product name need a clear place, while secondary information can move to a back or side panel when the format allows it. A wraparound label may suit a cylindrical bottle with a continuous usable panel. A front-and-back arrangement may be easier to read when the container has a seam, taper, shoulder, or an interrupted surface. The label brief should make that choice explicit before artwork is finalized.
The container determines the label's working area, edge behavior, and orientation. For bottles and jars, provide the overall height, widest body area, shoulder transition, neck, closure, and the usable label panel. For tubes, note the curved front area, crimp or sealed end, cap position, and any part of the surface that should remain clear. For vials or travel-size packs, identify the narrowest reading area and how the item is displayed.
A photo is useful for context, but it should accompany the written measurements rather than replace them. Include a view showing the front orientation and note where a label starts and ends. If the container tapers or has a pronounced contour, say so in the brief; a flat layout can require adjustment when it is applied to a changing surface. Different container shapes and sizes normally need their own dieline or layout review, even when the label style remains similar.
The format should follow the product's surface and the way the item will be handled. A front label keeps the first-read information concentrated on one panel. A wraparound label gives more room for a brand story, usage guidance, or a secondary panel, provided the seam and reading direction are defined. For a jar, the body label and lid treatment can be planned together so the front presentation remains coherent.
Send the intended product name, variant names, and the copy that belongs on each panel. That lets the artwork be arranged around real content instead of placeholder text. If several products share a family look, identify what stays fixed and what changes between variants. The label geometry, panel order, and brand hierarchy can then be reviewed as one system while each container's usable area is handled on its own terms.
Finish choices change how the label is read and handled, so they should be selected with the artwork and container surface in view. Matte Lamination gives the label a low-glare appearance. Gloss Lamination creates a higher-shine surface. Spot UV can draw attention to selected artwork or a product name, while Foil Stamping can add a metallic or pigmented accent. Embossing/Debossing can introduce raised or recessed detail to a logo or linework.
Those options are available as part of the packaging conversation, not as a reason to add decoration everywhere. A small bottle label may need a restrained front panel so the product name stays legible. A cream jar or gift-ready beauty item may have enough visual area for a foil accent or tactile detail. The final combination remains subject to artwork and specification review, especially when the container curves, narrows, or has a visible seam.
The most helpful artwork brief separates fixed brand elements from product-specific details. Mark the brand name, product name, variant, and any supporting copy that must remain together. Then identify whether the design is intended for a front panel, a wraparound sequence, or a front-and-back format. This prevents a long block of copy from being forced into the smallest part of the container.
Keep the physical application in mind while preparing the design. A bottle's shoulder, a jar's lid edge, or a tube's crimp can change which areas are comfortable for reading. Artwork review should therefore consider the actual panel order and orientation, not only a flat screen view. EBP supplies a dieline or layout for the confirmed specification, and a digital proof is reviewed before production.
Serum and dropper bottles benefit from a label plan that keeps the front name visible while allowing the wrap or back panel to carry supporting information. Cream jars can use a coordinated body and lid treatment when the presentation calls for it. Makeup tubes need an intentional front-facing panel because the curved surface changes how much copy is visible at once. Sample and travel-size containers call for concise hierarchy and careful use of their smaller usable area.
The same approach can extend to salon and spa retail packs, skincare collections, and small-batch beauty launches. The important input is the real container, not an assumed standard size. Sending the product type, container geometry, quantity, artwork status, and desired finish gives the quote team enough context to discuss a practical layout.
The ordering path starts with the container information, intended quantity, artwork status, and any print or finish choices. EBP then reviews the label format against the supplied product details, prepares the relevant dieline or layout, and returns a digital proof for approval. Production is from 7 business days after digital proof approval, and the standard minimum order is 50 units. Free US shipping applies on the standard fulfillment path.
If you want to inspect the printed presentation before committing to a full run, the sample kit has a $44.99 shipping charge credited toward your first order. For a quote, send the container type, measurements, panel arrangement, quantity, product copy, artwork status, and the finish direction you are considering. That information keeps the next conversation focused on the actual label rather than a generic format.
Proof points
The proof stage connects the artwork to the chosen label format. It is where the panel sequence, orientation, visible product name, and requested finish direction can be checked against the supplied container details before production begins.
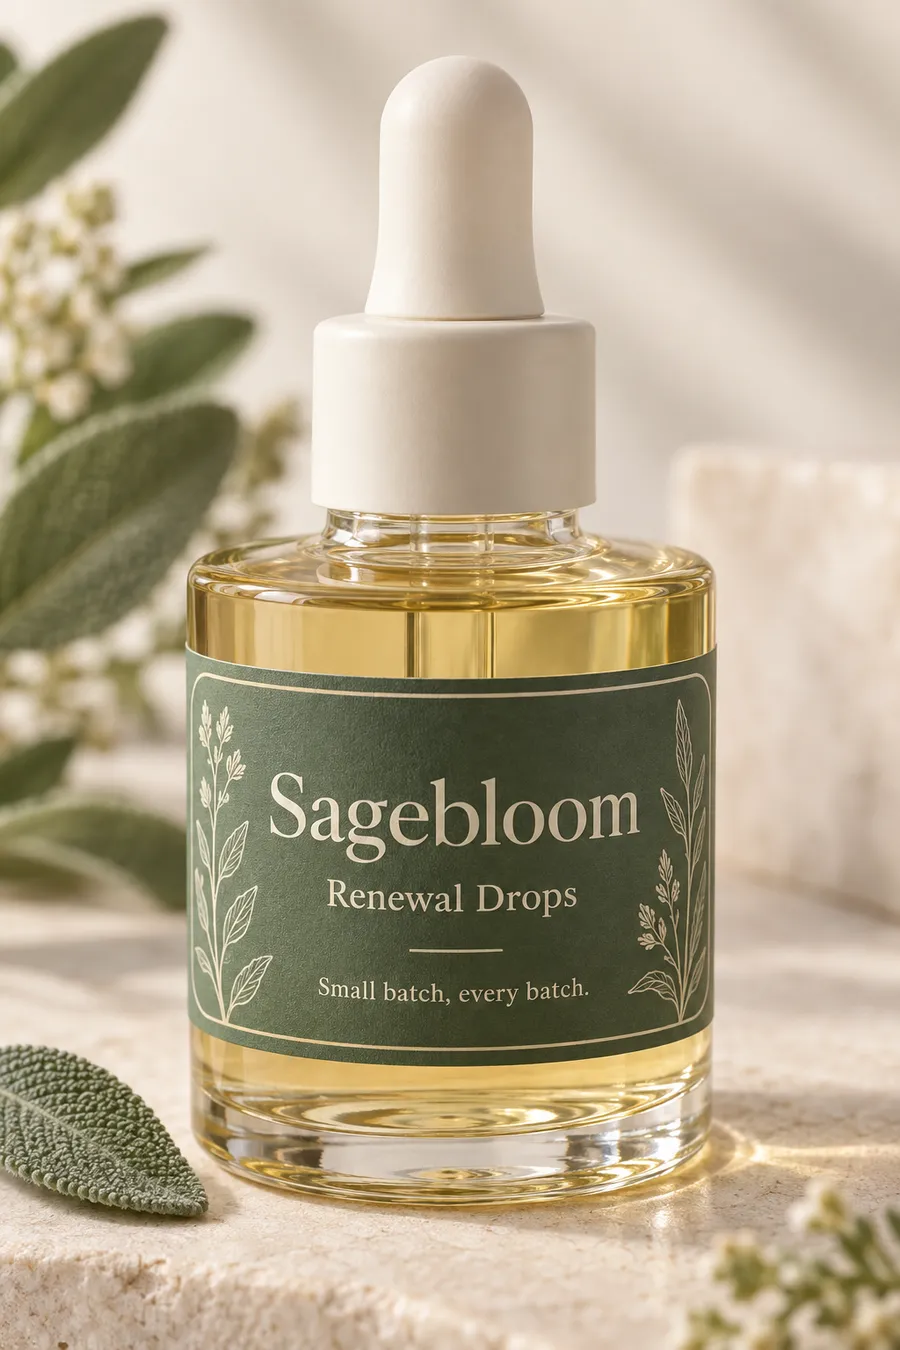
A custom label is more useful when its panel order follows the bottle, jar, tube, or sample pack it will cover. The brief accounts for the usable print area, seams, shoulders, closures, and reading direction so the artwork can be reviewed against the actual presentation rather than a generic rectangle.
Plan a clear front panel for the product name, then use the wrap or back area for supporting copy while keeping the dropper closure and shoulder in view.
Coordinate the body label with the lid presentation when the jar is handled from above, and account for the lid edge when deciding where the front read sits.
Use the tube's curved front as the main reading area and keep the crimped end or cap from interrupting the chosen panel sequence.
Reduce the hierarchy to the information that must be read first, because a smaller usable panel leaves less room for long product copy.
The finish can reinforce the label's visual hierarchy without replacing clear product information. Choose the surface treatment with the artwork, container curvature, and intended handling in mind.
The clearest quote starts with a few practical details: the container type, measurements, intended quantity, panel arrangement, product copy, artwork status, and finish direction. These inputs give the layout conversation a real surface and a real use case to work from.
Share the widest body, shoulder or taper, neck, closure, seam, and usable label panel so the layout can follow the container.
Identify the brand name, product name, variant, and supporting copy so the front read and secondary panels have a clear order.
Note whether the design is being considered with Matte Lamination, Gloss Lamination, Spot UV, Foil Stamping, or Embossing/Debossing.
A focused brief helps the quote and proof stages answer the right questions early. Send the product details first, then use the proof to confirm how the finished label reads on its intended container.
Provide the container type, written measurements, photos, usable label panel, orientation, intended quantity, and any seam, shoulder, taper, or closure notes.
Identify the front, back, or wraparound format and separate the brand name, product name, variant, and supporting copy.
Check the dieline or layout, panel order, orientation, visible copy, and requested finish before approving production.
Once the digital proof is approved, production is estimated from 7 business days on the standard fulfillment path.
Need help with structure, materials, or production planning? See how we manufacture custom packaging.
Request a sample kit to review printed surfaces and finish direction. The kit carries a $44.99 shipping charge, credited toward your first order.
Shipping charge: $44.99. Credited toward your first order.
Request a Sample KitFind clear answers about fit, materials, and ordering below.
Send the container type, height, widest body, shoulder or taper, neck, closure, seam, usable label panel, orientation, intended quantity, and any photos that clarify the shape.
Yes. The label format is planned around the actual product surface, so a serum bottle, cream jar, cosmetic tube, vial, or sample container can have its own panel arrangement and layout review.
Available category options include Matte Lamination, Gloss Lamination, Spot UV, Foil Stamping, and Embossing/Debossing. The final combination is checked with the artwork and container specification.
EBP reviews the label layout against the supplied container details and provides a digital proof. Production is estimated from 7 business days after that proof is approved.
The standard minimum order is 50 units. Free US shipping applies on the standard fulfillment path, and a sample kit is available with a $44.99 shipping charge credited toward your first order.
Orders start at 50 units and scale up to 500,000 for bulk runs, with pricing from $0.25 per unit on larger quantities. Standard production is from 7 business days after digital proof approval.
Common uses include serum and dropper bottles, cream jars, makeup tubes, and samples and travel sizes. The final specification is set by the packed product and how it will be handled.
Compare nearby products and request the format that best fits your next run.
Available product
Available product
Available product
Available product
Ready to scope the label?
Share the pack geometry, panel arrangement, quantity, artwork status, and finish direction. The quote conversation can then focus on a label that fits the real product presentation.
Add your product details to see a quote summary.