Dry food portions
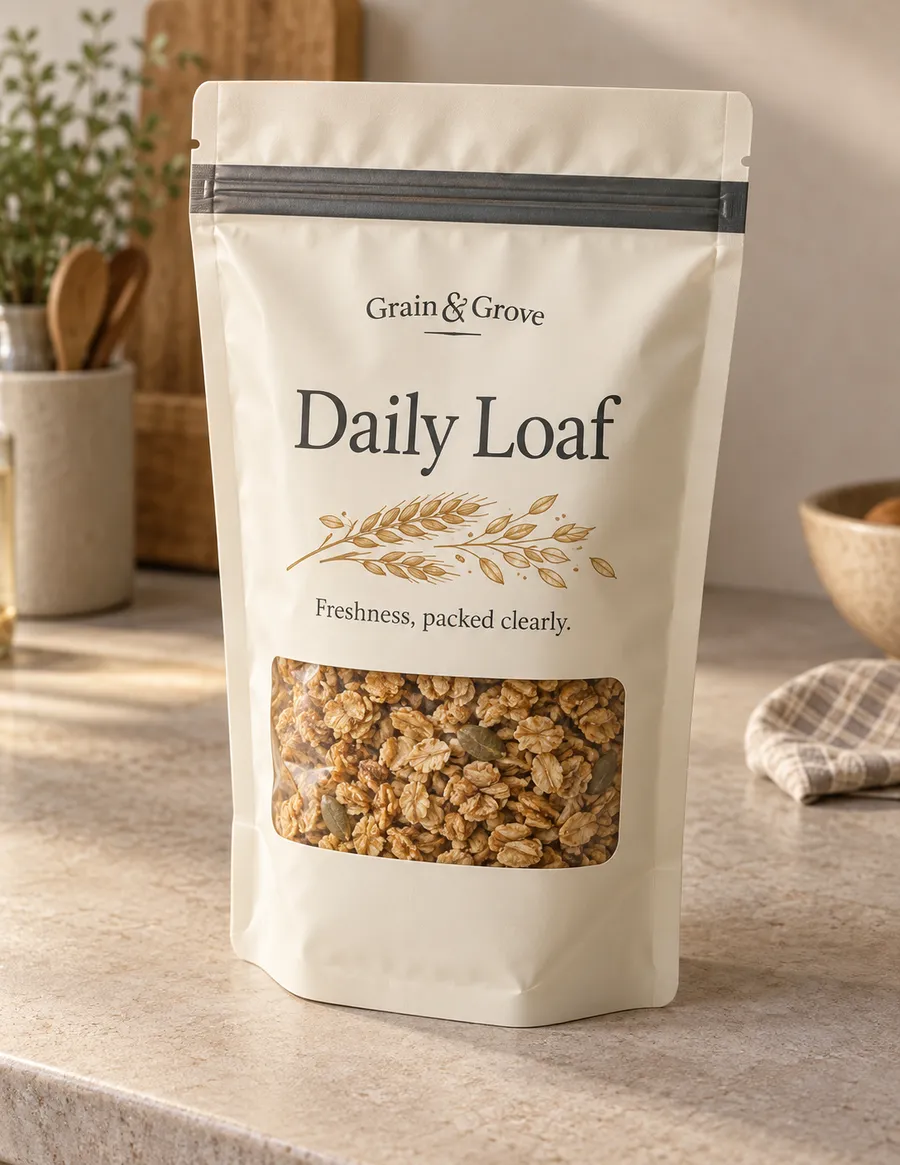
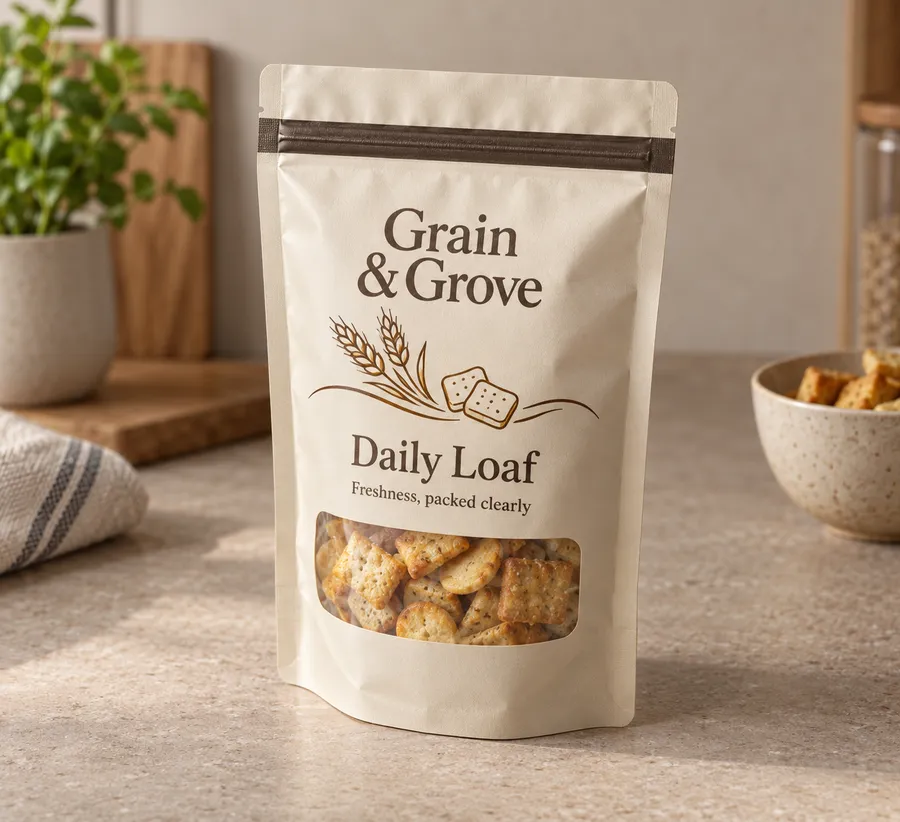
A flat or shallow-gusseted pouch can present measured snacks, spices, tea, or bakery portions when the barrier and seal are reviewed for the contents.
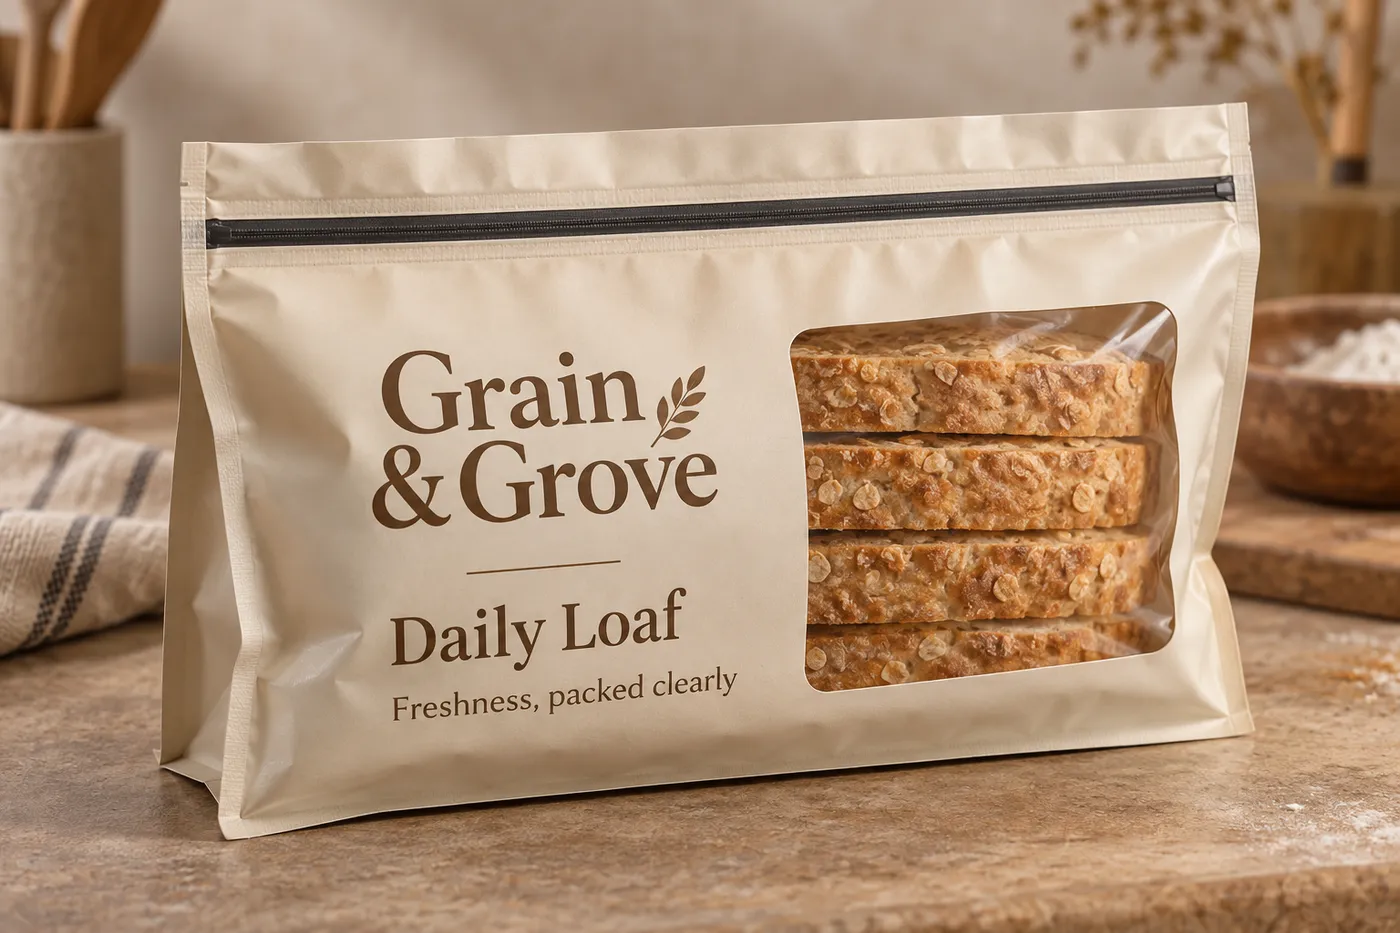
Printed warm ivory mylar envelope holding a flat bakery fill with its zipper and gusset visible.
Mylar Bags
Custom mylar envelopes are flat or lightly gusseted flexible pouches printed around a measured product, opening route, and barrier requirement. Choose food-grade film, a metalized or foil laminate when appropriate, a zipper or heat-seal closure, and a finish that suits the artwork. Share the packed width, height, thickness, weight, artwork, and storage context so the dieline is built around the actual fill.
Last updated
Working quote
Product brief
Custom mylar envelopes give dry foods, powders, small components, and other measured goods a printable flexible format without forcing every item into a rigid carton. The useful starting point is the packed profile: a flat sachet, a shallow envelope, or a lightly gusseted pouch each uses the film, seal area, and opening differently. Send the filled length, width, thickness, widest points, approximate weight, and count per envelope before the dieline is drawn. If the contents include an inner wrap, card, scoop, or small insert, include it in the measurement brief.
Food-grade flexible pouch film can be reviewed around moisture, aroma, oxygen, and light sensitivity. A metalized or foil barrier laminate may be appropriate for a more demanding barrier brief, while polyethylene sealant film controls the heat-seal layer; the final construction depends on the product and the intended storage route. The category direction does not establish a universal shelf-life result, so recipe, water activity, fill temperature, and storage conditions should be reviewed with the actual product. Where local recycling infrastructure and barrier needs allow it, a mono-material direction can also be discussed as a conditional option.
The opening route should match how the envelope will be filled and used. A zipper supports repeat opening when the customer stores the contents after the first use. A tear notch can make a heat-sealed opening easier to start, while a simple top seal can suit single-use portions. Closure placement, headspace, and seal width must be checked on the filled profile; a feature that looks correct on a flat drawing can interfere with a thick insert or a product that shifts during packing.
Use the broad front panel for the brand cue and product name, then reserve the back or secondary panel for ingredients, directions, storage guidance, barcode placement, and required information. Critical copy should stay away from folds, zipper tracks, gussets, and the top crimp. Matte lamination can reduce glare on a restrained design, gloss lamination can increase color contrast, and spot gloss, spot UV, or a controlled metallic accent can highlight a small mark without turning the entire envelope reflective.
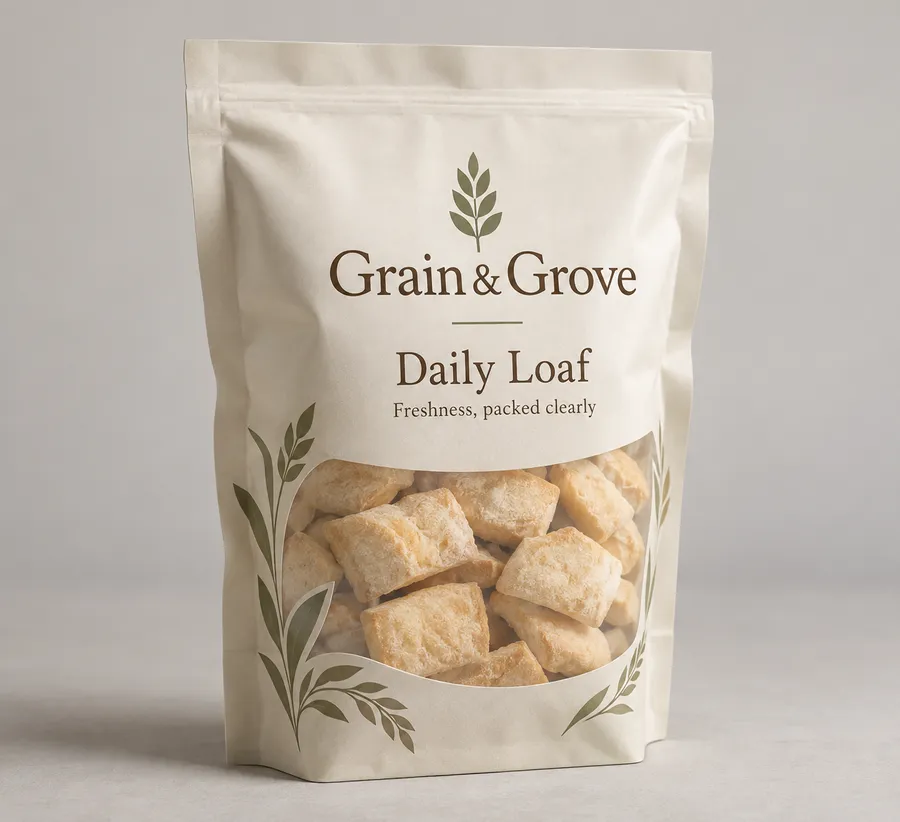
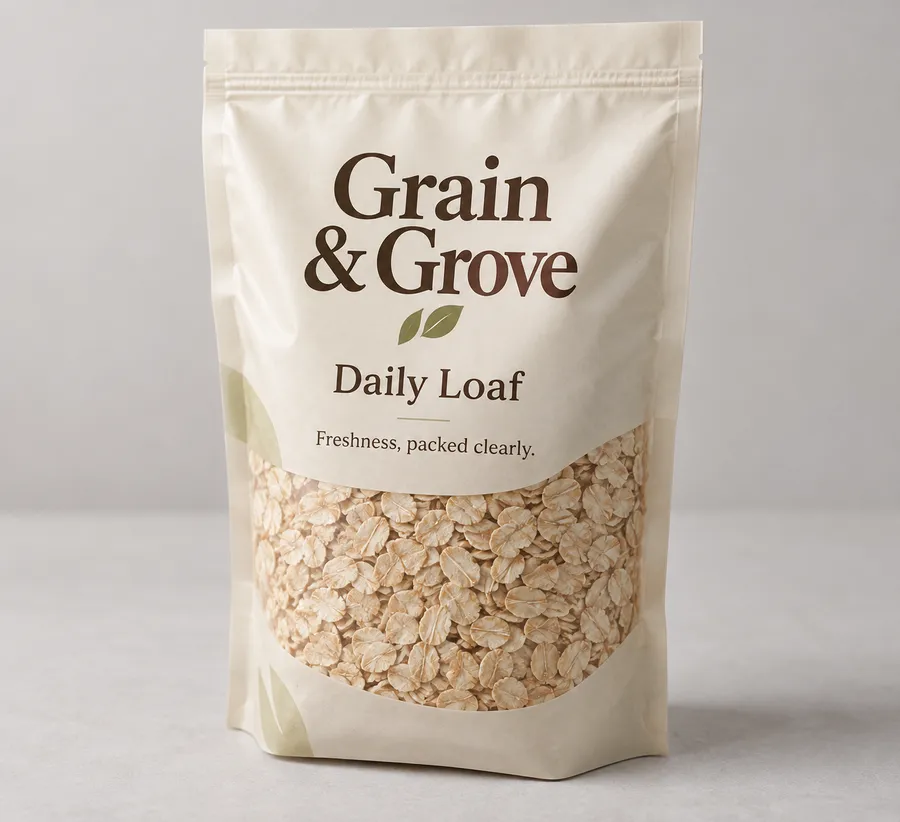
The images illustrate how print can sit on the package; your own brand artwork is placed on the dieline during proofing. On a production proof, check the printed orientation, closure position, seal-safe margin, gusset folds, and the way the envelope lies or stands when filled. A digital proof is the right point to correct copy and panel placement before production begins.
The standard fulfillment path starts at 50 units, with production from 7 business days after digital proof approval. Free US shipping is an approved service fact for the standard path, and dieline and proof review are included at no extra charge. Quote requests are typically answered the same business day and always within 24 hours. Pricing remains quote-only because film structure, envelope dimensions, closure, print coverage, finish, and quantity change the actual cost.
For a useful review, send a filled sample or measured dummy, packed weight, target count, storage conditions, and artwork status. Note whether the envelope needs a clear window, degassing feature, tear notch, zipper, hang hole, or simple top seal. A sample kit has a $44.99 USD shipping charge credited toward the first order, so you can compare film feel, opacity, seal behavior, and finish before approving a custom run.
A clear brief prevents common envelope surprises: an insert that pushes into the crimp, a label that disappears into a gusset, or a zipper placed where the filled pouch cannot close flat. Mark the intended front panel, opening edge, reading direction, and any no-print seal zones. If several small items share one envelope, show their complete arrangement rather than one piece. The resulting proof can then be reviewed for fit, readability, and the filling routine together.
Product geometry also affects the barrier conversation. A fine powder, a dry snack, and a small component may all fit a flat format but differ in aroma, dust, puncture, and moisture concerns. Describe whether the contents are loaded directly, separated by paper, or placed inside an inner wrap. Those details help the team review the seal area, closure, material, and print map as one assembled package instead of treating artwork and construction as separate decisions.
Proof points
The proof should show the filled envelope and artwork on the assembled pack. Compare the closure, seal margin, panel orientation, barrier direction, and finish placement with the product brief.
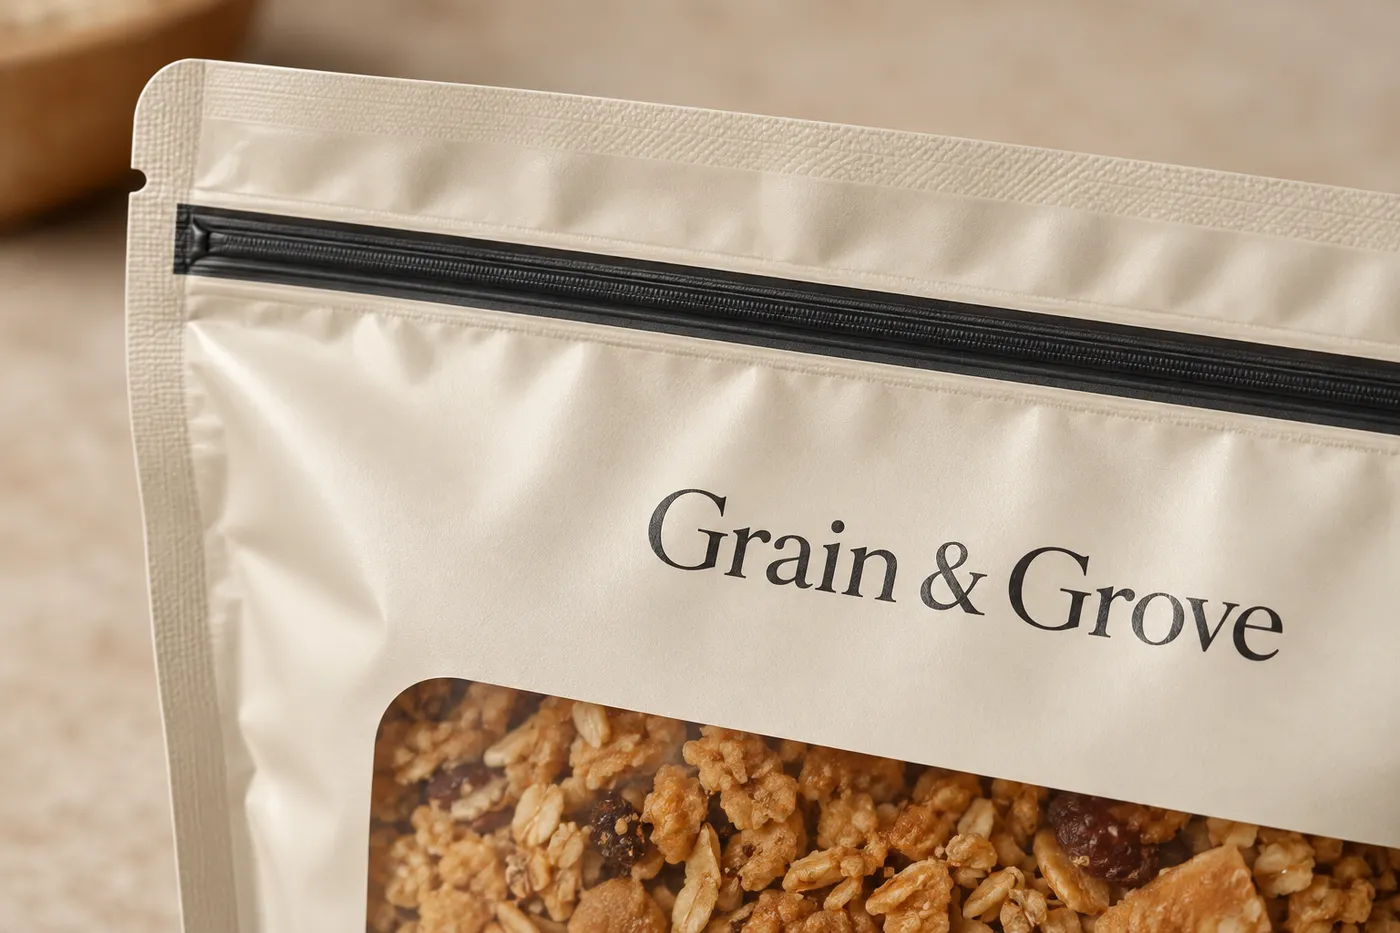
Start with the filled product and the moment after opening. The film, closure, seal margin, and printed panels should keep the package practical to handle while making the product name, directions, storage guidance, and required information easy to read.
A flat or shallow-gusseted pouch can present measured snacks, spices, tea, or bakery portions when the barrier and seal are reviewed for the contents.
A printed envelope can be sized around a scoop, sachet, or measured powder fill when dust control, seal clearance, and storage guidance are supplied.
Hardware, craft parts, and sample components can use a flexible envelope when their edges, count, and puncture risk are defined before quoting.
A zipper or heat-sealed format can suit dry botanical blends, seeds, or pantry products when aroma, light, moisture, and labeling needs are documented.
Map artwork on the filled envelope so the brand, product name, directions, storage guidance, and required information remain readable when the pack is sealed or folded.
The envelope is reviewed as a filled package, not as a flat artwork file. The chosen profile, closure, and barrier direction depend on product geometry, moisture, aroma, storage route, and repeat-opening routine.
Use the packed length, width, thickness, widest points, count, and weight to set the envelope profile, headspace, seal area, and any shallow gusset.
A zipper, tear notch, or heat-seal route can be considered around how the package will be filled, opened, and stored after the first use.
Keep the brand, product cue, directions, storage guidance, and required information oriented away from folds, seals, gussets, and zipper tracks.
A useful quote starts with the filled product and the way the package will be opened and stored. These steps turn that routine into a flexible-envelope specification that can be checked before production.
Provide packed length, width, thickness, widest points, count, approximate weight, product sensitivity, and any unusual shape or insert.
State whether the envelope needs a zipper, tear notch, heat seal, or simple top seal, and show the intended storage routine.
Mark the front, back, gusset, seal, zipper, barcode, directions, storage, and required-information zones in the artwork or brief.
Check the film direction, envelope profile, closure position, seal margin, print orientation, and finish placement on a filled-pack proof.
Need help with structure, materials, or production planning? See how we manufacture custom packaging.
A sample kit carries a $44.99 USD shipping charge credited toward your first order, useful when you need to compare film feel, opacity, seal behavior, and finish direction before approving a custom mylar envelope.
Shipping charge: $44.99. Credited toward your first order.
Request a Sample KitFind clear answers about fit, materials, and ordering below.
Send the packed length, width, thickness, widest points, approximate weight, count, and any insert or inner wrap that shares the envelope. Include the way the contents will be stored and opened.
It depends on the opening routine. A zipper can support repeat opening, while a heat seal can suit single-use portions. A tear notch can be considered with either route when the seal area allows it.
Food-grade flexible pouch film, metalized or foil barrier laminate, polyethylene sealant film, and suitable mono-material film are category directions. The final choice depends on the product requirement and intended route.
Yes, artwork can be mapped across front, back, gusset, and selected seal-safe zones. Keep directions, ingredients, storage guidance, and required information away from folds, zipper tracks, and the top crimp.
No universal shelf-life result should be assumed. Film and barrier selection depend on moisture, aroma, oxygen, light, fill temperature, and storage route, so those variables should be reviewed with the actual product.
The standard fulfillment path starts at 50 units. Production starts from 7 business days after digital proof approval; the final schedule is confirmed with the quote and proof.
Orders start at 50 units and scale up to 500,000 for bulk runs, with pricing from $0.29 per unit on larger quantities. Standard production is from 7 business days after digital proof approval.
Compare nearby products and request the format that best fits your next run.
Available product
Available product
Available product
Available product
Plan the flexible pack
Send the filled dimensions, weight, count, closure preference, storage routine, artwork status, and finish direction. Easy Box Packaging can then review the film, envelope profile, seal-safe print map, and proof as one quote-ready specification.
Add your product details to see a quote summary.