
Jump to section6 sections
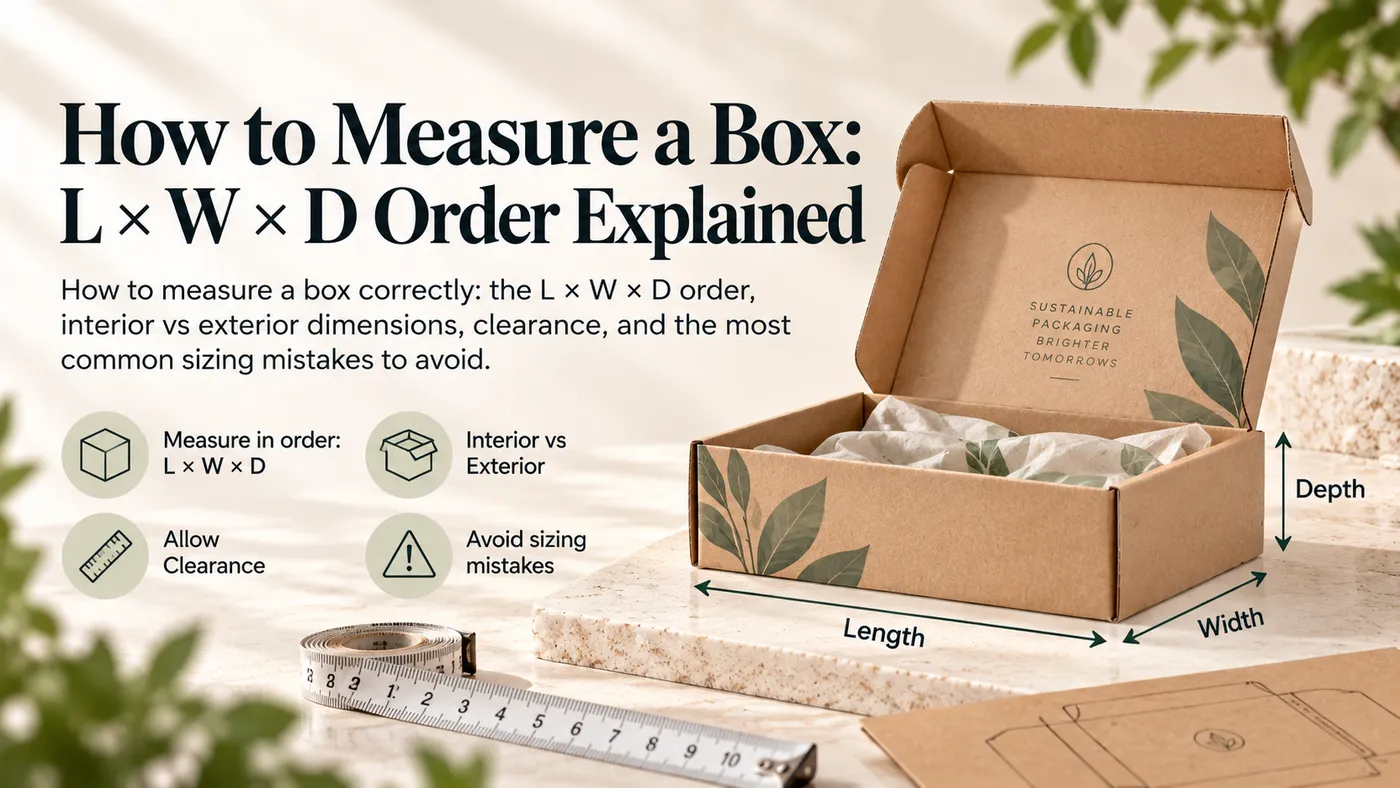
Boxes are measured L × W × D. That's Length, Width, and Depth (or Height). This is always the interior dimensions, not the outside of the box. Length is the longest side of the opening. Width is the shorter side. Depth is the height when the box stands upright and closed. Get this order wrong, and a supplier quote can end up for the wrong-shaped box entirely.
This guide covers how to measure a box the right way, every time. We'll walk through interior versus exterior measurement, the clearance rule, and the most common mistakes. For the full list of structural terms this one belongs to, see our packaging glossary. For a deeper library of standard sizes, see our box size guide.
The L × W × D convention
Knowing how to measure a box starts with the order itself. L × W × D always goes Length first, then Width, then Depth. This order is an industry standard, not a random convention someone invented.
Length is the longest open edge of the box, measured front to back. Width is the shorter open edge, measured side to side. Depth is the vertical distance from the floor of the box to the open top.
A box that looks almost square can still confuse people on this order. If two sides are close in size, measure both carefully. Whichever side is longer gets called "length." That's true even if it feels unnatural to say out loud.
Interior vs exterior — which to use when
Knowing how to measure a box also means knowing which side of the cardboard to measure from. Interior dimensions describe the usable space inside the box. Exterior dimensions describe the box's full footprint, including the material thickness.
Use interior dimensions when you're fitting a product inside the box. That's the number a supplier needs to confirm your product will actually fit. Use exterior dimensions when you're checking pallet layout, shipping cubic size, or shelf space at retail. Knowing how to measure a box correctly here saves a reprint later.
Corrugated wall thickness can add up fast across a shipment. A single-wall flute might add about 1/8 inch per side. A double-wall flute can add closer to 1/4 inch per side. That gap between interior and exterior size grows further with heavier, multi-wall board. For more on how flute choice affects wall thickness, see our guide to corrugated flute types.
The clearance rule
Interior dimensions alone aren't enough. You also need clearance: extra room between your product and the box wall. A standard clearance rule adds 1/8 to 1/4 inch to each product dimension.
That small gap does real work. It lets the product slide in and out without friction. It also leaves room for any wrapping, tissue, or a protective insert. Too little clearance causes a tight fit that frustrates packers. Too much clearance lets the product shift and rattle during transit, which is part of what package-testing bodies like ISTA actually test for in transit simulation.
Rigid two-piece boxes need a second clearance check most people skip. The lid has to seat flush over the base once the product is inside. Measure the lid's closed height against the loaded base, not just the empty one. A product that bulges the base wall even slightly can keep the lid from closing all the way. This step is easy to miss. It matters most when learning how to measure a box for a rigid style.
How to measure an irregular product for boxing
Not every product is a clean rectangle. For an irregular item, measure its longest point in each direction. Check front to back, side to side, and top to bottom. Those three numbers become your starting length, width, and depth.
For a product with a pouch, tray, or display stand, measure the assembled package. Don't measure just the bare item. A jewelry piece in a presentation box, for example, gets measured as that whole unit. The ring or pendant alone isn't the right number.
For a soft or flexible product, measure it in its natural resting shape. Don't stretch it out flat first. A folded garment or a bagged item settles differently than it measures laid completely flat. The box needs to match that real, resting footprint instead.
Common mistakes
The most common mistake when learning how to measure a box is confusing interior and exterior numbers. This happens most often on a quote request. A supplier working from the wrong dimension set ends up building the wrong box size entirely. That mistake means a reprint and a real delay.
A second common mistake is forgetting lid overlap on a rigid two-piece box. The lid depth needs its own measurement, separate from the base. Skipping that step is a frequent reason a finished box ships with a lid that sits too high. Sometimes it won't close evenly at all.
I've seen a brand submit only outer box dimensions for a custom mailer order. The supplier built to that exterior spec exactly as given. The product barely fit once the interior clearance was accounted for. The whole order had to be rebuilt from scratch. Confirming interior versus exterior up front would have caught it before production.
How to measure a box: quick reference by product type
Product type | Measuring tip |
|---|---|
Jewelry or small accessories | Measure the full presentation box or pouch, not the bare item |
Apparel or soft goods | Measure folded, in its natural resting shape, not stretched flat |
Electronics | Measure the product plus any charger, cable, or manual bundled in the box |
Bottles or jars | Measure at the widest point, usually the shoulder or cap, not the base |
Irregular or multi-part sets | Measure the full assembled footprint, including any tray or insert |
One limitation worth naming: measuring tolerances can vary slightly by supplier. Paperboard thickness plays a role too. Humidity and storage conditions can shift board thickness by a small amount too. This rarely matters enough to affect a standard order. A physical sample or prototype round is worth the time before a full production run. This matters most on a product shape you haven't boxed before.