Checkout assortment
Keep a small group of packaged goods visible and easy to pick near a checkout or service counter.

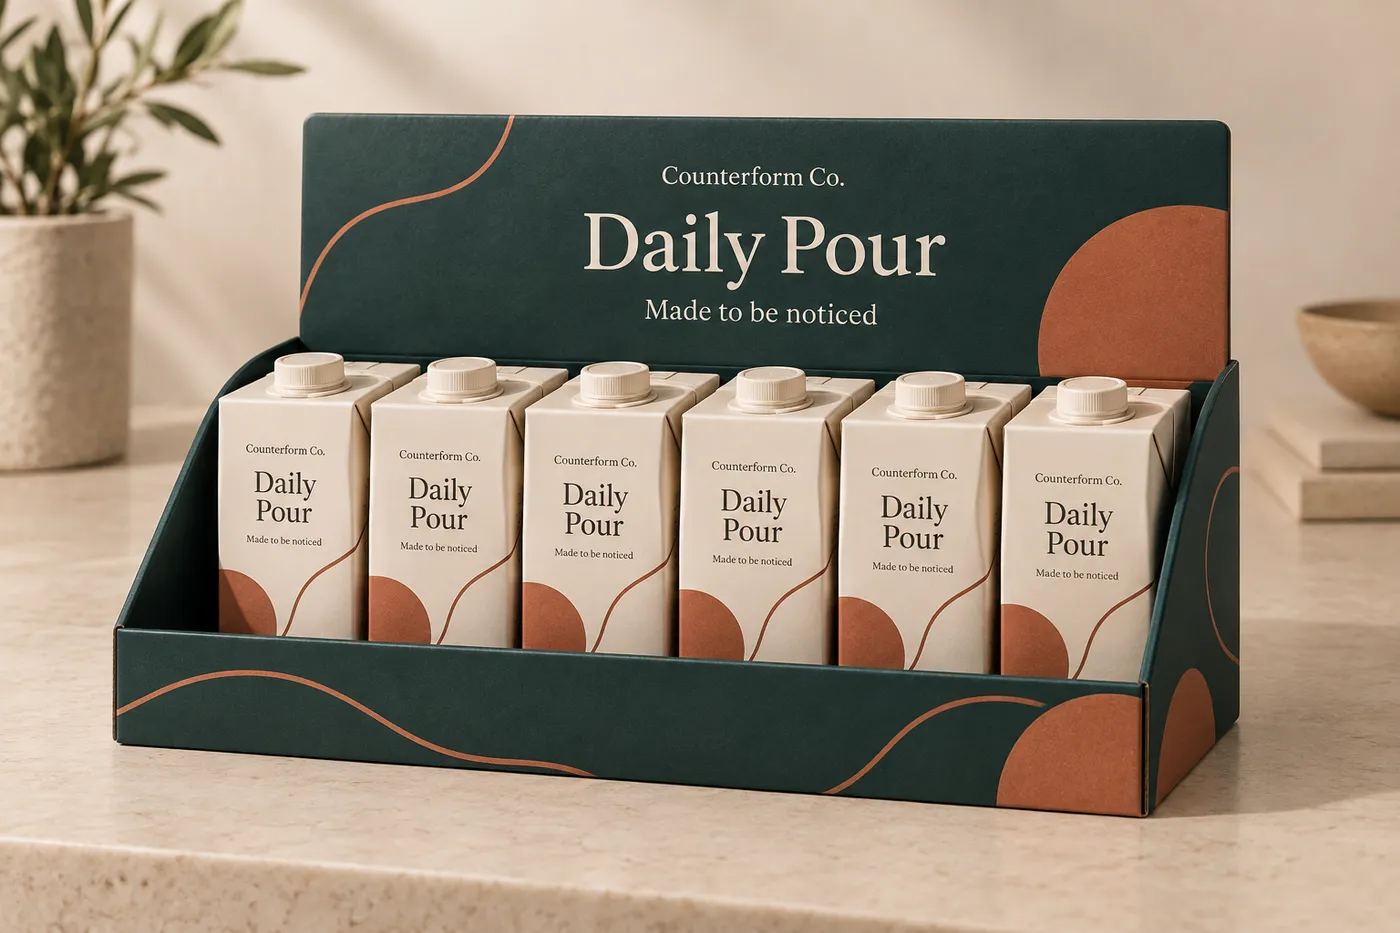
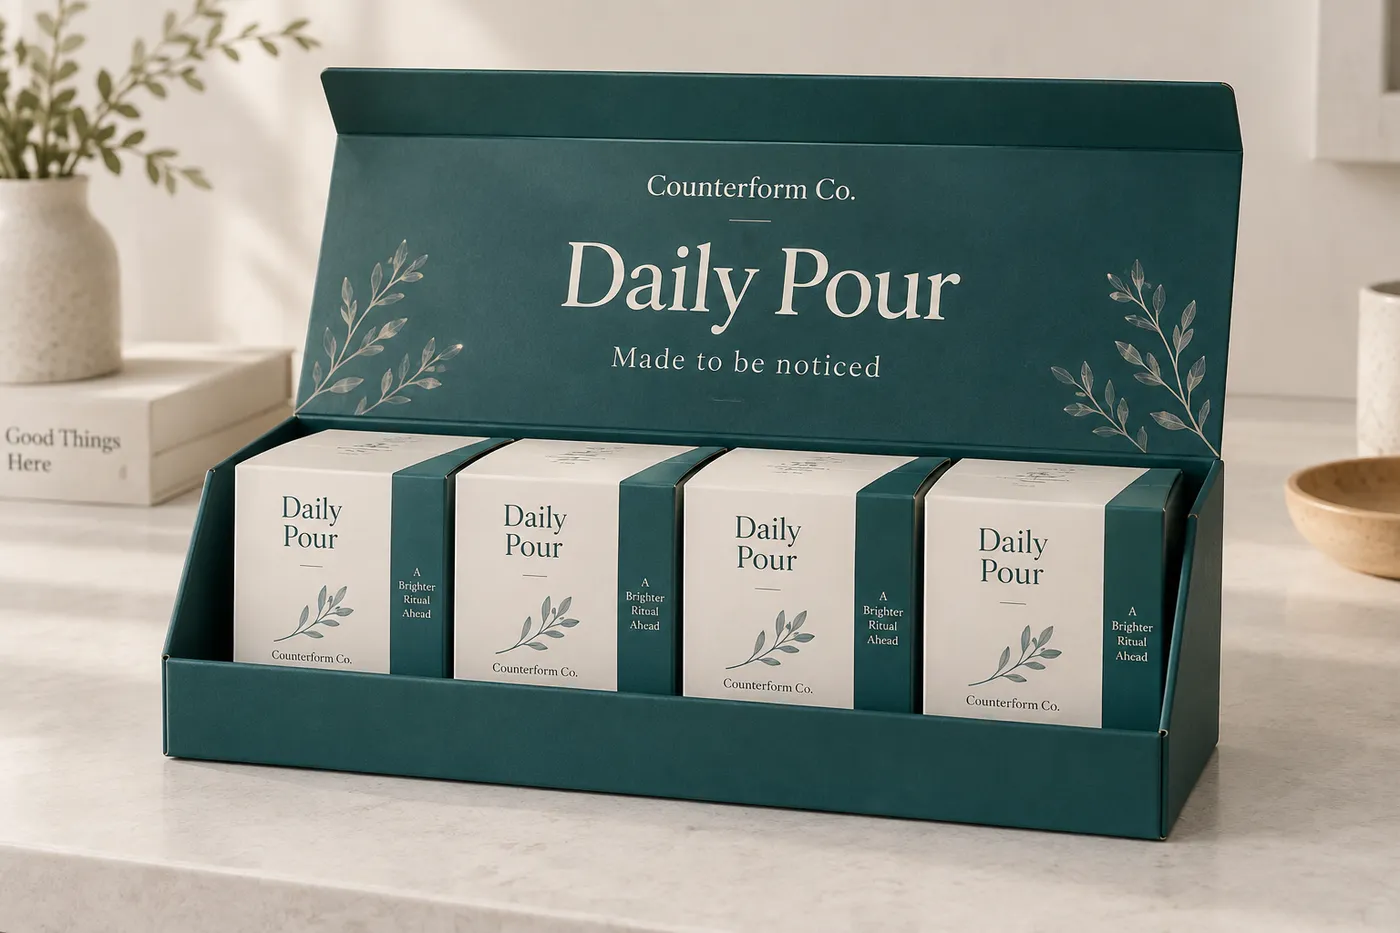
Deep teal open-front counter display box with six cream cartons and Counterform Co. Daily Pour print.
Display Boxes
Custom counter display boxes give a product range a defined point-of-sale footprint with a visible front row, printed backer, and loading approach planned around the packed units. Choose the tray or open-front structure, board, print coverage, and finish after the product dimensions, facings, counter space, and handling route are understood.
Last updated
Working quote
Product brief
Custom counter display boxes combine a small product holder with a printed retail message. The useful starting point is the counter space and the packed product, not a generic carton. An open-front tray can keep the first row visible while a rear backer carries the brand name, product message, or campaign artwork. A low front lip may suit products that need their labels read quickly; a taller front wall can provide more restraint when the packed units are easy to tip.
The quotation should begin with the filled product dimensions, weight, orientation, and the number of facings you want visible. Also explain whether staff will refill the tray from the front, load it from the rear, or place a complete assortment into the display before it reaches the counter. Those details affect the base depth, side-wall height, front access, and the amount of backer that remains visible after loading.
A counter display earns its space when the footprint is deliberate and the product row remains easy to pick. Describe the available counter area, the viewing direction, and whether the display sits beside a checkout, on a service counter, or in a small retail fixture. A single forward-facing row may need a shallow base and a short front edge. A grouped assortment may need more depth, a divider, or a backer proportion that keeps several product names readable together.
The outside shape follows the packed products and practical clearance. Share the maximum filled height, width, and depth rather than an empty package estimate. If the product has a shoulder, pump, cap, sleeve, or irregular profile, mention it before the dieline is reviewed. The box can then be considered around the real contact points and loading motion. A later product change may require a revised dieline; one physical format should not be assumed to fit every size.
An open-front tray with an upright backer is a useful direction when the product should remain visible and the brand needs a defined printed face. A perforated or tear-away front can be considered when the display arrives with products packed inside and the retail team needs to open the selling face quickly. A display carton with a taller header gives more room for a campaign message, but the header should not block the product labels at the intended viewing angle.
The loading method is part of the construction. If units are placed one by one at the counter, the front opening and side walls should allow a practical handoff. If the display is filled once and replenished as a group, the base and backer can be evaluated for the loaded weight and the way it is carried into position. When a display travels through parcel handling before reaching the counter, share that route so a presentation-led paperboard structure can be compared with a more support-oriented Corrugated Board direction.
SBS Paperboard provides a smooth face for detailed color artwork and small type on the backer or front lip. Kraft Paperboard gives the pack a more natural paper character and can suit a restrained, earthy palette. Corrugated Board is a category option when the loaded display or the delivery route calls for more structural support. These material names are starting points for a quote, not a claim about an unconfirmed grade, thickness, or load rating.
Finish should reinforce the reading order of the display. Matte Lamination can keep glare lower under bright counter lighting, while Gloss Lamination creates a more reflective surface. Spot UV can draw attention to a selected logo or graphic detail. Embossing/Debossing adds a tactile raised or recessed mark, and Foil Stamping can create a metallic or pigmented accent. Review the finish against the artwork, fold positions, handling, and the surface that shoppers will touch rather than treating every panel with the same effect.
The backer often carries the main brand cue because it remains visible above the packed products. The front edge and side walls are read closer to the counter, so they can carry a short product name, flavor, variant, or directional cue when that information remains visible after loading. Keep essential copy away from folds, edges, tear lines, and the area occupied by the product row. A panel-by-panel proof makes the reading order easier to judge than a flat artwork file alone.
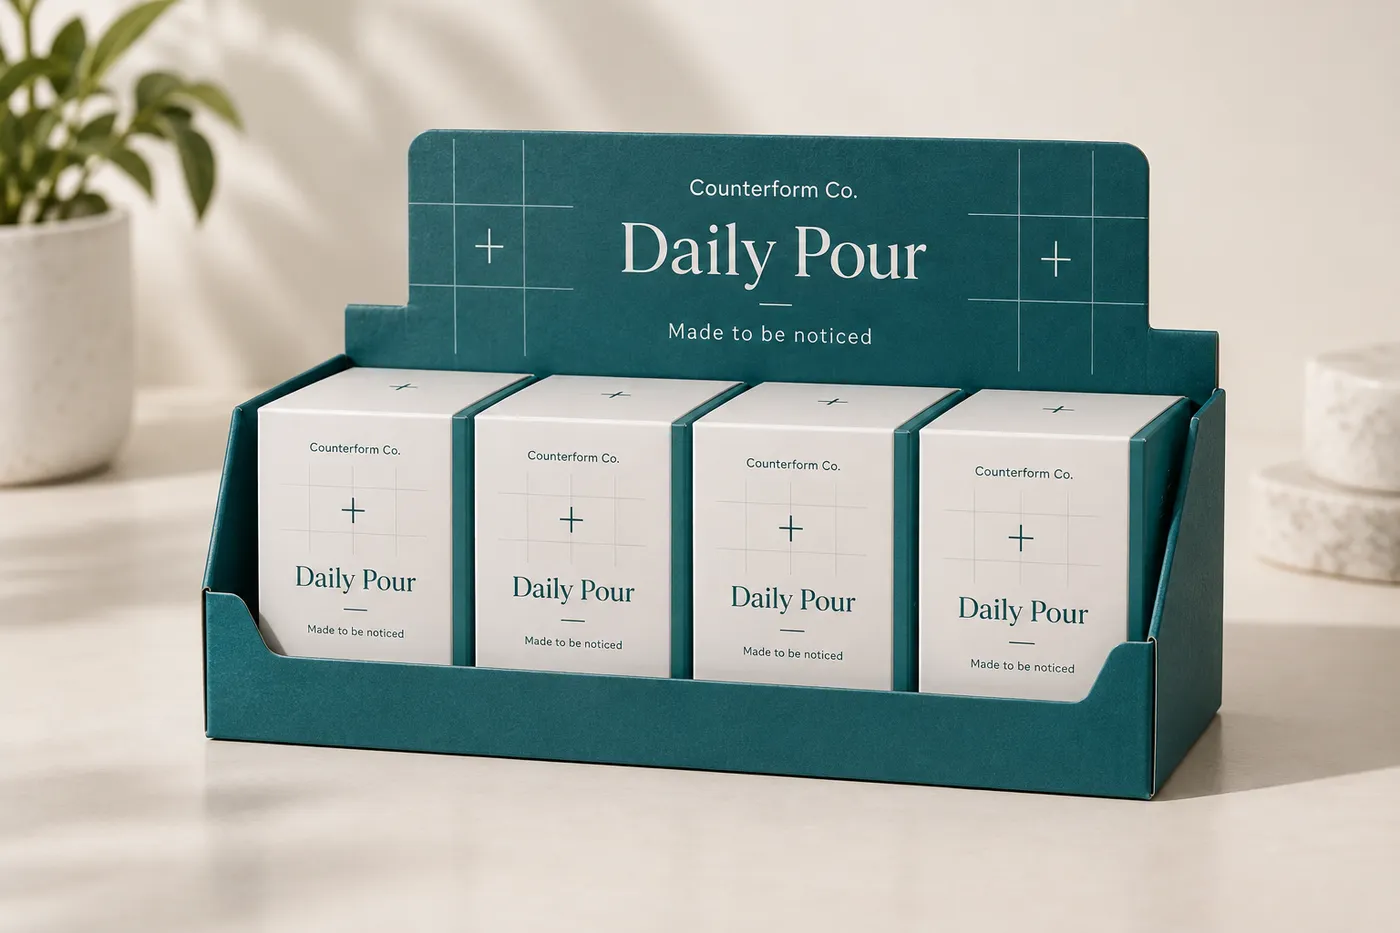
The product images show an illustrative print layout. Your approved artwork can replace that demonstration. A digital proof should confirm print coverage, contrast, fold placement, and the way the real units cover or reveal each message before the run is scheduled.
A display that stays on one counter has a different handling brief from a display that is loaded, boxed, and shipped through a parcel network. Tell the packaging team whether the unit ships flat, arrives assembled, or travels with products already inside. Include the destination and expected handling route with the product count, because the display footprint and the support needs should be reviewed together.
The standard minimum order is 50 units. Production is from 7 business days after digital proof approval, and Free US shipping is available on the standard fulfillment path. Pricing remains quote-only because the counter footprint, product facings, board direction, print coverage, finishing, and handling route all affect the finished specification. A $44.99 sample kit shipping charge is credited toward the first order, so a sample can be used to check the front-wall height, print treatment, product fit, and counter presence before a larger run.
Use a counter display for a compact assortment at checkout, a service desk, an event table, or a specialty retail counter where individual units need to remain easy to see and pick. The format can also organize a seasonal launch, a promotional sample group, or a short product range that would lose clarity in a deep shipping carton. For shelf use, describe the viewing angle and shelf height so the backer and front edge are evaluated from the position where shoppers will actually see them.
The right display direction depends on product geometry, number of facings, replenishment method, available footprint, board choice, and the route to the counter. Send the filled product dimensions, packed weight, product count, preferred orientation, artwork status, material and finish preferences, and destination when requesting a quote. That information gives Easy Box Packaging a concrete brief for the structure, print, and proof conversation.
Proof points
The quote and proof should resolve the physical and visual decisions that affect a counter display in use. Product geometry, panel visibility, and the delivery route each change how the finished unit should be evaluated.
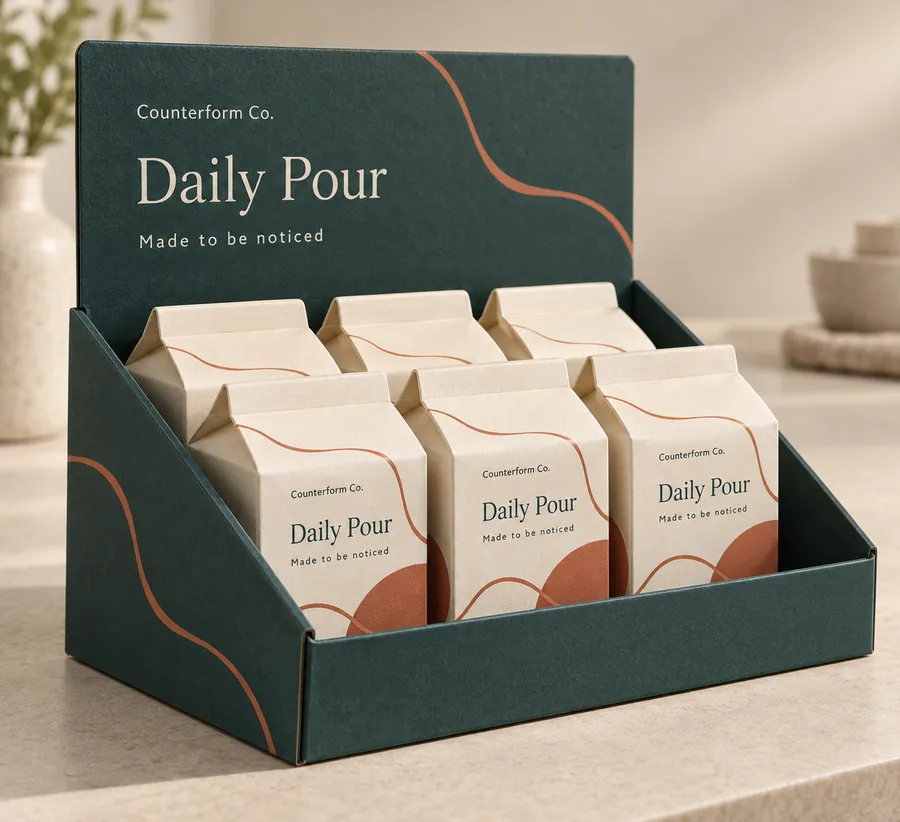
An open-front tray, low front lip, side walls, and printed backer give the counter a clear product-facing structure. The base depth, number of facings, front access, and backer height are reviewed around the filled units and the available point-of-sale footprint.
Keep a small group of packaged goods visible and easy to pick near a checkout or service counter.
Use the backer for the brand cue while a low front opening keeps the product row readable in a compact fixture.
Organize promotional units or sample packs on a table where the display footprint and front access need to stay controlled.
Present a short campaign range in one printed unit, with the artwork and facings planned before the dieline is finalized.
The printed face can be quiet and tactile or given a stronger contrast between coated and uncoated areas. Select the surface treatment by looking at the artwork, panel position, counter lighting, and the way the display will be handled.
The display direction becomes clearer when the visibility, loading, and handling questions are answered together. Each choice changes how the tray is used at the counter.
Set the front-wall height and viewing angle so the first row remains readable after the tray is filled.
Confirm whether staff load individual units from the front, replenish from the rear, or place a complete assortment into the base.
Reserve a clear printed face for the brand cue, product name, or campaign detail that should sit above the packed units.
A clear input set makes the quote more useful. Send the product information first, then confirm the display, artwork, and fulfillment choices in sequence.
Send the filled dimensions, packed weight, product count, preferred orientation, and any cap, shoulder, sleeve, or irregular profile.
Describe the available footprint, viewing direction, front access, refill method, and whether the unit stays assembled or ships flat.
Choose a board direction, provide the artwork status, and identify the backer, front lip, and side panels that need print.
Check the structure, panel reading order, folds, product reveal, and finish treatment before the production schedule begins.
Need help with structure, materials, or production planning? See how we manufacture custom packaging.
A $44.99 shipping charge for the sample kit is credited toward your first order. Use the sample to inspect the front-wall height, backer print, board feel, product reveal, and how the loaded unit occupies the counter.
Shipping charge: $44.99. Credited toward your first order.
Request a Sample KitFind clear answers about fit, materials, and ordering below.
The format can hold a defined row or compact assortment of packaged goods, samples, cosmetics, snacks, accessories, or other products whose filled dimensions and weight are supplied for the quote. The tray, front wall, and backer are considered around the actual product profile.
Yes. An open-front tray or a perforated tear-away front can keep the product visible and make access easier. The choice depends on the product's stability, the refill method, and whether the unit arrives assembled or opens at the retail counter.
Kraft Paperboard, SBS Paperboard, and Corrugated Board are the category material directions. SBS offers a smooth printed face, Kraft gives a natural paper character, and Corrugated Board can be considered when the loaded display or delivery route calls for added structural support.
Send the filled product dimensions and weight, product count or facings, preferred orientation, counter footprint, loading and replenishment method, artwork status, material and finish preferences, and delivery destination. A product photo or physical sample can clarify caps, shoulders, folds, or other profiles.
The standard minimum order is 50 units. Your final unit price is confirmed in a quote because the unit cost depends on the display footprint, product facings, board direction, print coverage, finishing, and handling route.
The standard production estimate is from 7 business days after digital proof approval. The proof is the shared reference for the structure, artwork panels, folds, product reveal, and finish treatment before the run begins.
Orders start at 50 units and scale up to 500,000 for bulk runs, with pricing from $0.21 per unit on larger quantities. Standard production is from 7 business days after digital proof approval.
Compare nearby products and request the format that best fits your next run.
Available product
Available product
Available product
Available product
Plan the point-of-sale footprint
Share the filled product dimensions, facings, counter space, loading method, artwork status, board preference, finish direction, and delivery destination. Easy Box Packaging can then review the display against the real product and retail setting.
Add your product details to see a quote summary.