Boutique counter rings
Keep ring boxes or small riser slots visible from the customer side while a low front lip supports quick selection and refill.

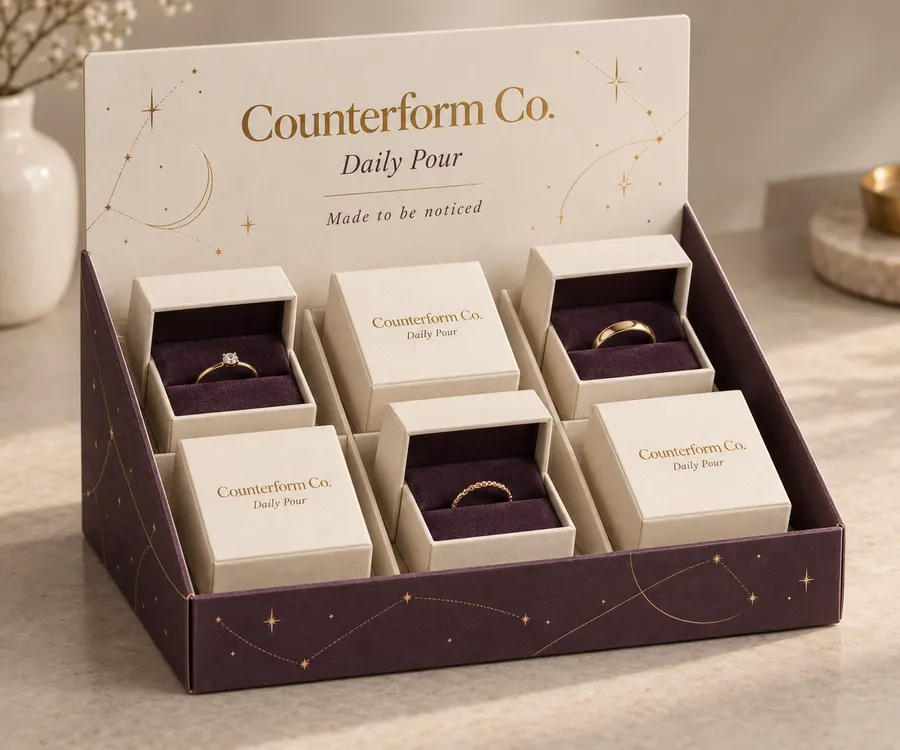
Open custom jewelry display box with six ring boxes and a printed raised header.
Display Boxes
Custom jewelry display boxes present rings, earrings, pendants, or small sets in a defined counter or shelf footprint. Choose the number of facings, access opening, header or back panel, insert direction, board, print coverage, and finish around the pieces and the way staff will replenish them. Easy Box Packaging keeps the quote tied to that finished arrangement.
Last updated
Working quote
Product brief
A jewelry display box has two jobs: keep each piece arranged and give the shopper a clear first view. A low-front tray can expose rings or small cartons for quick selection, while a taller back panel or header keeps the brand message above the merchandise. A closed carton with a controlled reveal may suit a gift presentation, but it should not be described as an open counter display. Start with the setting, checkout counter, boutique shelf, event table, or a loaded parcel, because the same jewelry set can need a different structure in each route.
Describe the pieces before choosing the display format. Include the length, width, height, and approximate weight of a ring box, earring card, pendant card, or small set. Note whether the product arrives in an inner carton, fabric pouch, card, or fitted insert. Then state the number of facings: six ring boxes in one row, three pendant cards across two rows, or another real arrangement. The product count, access direction, and refill motion determine the tray depth and the amount of clear panel area.
Measure the packed arrangement as it will sit in the display. Record the widest points, the packed height above the front edge, the clearance a hand needs to remove one item, and the space needed to replenish from the rear or top. A ring box that is easy to pick from an open front may need a different ledge from a pendant card that is lifted vertically. If a staff member will refill six facings at once, show that loading sequence rather than measuring only one sample piece.
Outside dimensions are not the same as usable interior space. Board folds, a front lip, a divider, a header support, and an insert all occupy part of the footprint. Keep the front opening clear of any product name that must remain readable. If the unit ships loaded, include the transit route and whether the display is placed inside an outer carton; if it ships flat, identify who will fold and load it. The assembled proof should show the actual jewelry pieces or representative forms so the front edge, header, and insert can be checked together.
Kraft Paperboard can support a natural printed direction, SBS Paperboard offers a smooth face for small type and controlled color, and Corrugated Board can be considered when the display must travel with a heavier loaded set. These are category directions, not fixed board weights or transit promises. The right choice depends on piece count, product weight, shelf position, storage space, whether the display arrives assembled, and how often it is replenished.
An open-front countertop tray, a folded carton with a tear-away panel, a display box with a raised header, or a tray with dividers creates a different reveal. Rings may need slots or a shallow riser; earrings and pendants may need upright cards; a mixed set may need separate lanes so pieces do not overlap. The insert shape should follow the actual card, pouch, or inner carton. Do not assume one universal insert, closure tolerance, or load rating before the dimensions and handling route are reviewed.
Place the brand name and product cue on the header or front panel that remains visible after the pieces are loaded. Use side panels or an interior flap for a short care note, collection name, or required information. Keep fine type away from scores, cut edges, dividers, and the front lip that can hide part of a word. A digital proof should show the box folded and filled, not only a flat artwork sheet.
Matte Lamination and Gloss Lamination can be considered for the printed face, while Spot UV, Foil Stamping, and Embossing/Debossing can emphasize a selected mark or short line of type. Finish suitability depends on stock, artwork scale, fold placement, and the handling route. The images illustrate how print can sit on the package. Production artwork should use the buyer-approved jewelry brand and required information.
A countertop tray can hold ring boxes at checkout, keep earring cards facing forward on a boutique shelf, or organize pendant cards at a trunk show. A raised header can carry a collection name above a row of six facings, while a low front opening keeps selection quick. A small multi-unit display can also arrive flat for a launch kit and be assembled at the store. The useful choice is governed by the viewing distance, refill pattern, and available footprint rather than by a generic claim that one format suits every jewelry product.
If the display is part of a gift presentation, a more enclosed box and a fitted riser may create a slower reveal. If it stays open at a counter, the access opening and front lip matter more than a fully enclosed lid. Share whether staff or the customer loads the pieces, whether the display moves between locations, and whether each facing needs a divider. Those details help separate a jewelry presentation carton from a reusable acrylic case or a shipping-only box.
Send the packed piece dimensions, count per display, approximate weight, orientation, insert or card direction, preferred display structure, board direction, print coverage, finish request, artwork status, quantity, and delivery destination. Add a product photograph, dieline reference, or physical sample when the jewelry box is tapered, uneven, or supplied with a pouch. Explain the viewing side, the refill route, the number of facings, and whether the unit travels loaded or folds flat.
The standard fulfillment path starts at 50 units, and production is from 7 business days after digital proof approval. Free US shipping and dieline and proof review are included on the standard path. Pricing remains quote-only because the finished footprint, facings, insert, structure, print coverage, finish, and quantity determine the scoped build. A sample kit carries a $44.99 USD shipping charge credited toward the first order when you need to compare paperboard, print density, surface treatment, or opening feel in hand.
Quote requests are typically answered the same business day and always within 24 hours when that service path applies. Before approval, check the assembled proof for the jewelry piece orientation, front access, visible header, insert fit, fold direction, and required copy. This is where a narrow ring slot, an oversized front lip, or a product name hidden behind a card can be corrected. A well-specified custom jewelry display box connects the real pieces, facings, viewing angle, construction, and route so Easy Box Packaging can prepare a quote-ready dieline without assigning unsupported dimensions or performance claims.
Proof points
The proof should connect the box construction to the actual jewelry arrangement so fit, access, print orientation, and surface direction can be checked together.
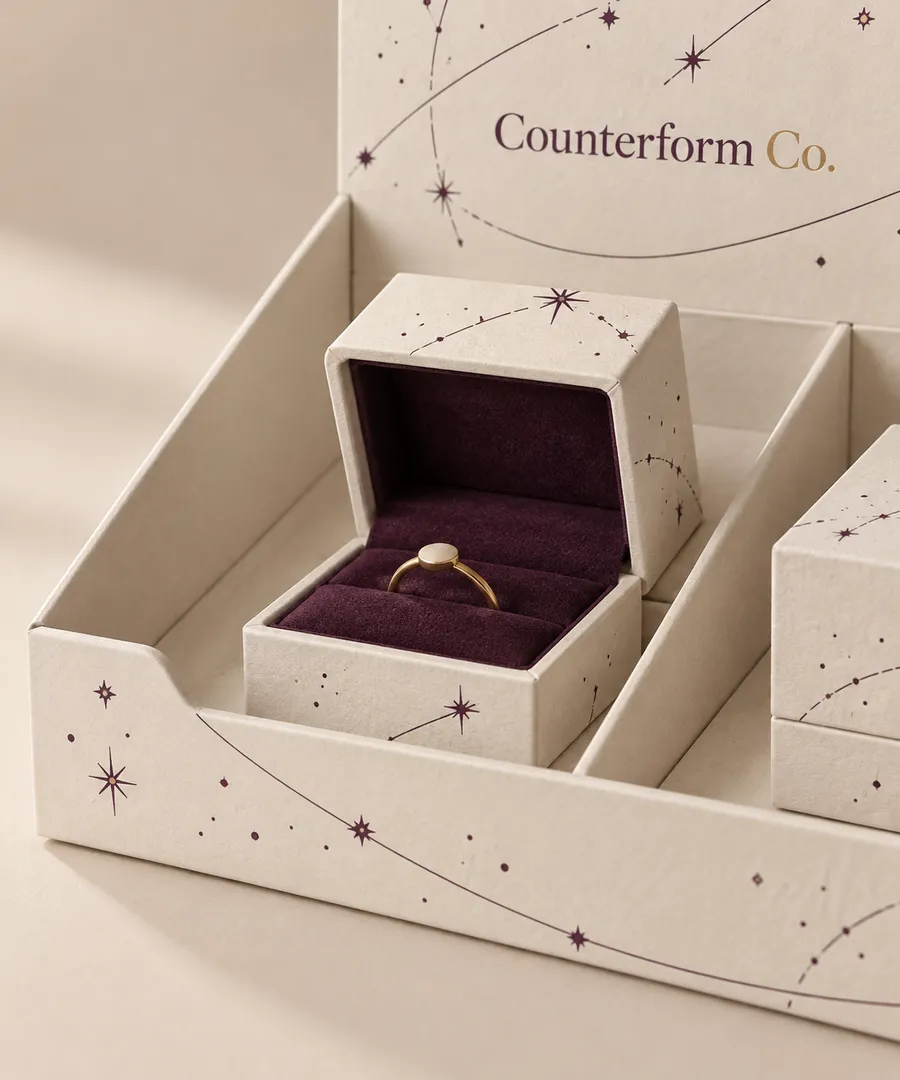
Piece dimensions, number of facings, front access, header height, insert direction, printed panels, and delivery conditions determine whether the display should use a tray, tear-away carton, divider, or fitted support. Share those variables before artwork is treated as final.
Keep ring boxes or small riser slots visible from the customer side while a low front lip supports quick selection and refill.
Use upright card lanes or dividers when pieces need to face forward without overlapping on a shelf or event table.
Group several coordinated facings under a printed header when a seasonal or private-label collection needs one compact retail footprint.
Plan a more enclosed carton, fitted insert, or slower opening when the display is part of a delivered jewelry gift rather than an open counter unit.
The header, front, side, back, and any visible interior form one printed surface system. Map the artwork on the assembled display so reading direction, folds, inserts, and required information remain intentional.
A focused brief connects the jewelry arrangement to the counter or shelf setting before the dieline, insert, and printed surface are finalized.
Provide the length, width, height, weight, piece count, orientation, inner cartons, cards, pouches, and any ring slots or risers.
Identify the customer-facing panel, loading direction, front opening, refill motion, number of facings, and whether the display travels loaded.
State the board direction, print coverage, required copy, finish preference, and information that must remain readable after folding and loading.
A quote is easier to evaluate when the jewelry pieces, facings, display setting, construction, print map, and delivery route are described together.
Provide dimensions, weight, count, orientation, ring slots or cards, inner cartons, pouch details, and photographs or a physical sample.
Identify the shelf, counter, event, handover, or parcel route and the panel customers should see first.
State a starting preference for Kraft Paperboard, SBS Paperboard, Corrugated Board, print coverage, insert style, and finishes if known.
Confirm the footprint, facings, product arrangement, opening direction, header visibility, and artwork placement before digital proof approval.
Need help with structure, materials, or production planning? See how we manufacture custom packaging.
Request a sample kit to compare paperboard and corrugated surfaces, print treatment, insert feel, and opening direction. The $44.99 USD shipping charge is credited toward your first order.
Shipping charge: $44.99. Credited toward your first order.
Request a Sample KitFind clear answers about fit, materials, and ordering below.
Share the packed piece dimensions, weight, count, facings, orientation, display setting, viewing face, preferred structure, insert direction, board, print coverage, finish, quantity, and delivery destination. Photos or a physical sample can clarify an unusual shape.
It can be planned for a mixed set when the sizes, cards or pouches, count, and arrangement are supplied together. A materially different arrangement may need its own divider or dieline.
Category-supported directions include Kraft Paperboard, SBS Paperboard, and Corrugated Board. The suitable choice depends on piece geometry, presentation, storage, handling, and delivery route.
Matte Lamination, Gloss Lamination, Spot UV, Foil Stamping, and Embossing/Debossing are category finish directions. Final suitability depends on artwork scale, stock, folds, inserts, and handling.
Production is from 7 business days after digital proof approval on the standard path. Orders start at 50 units, and free US shipping is available on the standard fulfillment path.
Your final unit price is confirmed in a quote because the finished footprint, number of facings, insert, construction, print coverage, finish, and quantity determine the project specification.
Orders start at 50 units and scale up to 500,000 for bulk runs, with pricing from $0.26 per unit on larger quantities. Standard production is from 7 business days after digital proof approval.
Compare nearby products and request the format that best fits your next run.
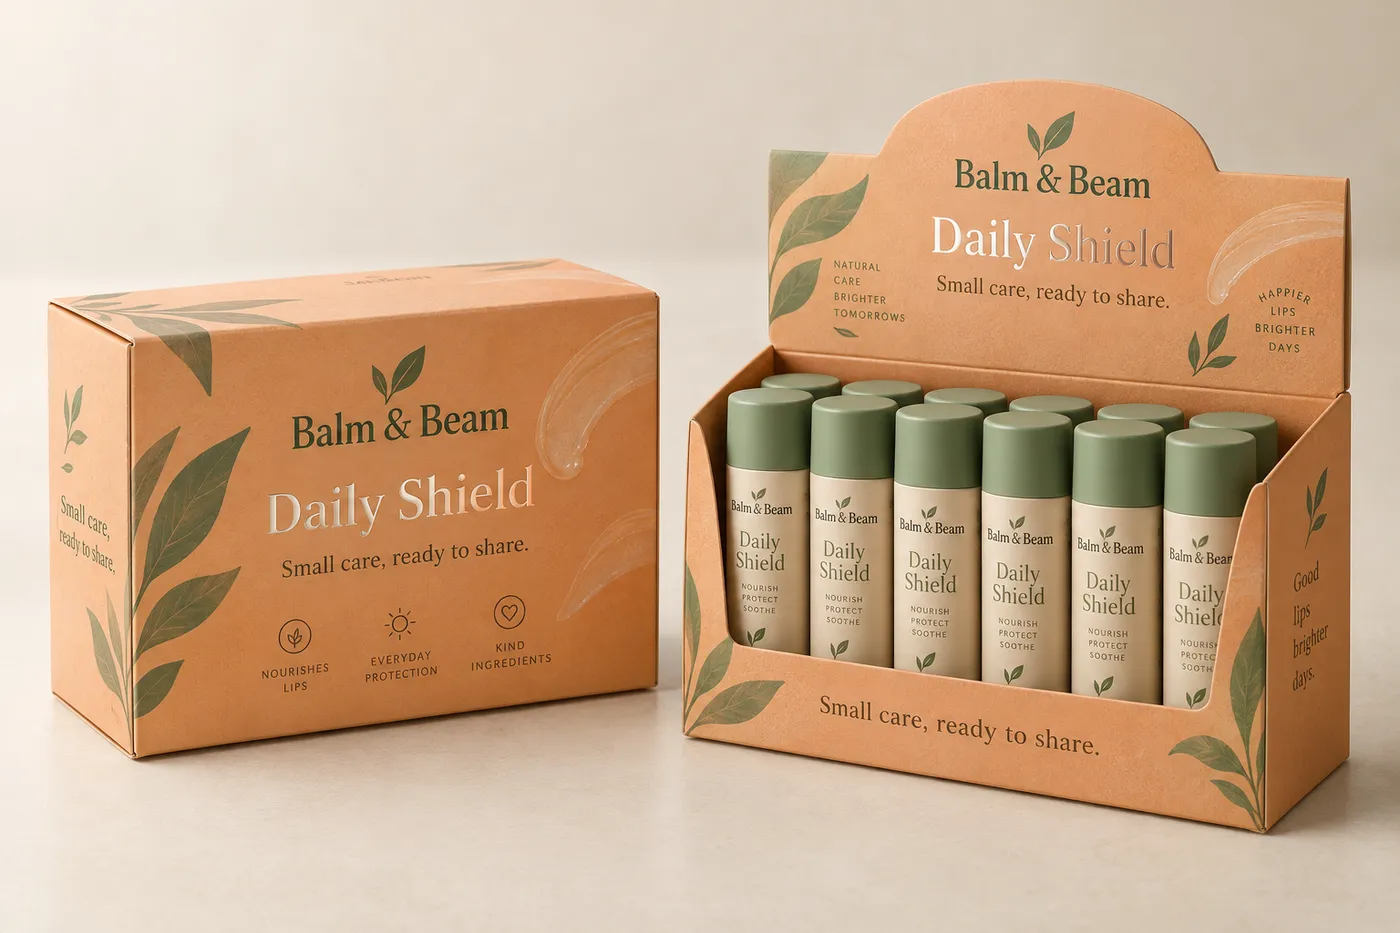
Available product
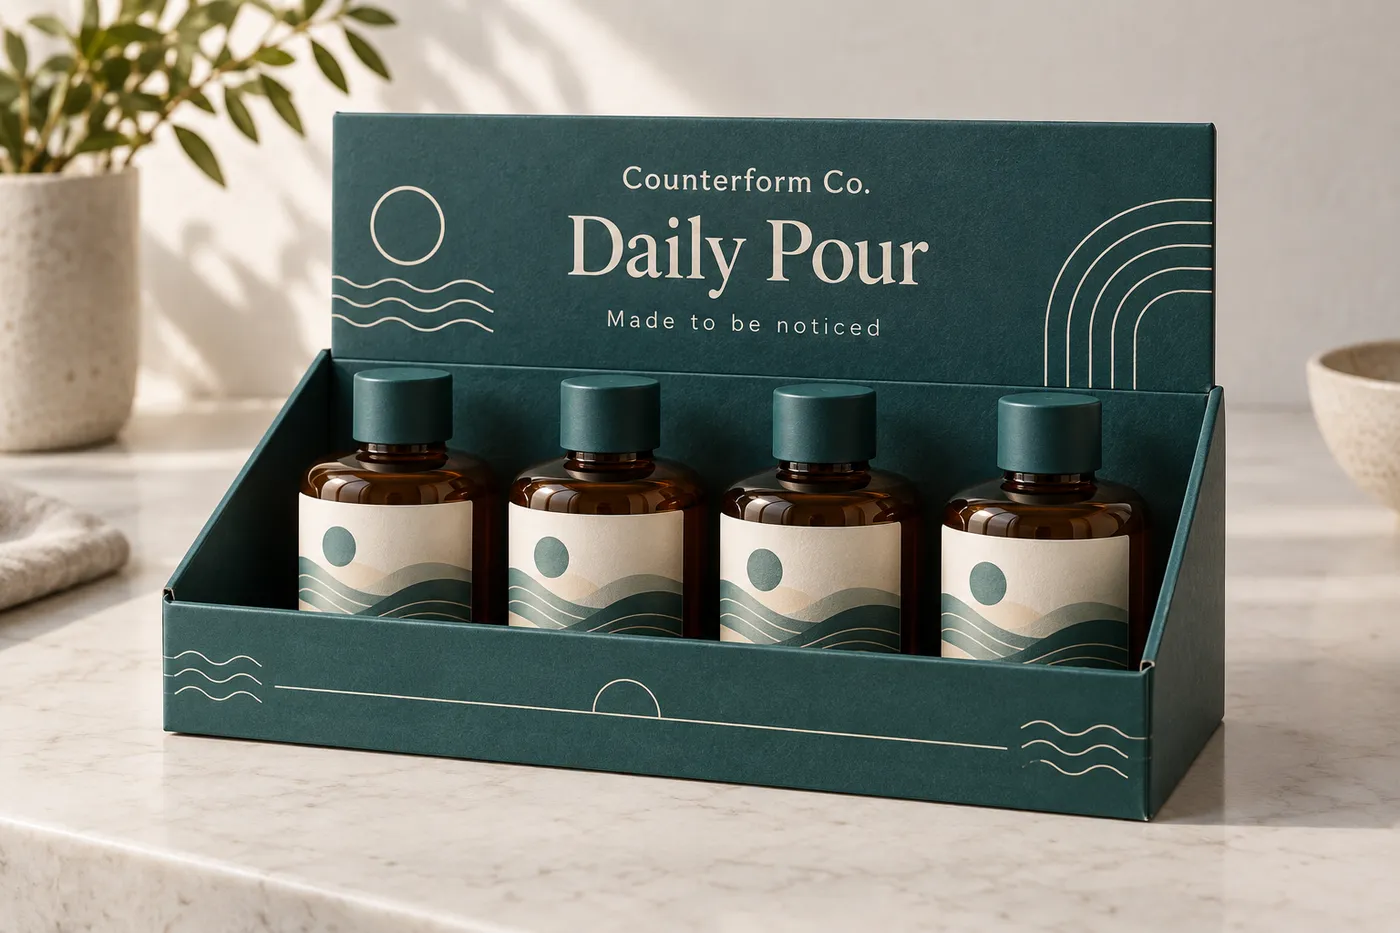
Available product
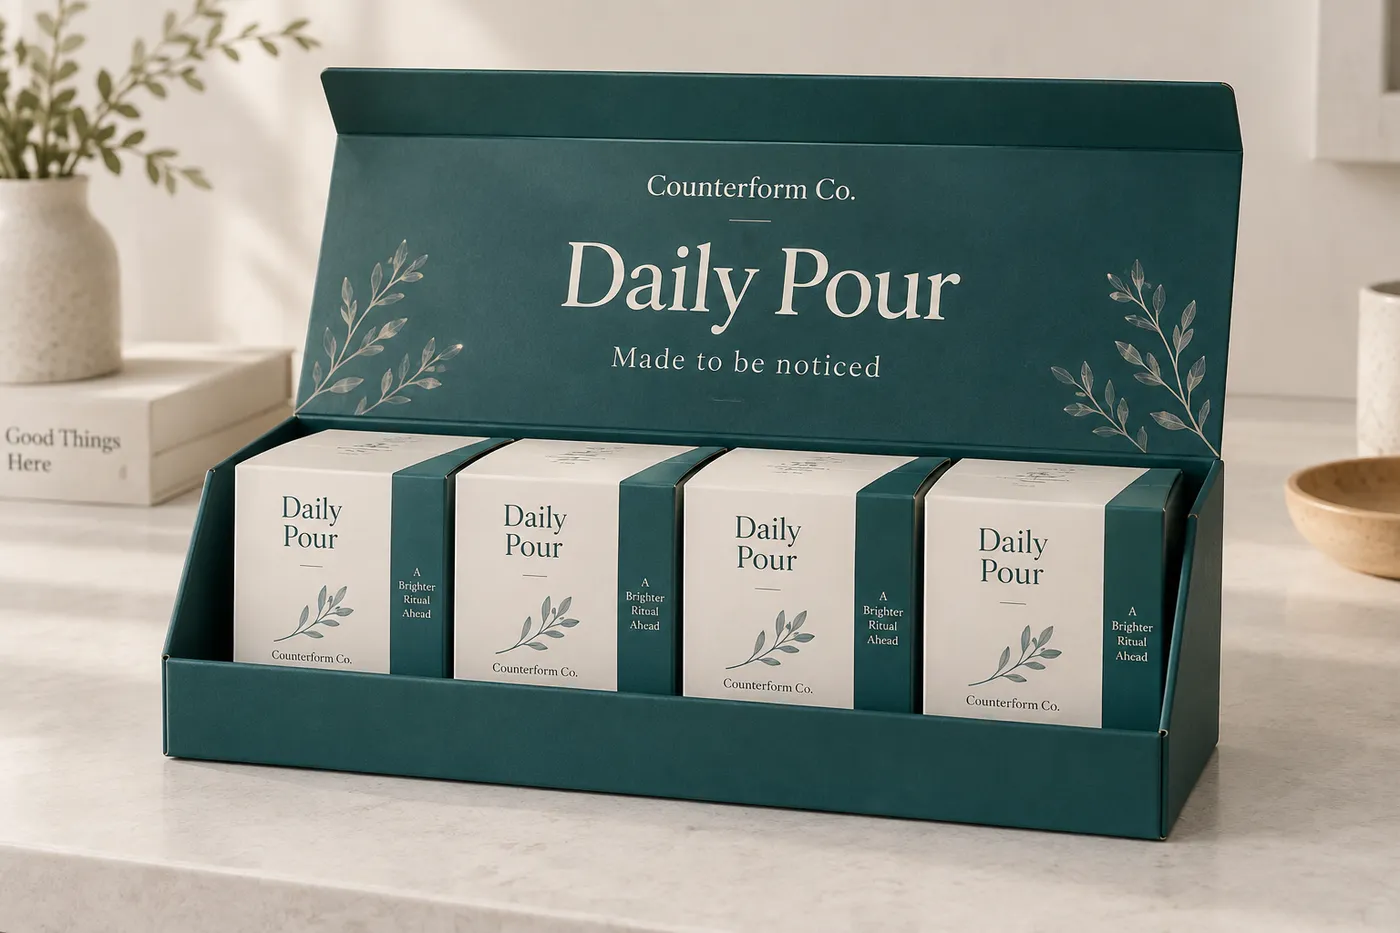
Available product
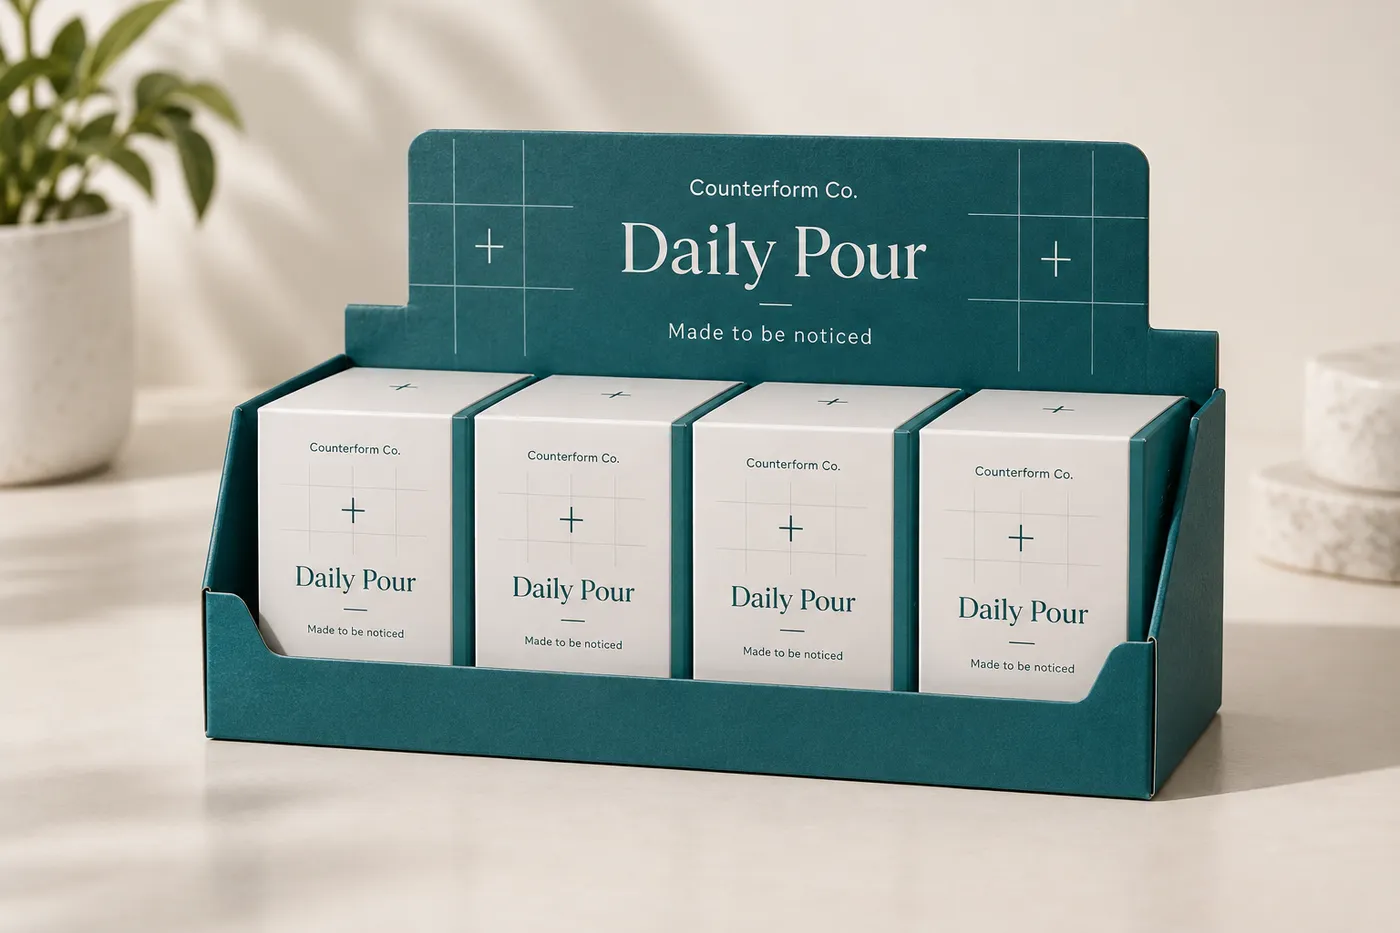
Available product
Plan the jewelry presentation
Send the packed piece details, number of facings, display setting, viewing face, structure, insert direction, artwork status, quantity, and destination. Easy Box Packaging can then review the box, support, and printed surfaces as one quote-ready specification.
Add your product details to see a quote summary.