Bakery and snack silhouettes
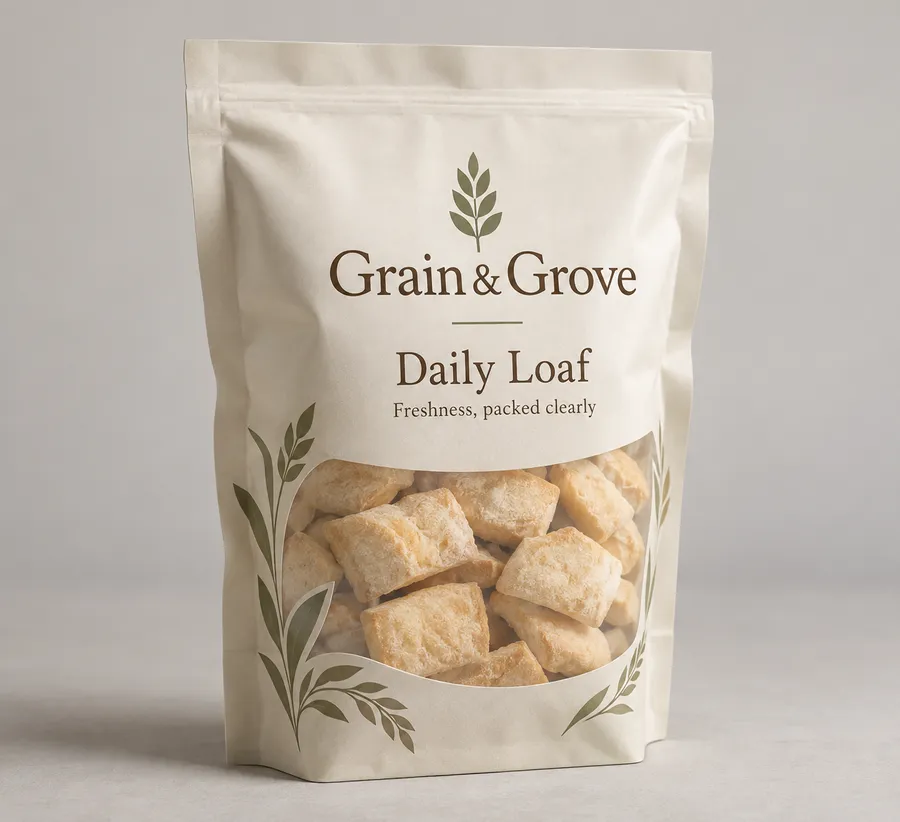
A rounded or arched pouch can frame dry bakery portions, cookies, or snacks while the broad front area carries the product cue and storage information.
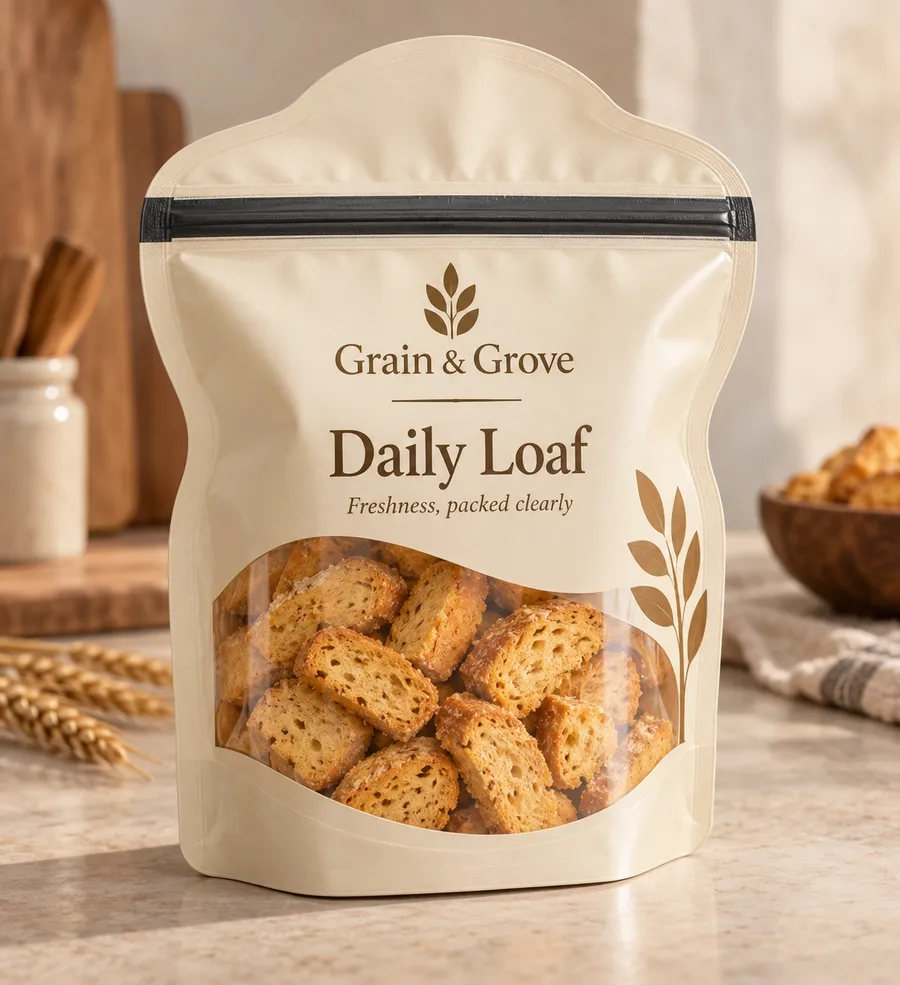
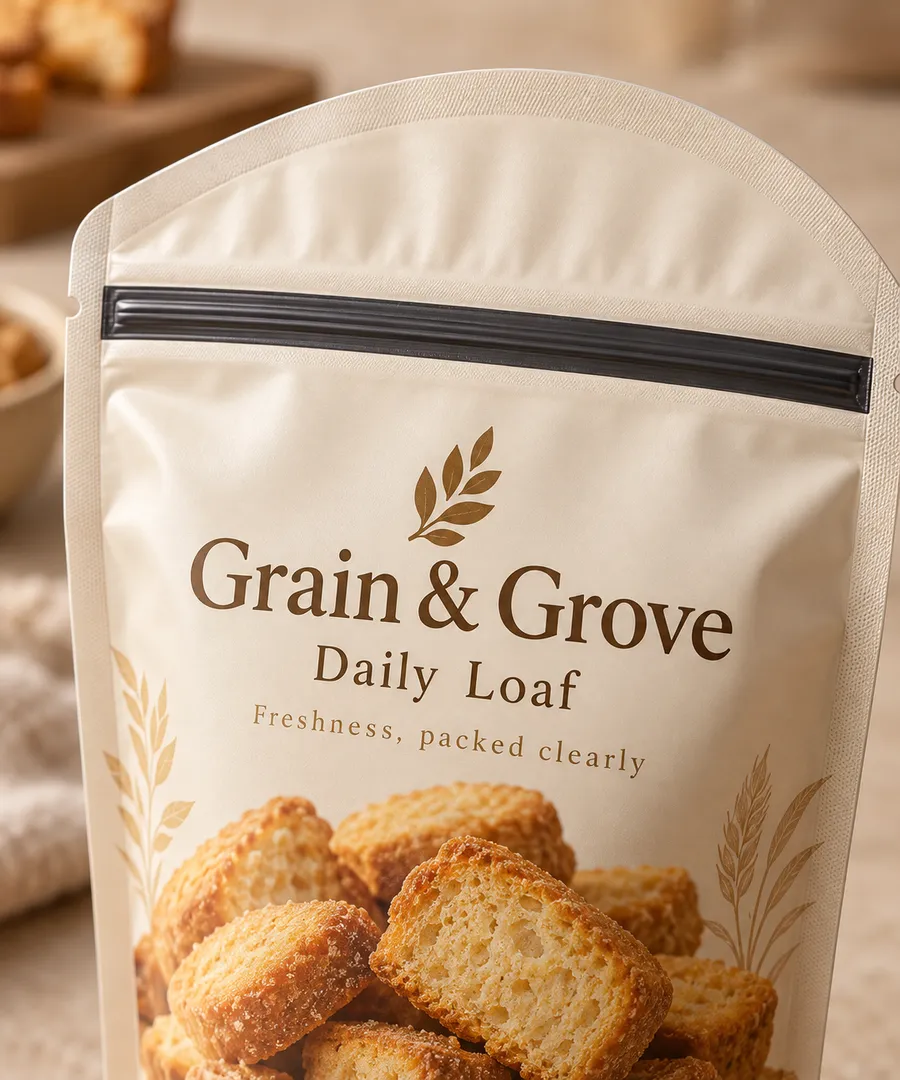
A warm ivory shaped mylar pouch holds golden bakery pieces beneath a printed Grain and Grove front panel.
Mylar Bags
Custom shaped mylar bags are printed flexible pouches cut around a distinctive product silhouette, such as rounded shoulders, an arched top, or a shaped side profile. Choose the opening, gusset, barrier laminate, and print coverage around the filled product, then review the custom dieline and digital proof before production.
Last updated
Working quote
Product brief
Custom shaped mylar bags let a brand move beyond a plain rectangle while keeping the practical benefits of a printable flexible pouch. The shape can follow a rounded snack, a character-inspired outline, a single-serve portion, or a product that needs a distinctive front profile. Begin with the packed product rather than the artwork: share its length, width, height, widest points, soft or rigid edges, approximate weight, and the way it will sit during filling. A shape that looks simple on a screen may need a different seam, gusset, or seal path once it is filled.
The custom dieline is the working map for that decision. It defines the outer silhouette, seal zones, opening edge, zipper or tear notch, gusset folds, hanging feature if required, and the safe areas for print. A shaped pouch can be flat, stand-up, or lightly gusseted depending on the product and the desired shelf position. Keep critical copy away from the side seams and top crimp; curves and narrow shoulders can change the available print panel. The final allowance is confirmed during specification review rather than guessed from a generic bag size.
Send a filled sample, a measured dummy, or a clear dimensioned sketch. Record the packed length, width, height, widest section, narrowest neck or shoulder, weight, product count, and the direction the product should face. Note whether the product is loose, individually wrapped, layered, or paired with an insert or inner wrap. If the pouch will be displayed upright, show the footprint and the point where the filled package should balance. If it will lie flat in a mailer, describe the folded orientation and the seal edge that must remain accessible.
Those details guide the shape, headspace, seal margin, and closure together. A small shape change can move the zipper, alter the bottom gusset, or reduce the area available for ingredients and storage instructions. Where a product has a delicate surface or a dense fill, explain how it will be loaded and removed. Internal support is not chosen from weight alone; geometry, fragility, orientation, presentation, structure, and fulfillment all matter.
Food-grade flexible pouch film is a starting point for dry foods, snacks, bakery items, powders, supplements, and similar products. A metalized or foil barrier laminate may be considered when moisture, aroma, oxygen, or light sensitivity is part of the brief. Polyethylene sealant film can be reviewed for the seal layer, These are construction directions, not a universal shelf-life promise; the recipe, fill temperature, storage route, and intended time in market still need to be discussed.
A zipper can suit a pouch that will be opened and stored repeatedly. A heat-sealed top can fit a single-use route or a pack that needs a tamper-evident opening sequence, while a tear notch can make the first opening easier. The shape, closure, seal width, and filling equipment should be checked as one specification so a narrow shoulder does not interfere with closing the bag.
The front panel should make the silhouette easy to understand: place the brand and product cue where the shape gives them a stable reading area. Use the back for ingredients, allergens, preparation, storage guidance, barcode placement, and other required pack information. Matte lamination can reduce glare across a large illustrated surface; gloss lamination can create a brighter reflective direction; spot gloss or spot UV can call attention to a small logo or contour detail. Metallic ink or a foil accent can be reviewed for selected linework, subject to artwork review.
The pictured print is an example of artwork placement, and your approved brand artwork takes its place once the proof is signed off. A digital proof should be checked for the front silhouette, back-panel reading direction, seal margin, zipper position, gusset folds, and the way the artwork follows the curved edges.
The standard fulfillment path starts at 50 units. Production is from 7 business days after digital proof approval, free US shipping is included on the standard path, and dieline and proof review are included at no extra charge. Quote requests are typically answered the same business day and always within 24 hours. Pricing stays quote-only because the finished shape, dimensions, film structure, closure, print coverage, finish, and quantity change the actual cost.
For a useful quote, send the filled dimensions, approximate weight, product count, loading method, preferred opening, barrier concerns, destination, quantity, and artwork status. Mark any window, tear notch, zipper, hanging hole, gusset, or seal requirement. A sample kit has a $44.99 USD shipping charge credited toward the first order, which can help compare film feel, opacity, seal behavior, and finish before committing to a custom run.
Custom shaped mylar bags can suit bakery portions, dry snacks, confectionery, pet treats, powders, supplements, and small-batch pantry products when the package silhouette is part of the product cue. They can also frame a seasonal shape, a mascot-like outline, or a portion that needs a clear front-facing orientation. The correct construction changes with the filled geometry and handling route, so the shape should be treated as a packaging decision rather than an ornament added after the artwork is finished.
A clear brief prevents common mismatches: a curve that consumes the readable panel, a zipper that lands on a narrow shoulder, or a gusset that changes the way the filled bag stands. Define the actual product, then let the dieline and proof show how the silhouette, closure, barrier, and artwork work together before production.
Proof points
The digital proof should show the filled shaped pouch and the artwork on the assembled profile. Compare the silhouette, closure, seal margin, orientation, and finish placement with the product brief.
Start with the filled product and the moment it is handled. The silhouette, seal path, closure, barrier, and printed panels should make the package distinctive without putting important information on a curve, fold, zipper, or crimp.
A rounded or arched pouch can frame dry bakery portions, cookies, or snacks while the broad front area carries the product cue and storage information.
A shaped edge can support a seasonal outline or illustrative character-like profile when the filled dimensions and seal path are supplied before artwork is finalized.
A stand-up or lightly gusseted shape can present treats, granola, spices, or other dry portions with a closure matched to repeat opening or single-use handling.
A custom silhouette can organize a small powder or supplement portion when the barrier, seal, filling route, and required back-panel information are defined together.
Map artwork on the filled profile so the brand, product cue, ingredients, storage guidance, and required information remain readable when curved edges, seams, and seals are visible.
A shaped bag is reviewed as an assembled package rather than a flat outline. Product geometry, filling route, orientation, closure, barrier, and print-safe areas all affect the practical specification.
Provide the packed length, width, height, widest section, narrow shoulders or curves, weight, count, and intended facing so the dieline follows the real product.
A zipper, tear notch, or heat-seal route should be placed where the filled shape can open and close without crossing a narrow shoulder or unstable edge.
Reserve the broadest stable area for the brand and product cue, then place ingredients, storage guidance, barcode, and required information away from seams and folds.
A useful quote starts with the filled product and the way it will be filled, opened, stored, and displayed. These steps turn that routine into a shaped pouch specification that can be checked before production.
Provide packed length, width, height, widest points, narrow shoulders or curves, product count, approximate weight, and any unusual surface or decoration.
State whether the pouch will stand, lie flat, hang, ship inside an outer mailer, or be opened repeatedly, and identify the preferred closure.
Mark the front, back, curved edge, gusset, seal, zipper, barcode, ingredient, allergen, and storage-information zones in the artwork or brief.
Check the silhouette, film direction, closure position, seal margin, print orientation, and finish placement on a filled-product proof.
Need help with structure, materials, or production planning? See how we manufacture custom packaging.
A sample kit carries a $44.99 USD shipping charge credited toward your first order, useful when you need to compare film feel, opacity, seal behavior, and finish direction before approving a custom shaped mylar bag.
Shipping charge: $44.99. Credited toward your first order.
Request a Sample KitFind clear answers about fit, materials, and ordering below.
Send the packed length, width, height, widest and narrowest points, approximate weight, product count, and any unusual curves or decoration. Include how the bag will stand, lie flat, ship, and be opened, plus any inner wrap or insert that shares the pouch.
Yes, the opening route is selected around the filled silhouette and handling routine. A zipper can suit repeat opening, while a heat seal can fit a single-use route; a tear notch can be considered with either option.
Artwork can be mapped across front, back, selected shaped edges, and seal-safe zones. Keep ingredients, allergen notes, storage guidance, and barcode information away from folds, seams, zipper tracks, and the top crimp.
No universal shelf-life result should be assumed. Film and barrier selection depend on the product recipe, moisture, aroma, oxygen or light sensitivity, filling temperature, and storage route, so those variables should be reviewed with the actual product.
The standard fulfillment path starts at 50 units. Production starts from 7 business days after digital proof approval; the final schedule is confirmed with the quote and proof.
Orders start at 50 units and scale up to 500,000 for bulk runs, with pricing from $0.25 per unit on larger quantities. Standard production is from 7 business days after digital proof approval.
Common uses include bakery and snack silhouettes, seasonal or character-inspired packs, pet treats and pantry portions, and powders and supplements. The final specification is set by the packed product and how it will be handled.
Compare nearby products and request the format that best fits your next run.
Available product
Available product
Available product
Available product
Shape the product story
Send the filled dimensions, weight, product count, closure preference, handling route, artwork status, barrier concerns, and finish direction. Easy Box Packaging can then review the shape, film, seal-safe print map, and proof as one quote-ready specification.
Add your product details to see a quote summary.