Sneaker launches
Keep a pair visible through a window or above a low front lip while the back panel carries the collection story.
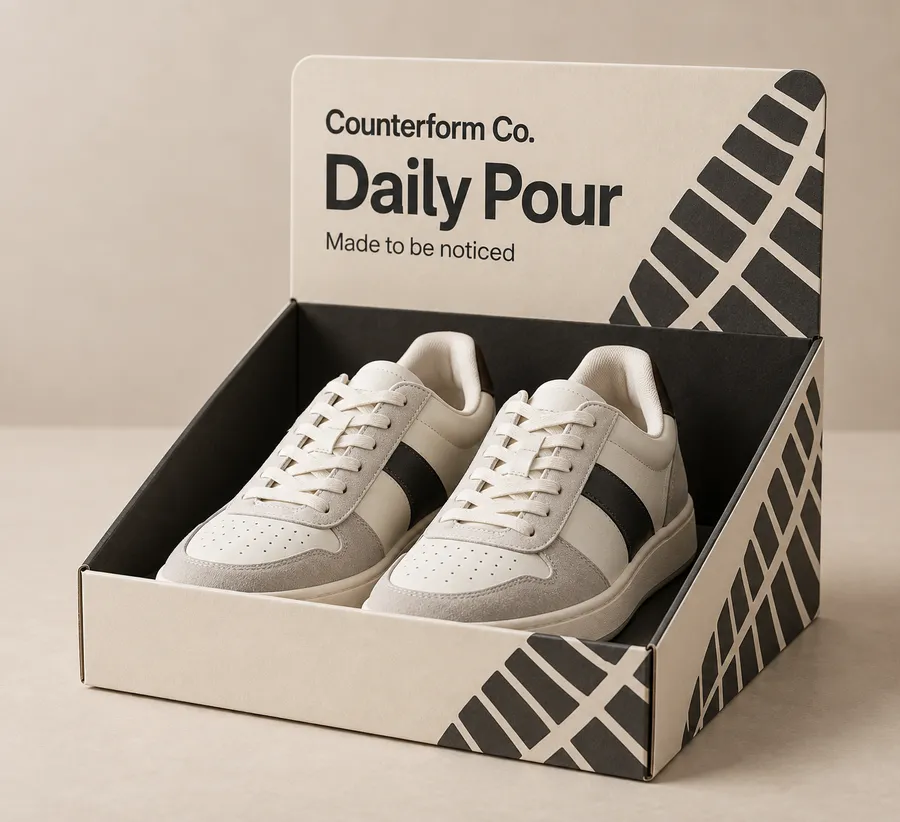
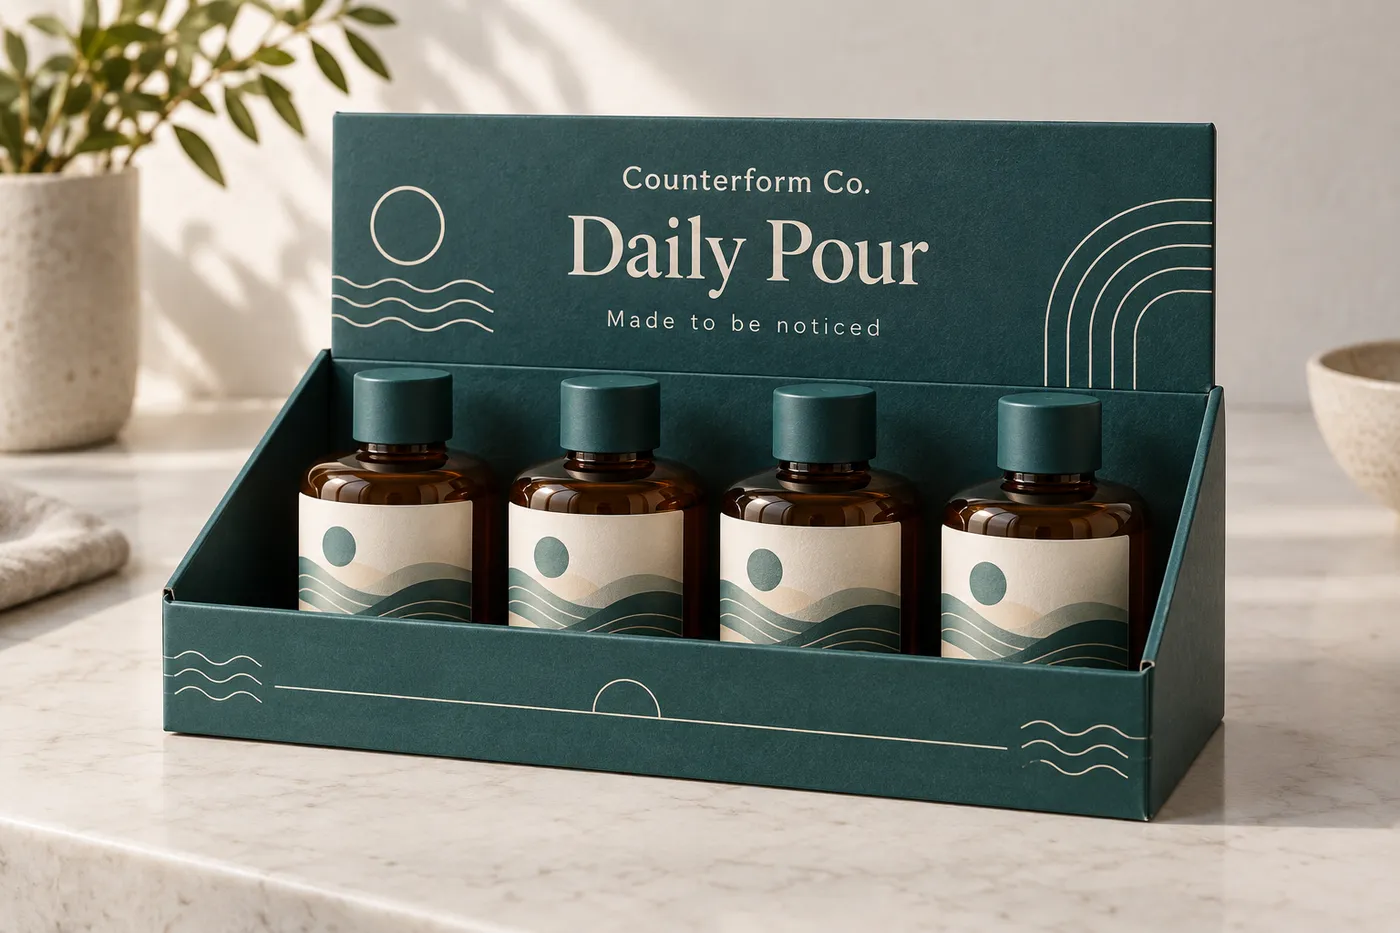
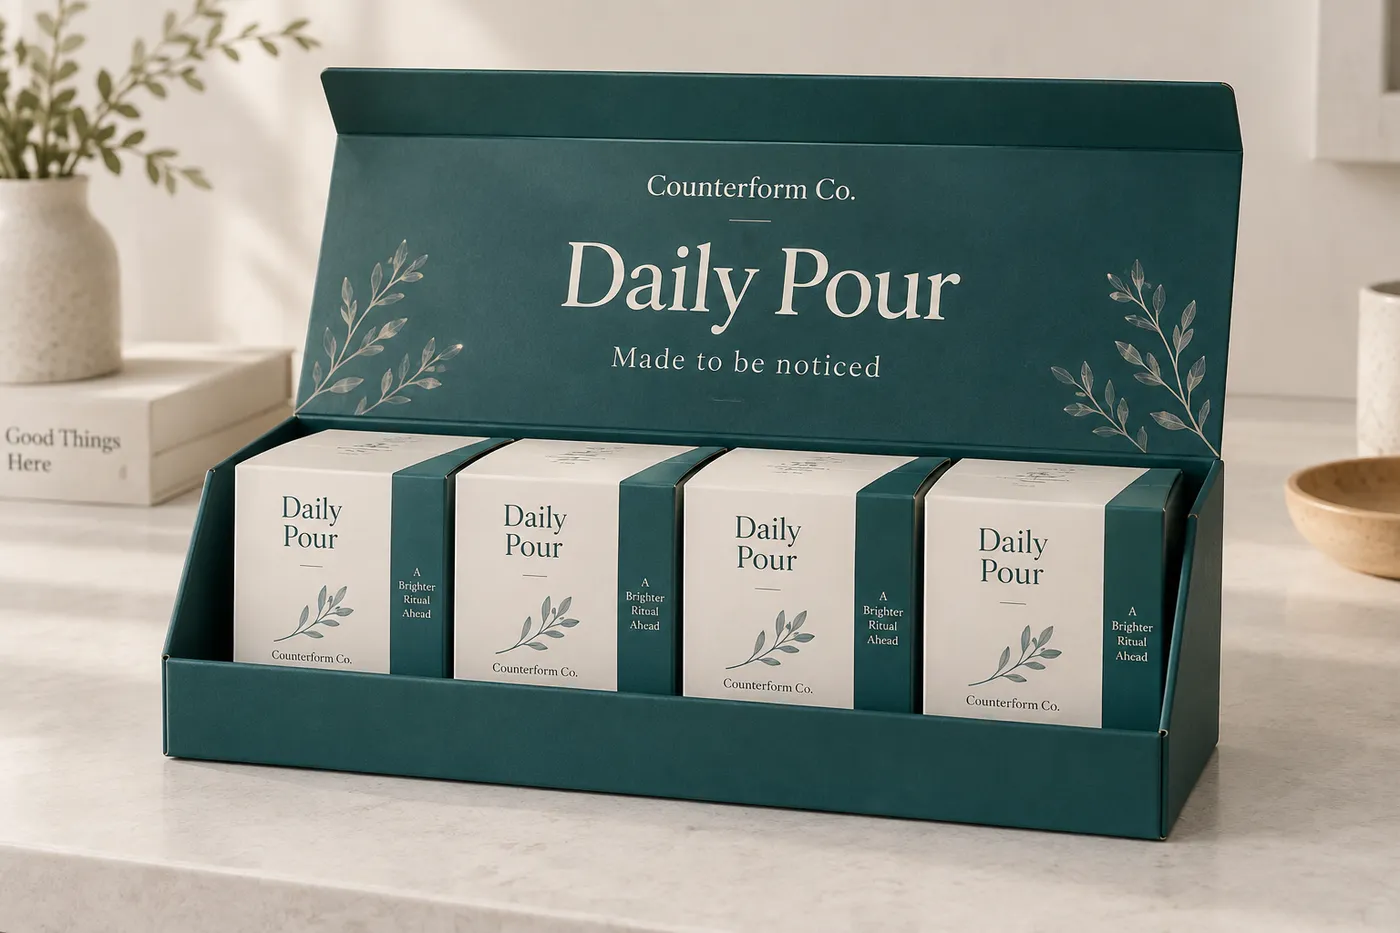
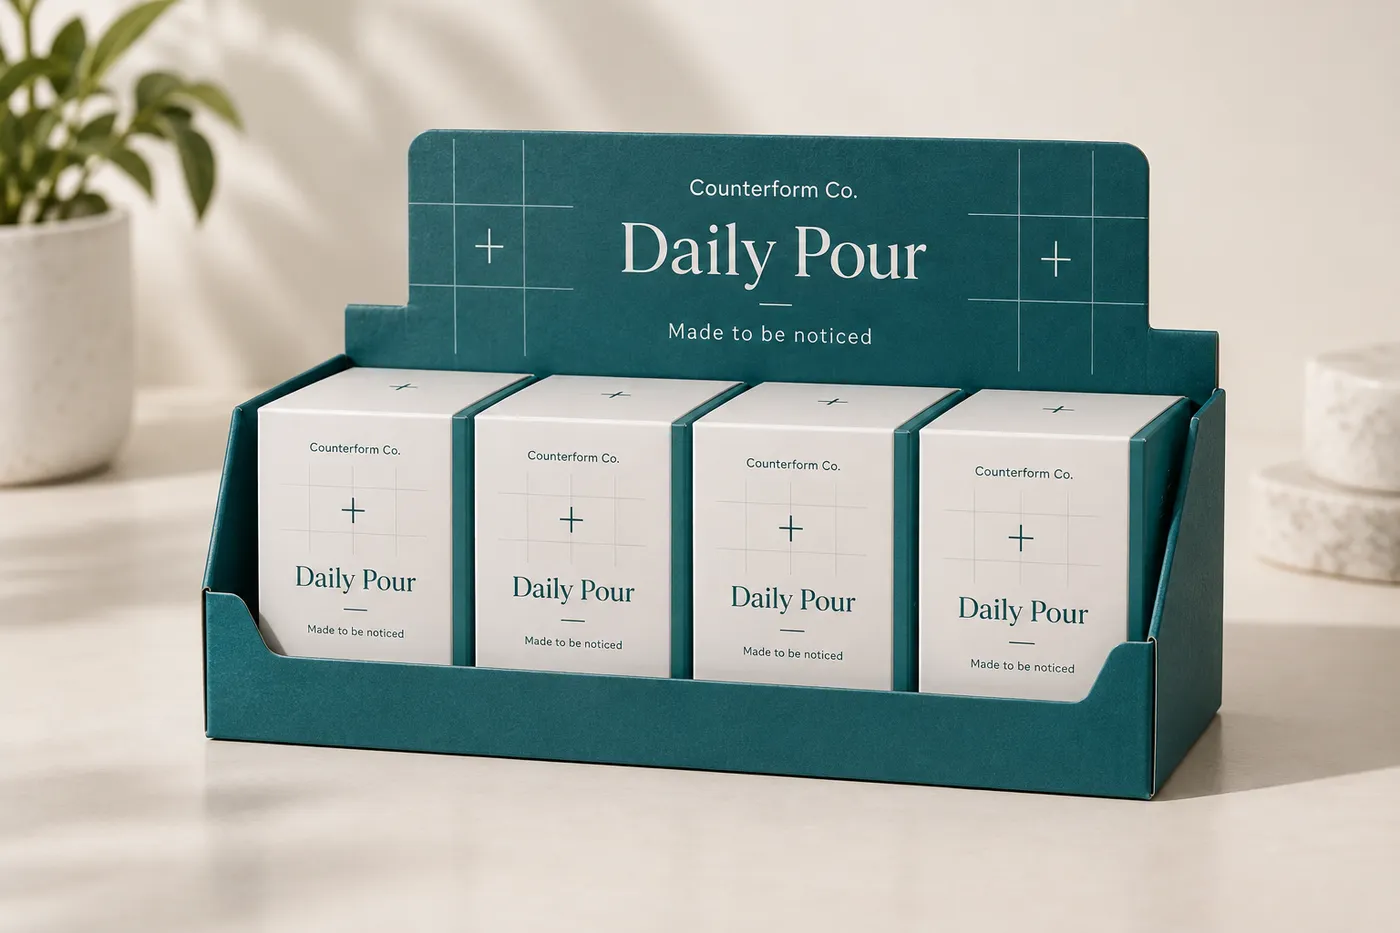
Counterform Co. Daily Pour shoe display box with a pair of low-top sneakers in a printed open-front tray.
Display Boxes
Custom shoe display boxes keep footwear oriented toward the shopper while giving a shelf, counter, or event table a defined printed footprint. Share the shoe's packed dimensions, pair count, viewing angle, access opening, board preference, artwork status, quantity, and delivery route so the display can be reviewed around the actual footwear.
Last updated
Working quote
Product brief
A shoe display box has two jobs: keep the footwear in a readable position and give the printed pack a clear face for the shopper. Start with the setting. A countertop tray may need an open front for quick access, while a window carton can keep a pair enclosed but visible on a retail shelf. A raised back panel can carry the brand story, but its height and angle should be considered with the shoe profile so the toe, heel, and key details remain visible. The useful structure follows the footwear, not a generic box name.
Describe the actual product before choosing the format. Record the shoe's finished length, width, height, widest points, sole profile, heel or ankle height, lace or strap projections, and any tissue, sockliner, or inner card that stays with the pair. State whether one shoe, a pair, or a multi-size presentation faces the shopper. Include the direction each shoe should point, the panel that must remain readable, and whether the pair needs an insert or divider. This keeps the quote tied to the real product rather than to an assumed stock footprint.
Measure the pair in the arrangement that will be loaded. Include a shoe tree, tissue wrap, paper insert, heel support, or divider if one remains inside the finished display. Note the tallest ankle point, the widest outsole, the clearance needed for a hand to remove a shoe, and the room needed for replenishment. If the display travels loaded, describe the shipping route and whether it sits inside a second carton. Those details affect the base, front lip, insert, and closure.
The outside dimensions are not the usable interior. Board folds, seams, a window margin, a front ledge, and support pieces occupy space. A low sneaker pair and a high-top pair can need different dielines even if their shelf width looks similar. The assembled proof should show the intended pair, not only a flat artwork sheet. Check the opening direction, score lines, cut edges, viewing window, heel support, and reading order before production.
Kraft Paperboard can support a natural printed direction, SBS Paperboard offers a smooth face for small type and saturated artwork, and Corrugated Board can be considered when the packed pair or delivery route calls for more structure. Those are category directions, not a promise of a particular gsm, flute, load rating, or footwear-performance approval. The shoe's weight, sole rigidity, center of gravity, shelf position, storage space, and whether the box travels loaded determine the suitable construction.
An open-front tray makes replenishment quick; a raised back panel creates a taller brand area; a window carton protects the pair while keeping its shape visible; and a folded support can keep the heel from rotating. A fitted insert may separate left and right shoes or hold an accessory, but its layout should follow the actual outsole and loading motion. Do not assume a universal insert or transit rating before the finished geometry is reviewed.
Put the footwear name and primary brand cue on the panel a shopper sees after loading. Use the back or side panels for size-range notes, materials, care information, barcode space, or a short collection description. Keep critical copy away from scores, cut edges, windows, and ledges that could hide a word. A digital proof can show when the shoe blocks artwork or when the opening reverses the reading order.
Matte Lamination and Gloss Lamination can be considered for the printed surface. Spot UV, Foil Stamping, and Embossing/Debossing can emphasize one mark or line of type. Finish choices remain subject to stock, artwork scale, fold placement, and handling. The printed example in the images shows print placement only. Production artwork should use the buyer-approved footwear brand and required information.
Send the packed shoe dimensions, pair count, approximate weight, orientation, sole and ankle projections, window or open-front preference, board direction, print coverage, finish request, artwork status, quantity, and delivery destination. A product photograph or physical sample helps when the shoe is high-top, tapered, articulated at the ankle, supplied with laces, or packed with a separate accessory. Explain whether the display is stocked on a shelf, handed over at an event, shipped inside a master carton, or mailed with the shoes already loaded.
The standard fulfillment path starts at 50 units, and production is from 7 business days after digital proof approval. That 50 units baseline is a quoting starting point, not a fixed display dimension. Free US shipping, dieline and proof review, and quote responses within 24 hours are approved service facts for the standard path. Pricing remains quote-only because the final footprint, construction, print coverage, finish, and quantity determine the specification. A sample kit can be requested when you need to compare material and finish direction in hand; its shipping terms should be confirmed for the project.
Review the shoe display box as a filled package. Check that the pair sits in the intended orientation, the front opening or window remains practical, the outsole and upper are not obscured, and every fold, seam, insert, and closure follows the approved route. Confirm the product name, size or collection information, and finish placement on the assembled view. This final check connects presentation to the real geometry and prevents an attractive flat layout from becoming a confusing finished pack.
A well-specified custom shoe display box connects the footwear, viewing angle, construction, printed panels, and delivery route. When those decisions are supplied together, Easy Box Packaging can turn the brief into a quote-ready dieline and proof without assigning unsupported dimensions, prices, or performance claims.
Proof points
The proof should connect the box construction to the actual footwear so fit, opening, print orientation, and surface direction can be checked together.
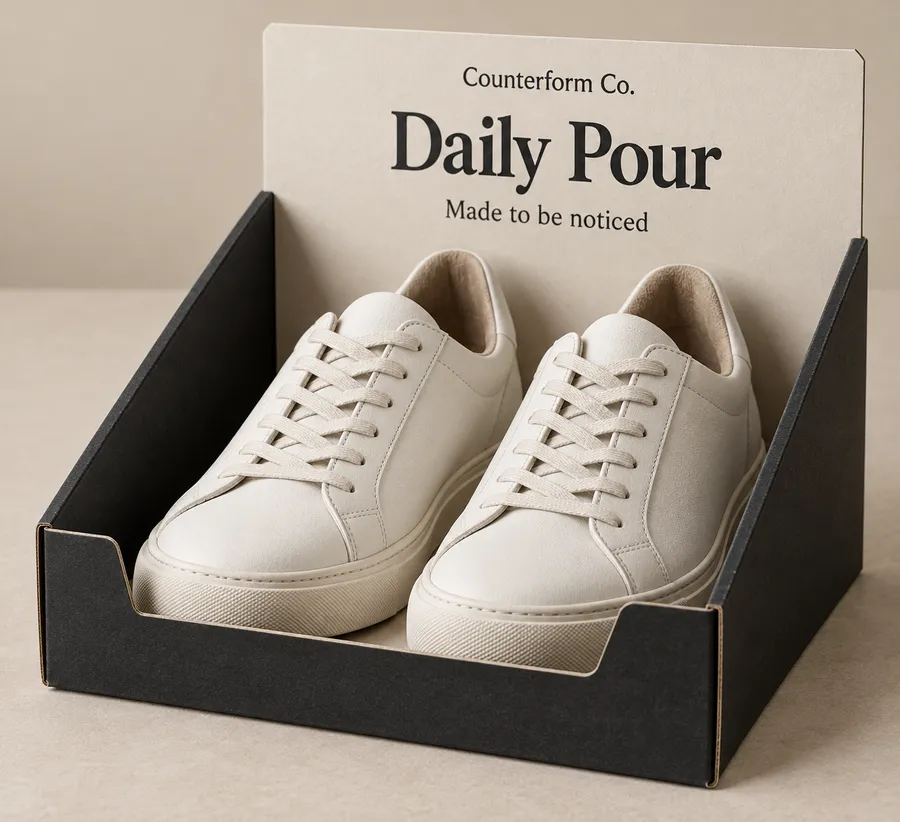
The pair's footprint, viewing face, opening route, board direction, printed panels, and delivery conditions determine whether the display should use a window carton, tray, back panel, or fitted support. Share those variables before artwork is treated as final.
Keep a pair visible through a window or above a low front lip while the back panel carries the collection story.
Use a taller back panel or support when ankle height and shaft shape need to stay upright without hiding the printed face.
Organize a pair with a fitted support and a readable front panel where the shopper can inspect the silhouette.
Plan a multi-size or accessory arrangement, printed campaign message, and replenishment route for a limited run or event display.
The front, side, back, window surround, and any visible interior form one printed surface system. Map the artwork on the assembled box so reading direction, folds, opening, and required footwear information remain intentional.
A focused brief connects the construction to the footwear and setting before the dieline and printed surface are finalized.
Provide finished length, width, height, weight, pair count, sole profile, ankle height, and any tissue, insert, or accessory.
Identify the panel shoppers should see, the loading direction, the front access, and whether the box travels loaded.
State the board direction, print coverage, required copy, finish preference, and information that must remain readable.
A quote is easier to evaluate when the footwear, display setting, construction, print map, and delivery route are described together.
Provide dimensions, weight, pair count, sole and ankle profile, accessories, fragile projections, and photographs or a physical sample.
Identify the shelf, counter, hanging, event, or parcel route and the panel shoppers should see first.
State a starting preference for Kraft Paperboard, SBS Paperboard, Corrugated Board, print coverage, and finishes if known.
Confirm the footprint, pair arrangement, opening direction, panel orientation, and artwork placement before digital proof approval.
Need help with structure, materials, or production planning? See how we manufacture custom packaging.
Request a sample kit to compare paperboard and corrugated surfaces, print treatment, and opening feel. Confirm the current sample-kit shipping terms for your project.
Shipping charge: $44.99. Credited toward your first order.
Request a Sample KitFind clear answers about fit, materials, and ordering below.
Share the packed pair dimensions, weight, count, sole and ankle profile, display setting, viewing face, preferred structure, board direction, print coverage, finish, quantity, and delivery destination. Photos or a physical sample can clarify an unusual shape.
It can be planned for a pair, inserts, or accessories when the sizes, count, orientation, and arrangement are provided together. A materially different arrangement may need its own dieline.
Category-supported directions include Kraft Paperboard, SBS Paperboard, and Corrugated Board. The suitable choice depends on footwear geometry, presentation, handling, and the delivery route.
Matte Lamination, Gloss Lamination, Spot UV, Foil Stamping, and Embossing/Debossing are category finish directions. Final suitability depends on artwork scale, stock, folds, and handling.
Production is from 7 business days after digital proof approval on the standard path. Orders start at 50 units, and free US shipping is available on the standard fulfillment path.
Your final unit price is confirmed in a quote because the finished footprint, construction, print coverage, finish, and quantity determine the project specification.
Orders start at 50 units and scale up to 500,000 for bulk runs, with pricing from $0.28 per unit on larger quantities. Standard production is from 7 business days after digital proof approval.
Compare nearby products and request the format that best fits your next run.
Available product
Available product
Available product
Available product
Plan the footwear presentation
Send the packed pair details, display setting, viewing face, construction direction, artwork status, quantity, and destination. Easy Box Packaging can then review the box, support, and printed surfaces as one quote-ready specification.
Add your product details to see a quote summary.