
Jump to section7 sections
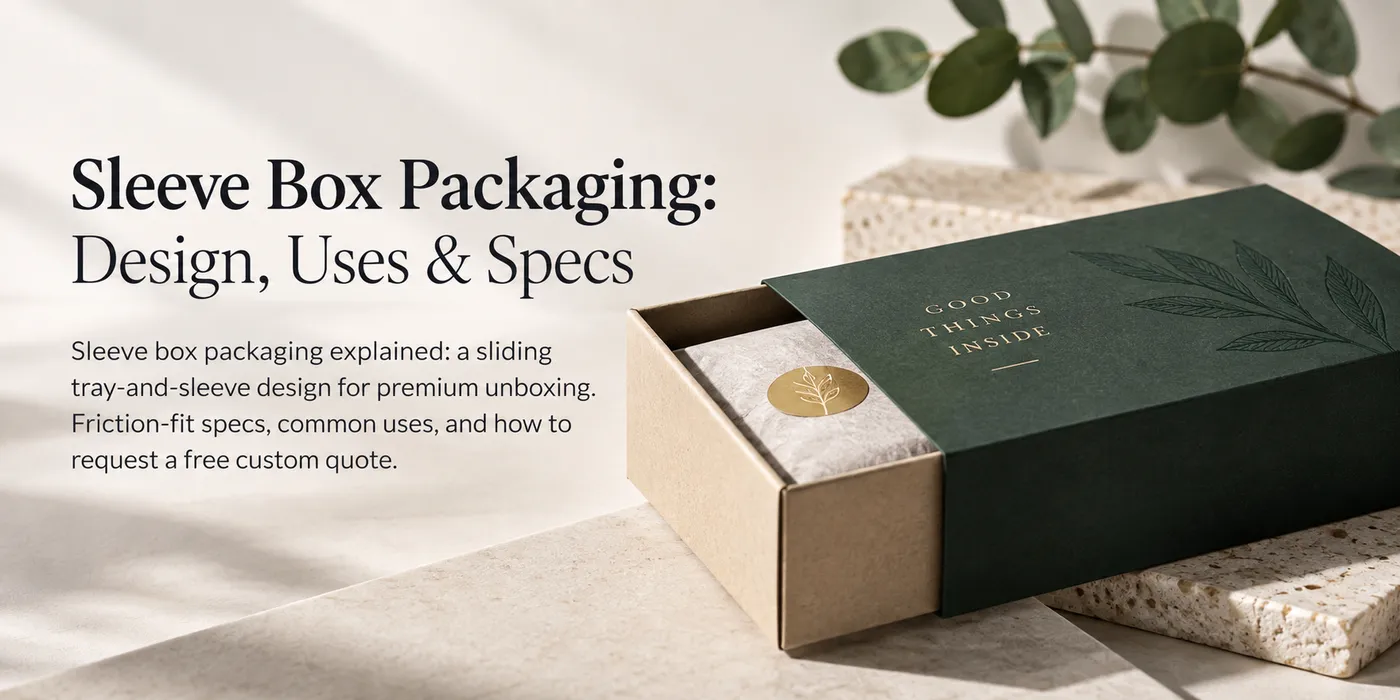
A sleeve box (also called a slide-out or drawer box) is built from two pieces. An inner tray holds the product. An outer sleeve slides over the tray like a cover. You reveal the product by pulling the tray out, the way you'd slide a matchbox open. It's one of the more deliberate unboxing formats in packaging. The reveal takes a few extra seconds on purpose, and that pause is what makes customers pay attention.
This guide covers how sleeve box packaging is actually built. We'll walk through where rigid and folding-carton versions differ. We'll also cover the measurements behind a good friction-fit slide, and when this format earns its cost. For the full list of structural terms this one belongs to, see our packaging glossary.
What is sleeve box packaging?
Picture two pieces. The first is a simple open-top tray, usually with four short walls. It's sized to hold the product with a little padding. The second piece is the sleeve: a four-sided tube, open on both ends. It's sized to slip over the tray with almost no gap.
Push the tray all the way in, and the sleeve hides it completely. All you see from outside is the sleeve's printed exterior. Pull on the tray's base — or a ribbon tab glued to the tray floor. It slides out smoothly, drawer-style, and exposes the product inside.
That's the whole mechanism: a tray sliding inside a tube. Everything else is about controlling how that one motion feels in someone's hands — materials, finish, and tolerances.
Rigid sleeve vs folding carton sleeve
Both versions use the same two-piece idea. The material is what changes how the box feels and costs.
A rigid sleeve box wraps thick chipboard, commonly in the 2–4mm range. A printed paper or fabric stock gets glued over it. The walls don't flex. This is the format you see on premium electronics, high-end cosmetics sets, and keepsake rigid box packaging. The core material is the same chipboard used in most rigid box construction. It holds its shape under weight and resists denting. It also ships flat-assembled rather than flat-packed, which adds freight cost and storage volume.
A folding carton sleeve uses thinner coated paperboard, similar to a tuck-end box. It's die-cut and scored to fold flat for shipping, then assembled at the packing line. It's lighter and cheaper per unit, and it ships flat. The walls have some give, though. The solid "snap" a rigid sleeve gives when it settles into place isn't quite there.
Neither format wins across the board for sleeve box packaging. A supplement brand running high volume usually wants the folding carton version. The shipping and cost math favors it. A jewelry or watch brand selling a $200+ item usually wants rigid instead. The extra weight in a customer's hand is doing marketing work on its own.
Common uses
Sleeve box packaging shows up most often where a brand wants the unboxing itself to feel considered:
- Cosmetics — a lipstick or compact set where the sleeve carries the brand graphics. The tray cradles the product in a cutout.
- Electronics — earbuds or small accessories where a rigid sleeve signals this isn't a commodity item.
- Gift boxes — holiday or corporate gift sets where the slide-out reveal is part of the gifting moment itself.
- Subscription boxes — recurring boxes that want one consistent, premium "open" ritual without a full redesign every month.
The common thread across all four is price point. Nobody builds a sleeve box for a $5 item — the tooling and assembly cost doesn't pencil out. Once a product sells north of $25 to $30, the ceremony starts paying for itself. It builds perceived value, repeat purchase intent, and shareable unboxing moments.
Key measurements
Three numbers decide whether sleeve box packaging slides well or jams on day one.
Friction-fit clearance. The sleeve's inside dimension needs to sit slightly smaller than the tray's outside dimension. A common target is around 1/16 inch, or roughly 1.5mm. That small gap gives just enough resistance for a controlled slide. Too much clearance and the sleeve rattles loose; too little and it jams.
Tray height. The tray wall is normally built shorter than the sleeve's open edge. A typical margin runs about 1/4 to 1/2 inch. That lip stops the product from clearing the sleeve on a single pull. It's a deliberate pacing choice: the reveal happens in two motions instead of one.
Finish and friction. Matte or soft-touch lamination adds drag, so the slide feels slower and more weighted. Gloss lamination cuts friction, so the tray glides faster and lighter. The same tray-and-sleeve dimensions can feel completely different depending on the finish on the sleeve's interior.
One thing worth testing before a production run: fit the sleeve to a loaded tray. Never test against an empty sample. A product can bulge the tray wall by even a millimeter. Tissue paper, a padded insert, or a slightly oversized jar can all do it. A tight friction-fit sleeve can jam once that happens during assembly. It's a common, avoidable failure point in sleeve box packaging. I've seen brands spec a sleeve against an empty tray. The packing line then can't close it once it's full. Testing a filled sample before production catches this early.
Sleeve box vs standard two-piece rigid vs tuck end
Sleeve box | Standard two-piece rigid | Tuck end carton | |
|---|---|---|---|
Unboxing experience | High — deliberate slide reveal | High — lid lift, full product view | Low — flap opens, functional |
Cost per unit | Medium-high | High | Low |
Typical MOQ | Medium | Medium-high | Low |
Speed to hand-pack | Slower (friction-fit assembly) | Slower (lid placement) | Fast |
The tuck end wins on cost and packing speed every time. Among structural formats, sleeve box packaging sits in the middle. It's more memorable than a tuck end. It's also usually cheaper and faster to assemble than a full lid-and-base rigid box. There's no separate lid to align and seat.
Customization options
- Matte or soft-touch lamination on the sleeve exterior for a weighted, tactile feel. It's a popular choice for premium sleeve box packaging, and it also adds more slide friction.
- Foil stamping on the sleeve face for a logo or accent detail. The sleeve is the only surface a customer sees before opening, so foil work here gets noticed.
- Window cut in the sleeve or tray front. Part of the product stays visible before the tray is even pulled.
- Printed tray interior. A lot of brands leave the tray plain since it's hidden until the slide. A printed floor or interior walls add a second branding moment once the sleeve comes off.
- Ribbon or finger-notch pull. A small cutout notch or a glued ribbon tab gives a cleaner grip point. It beats asking a customer to pry at a bare tray edge.
- Kraft sleeve stock. Swapping the printed sleeve for uncoated kraft paperboard gives a more natural, recycled-look exterior. You trade off some print vibrancy on the graphics.
Which should you choose?
Sleeve box packaging usually earns its extra cost for products that sell on perceived value. Think cosmetics, accessories, or electronics in the $30+ range. If you're shipping a high-volume, lower-margin product, the math flips. Pack speed and unit cost matter more than reveal drama there. A tuck end or auto-bottom box will likely serve you better. For gifting or seasonal sets, pair a sleeve box with gift packaging so the structure and finishing match. We've worked through structural packaging like this for 10,000+ brands served. Sleeve box tooling and material costs come down to size and finish. Request a custom quote for exact pricing.
Paperboard specs vary widely by grade, according to TAPPI, the technical association for the pulp and paper industry. That's part of why "chipboard" and "SBS stock" perform so differently inside the same sleeve-box structure.
One honest limitation worth naming: friction-fit tolerances aren't an exact science across every finish and climate. Humidity and paper stock both shift how a slide feels. A prototype round before full production is worth the time, even on a repeat order. Results vary by product and handling — we recommend testing samples before full production.