Fulfillment-site assembly
Empty boxes can be stored flat and set up near pack-out when the product needs a rigid presentation at the final handoff.

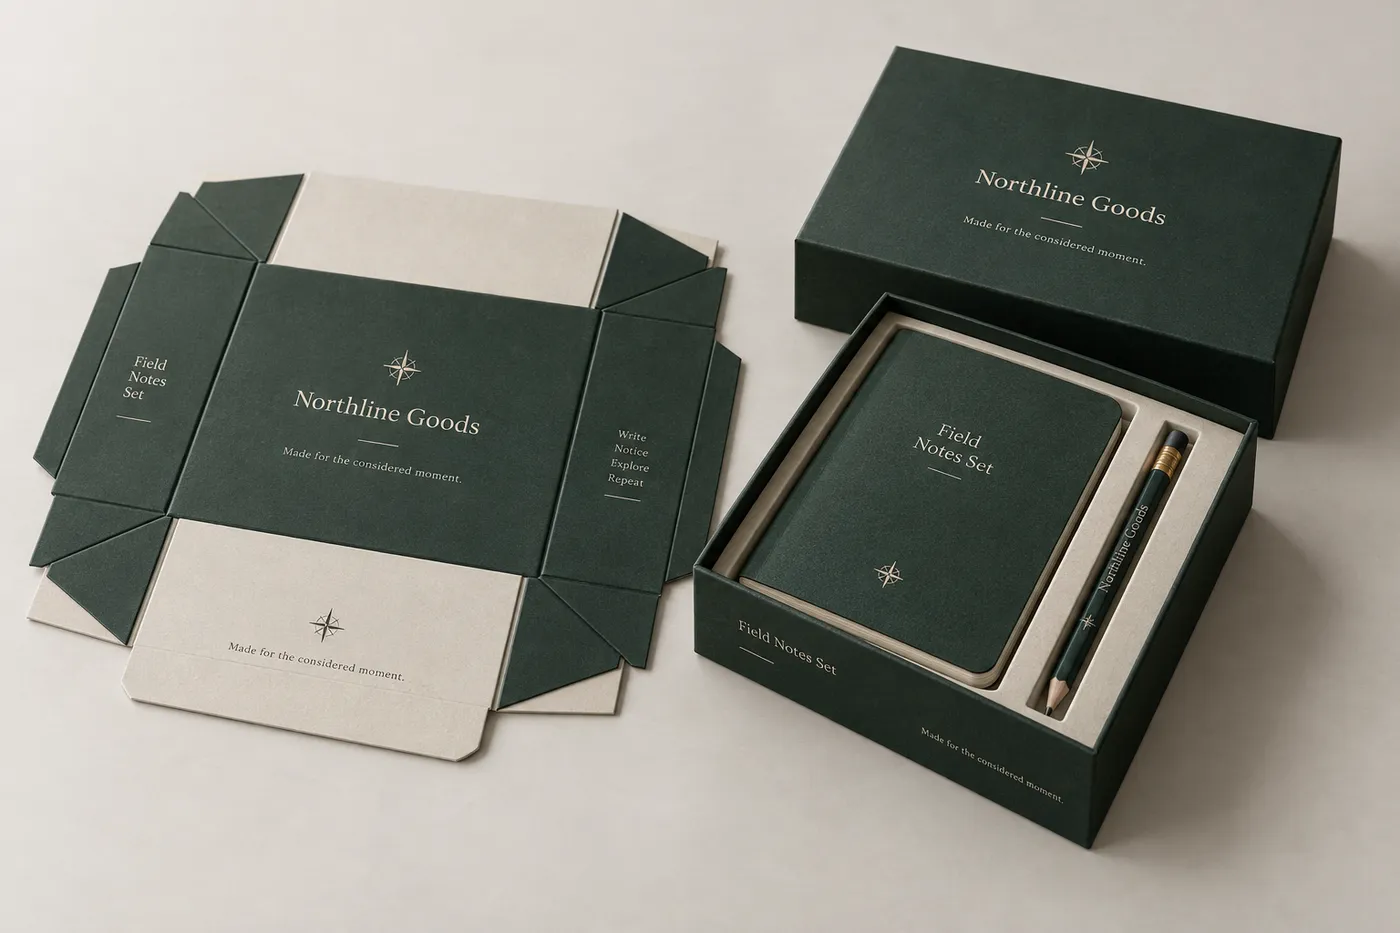
Collapsible rigid box shown folded flat beside an assembled open box with a printed insert.
Rigid Boxes
A collapsible rigid box stores and travels flat, then assembles into a shape-holding presentation box around the packed product. Share the folded footprint, assembled length, width, height, weight, insert needs, opening sequence, print coverage, and finish preference so the structure can be reviewed for both logistics and the customer reveal.
Last updated
Working quote
Product brief
A collapsible rigid box is built for two moments: the flat state used for storage or delivery to a pack-out site, and the assembled state that frames the product. The rigid panels, wrap, and corner joints must work together after setup, so the brief should describe both footprints rather than only a nominal box name. Record the packed product's length, width, height, weight, orientation, and any wrap, card, or insert that remains inside. Then note how many flat boxes must be stacked, where they will be assembled, and whether the finished pack is handed over, shelved, or placed inside an outer shipper.
The format can suit a cosmetic set, accessory, stationery kit, or small giftable product when storage volume matters as much as presentation. It is not a substitute for a folding carton. The assembled walls should read as a rigid presentation structure, while the fold pattern and corner joints allow the empty box to occupy less space before use. Confirm the panel order and opening route before artwork is treated as final.
Measure the product in its final packed arrangement. Capture the widest point, tallest point, packed weight, orientation, and anything that projects such as a cap, clasp, handle, or corner. Include the thickness of tissue, a paper wrap, a card, or a fitted insert that stays in the cavity. The assembled interior needs enough clearance for the product to enter without catching, while the folded layout needs clean score and joint positions that do not interfere with the printed face.
The quote brief should include the folded length, width, and stack height when boxes will be stored or moved flat. It should also show the assembled outside footprint and the direction in which the customer opens the lid or pulls the tray. A shallow base may suit a flat accessory, while a taller base can create room for a bottle or layered set. If the product has several components, identify their order and whether each one needs a divider, riser, pocket, or shared cavity. Those decisions connect the flat construction to the actual reveal.
A collapsible rigid box changes the work at pack-out. Panels or corners are set into their rigid position, the base is checked for squareness, and the insert is placed before the product is presented. Specify whether assembly happens once at a fulfillment site or repeatedly at a retail counter. Repeated handling may call for a different joint detail or a simpler insert path than a one-time gift presentation. The selected route should be reviewed with the folded storage method and the outer shipping pack.
The opening can use a lift-off lid, a shoulder relationship, or another defined presentation route depending on the product. Describe the panel the customer should see first and the direction in which the product is lifted. A fitted paperboard insert can hold a bottle upright, keep a card visible, or separate a small set. A divider can keep components in order, while a riser can bring a low product closer to the lid opening. These choices should be shown in the assembled proof rather than inferred from a flat dieline.
SBS Paperboard can provide a smooth printed field, Kraft Paperboard can preserve a natural paper character, and Corrugated Board can be considered when the route needs a more structured board direction. The category materials are directions, not a promise of one fixed thickness or performance level. The selected board should be reviewed with the folded stack, assembled wall proportions, product weight, and outer shipper.
Matte Lamination and Gloss Lamination change the surface appearance and handling feel. Foil Stamping, Embossing/Debossing, or Spot UV can be reserved for a name, mark, or panel detail where contrast or touch helps the artwork read. Keep critical copy away from fold scores, corner joints, and wrap seams. The largest uninterrupted panel is usually the clearest place for the product name or mark, while an interior panel can carry a short instruction or care note if it remains visible after assembly.
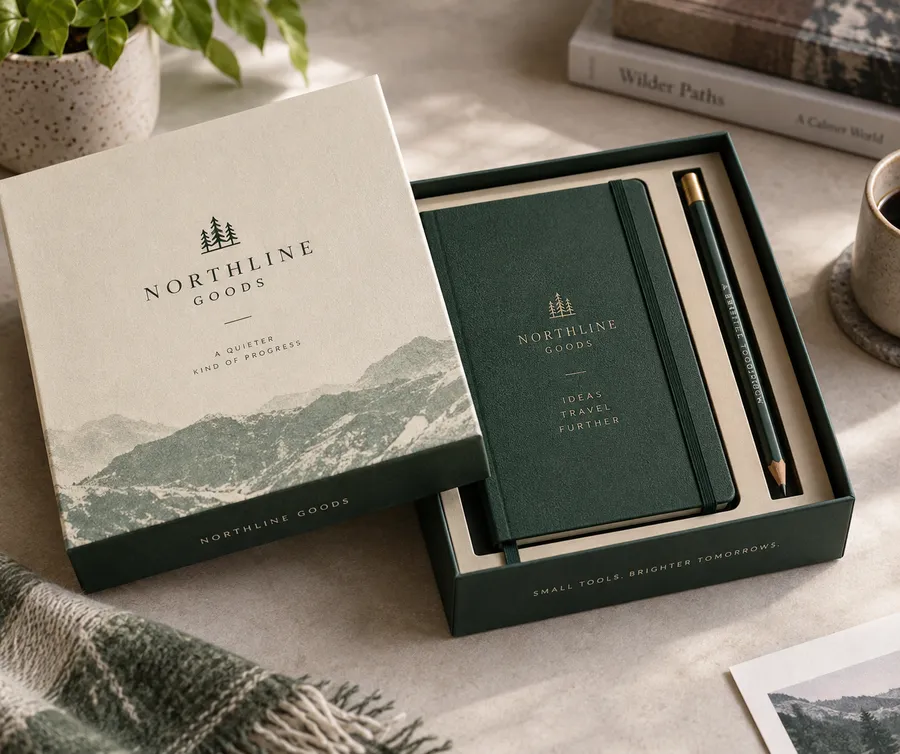
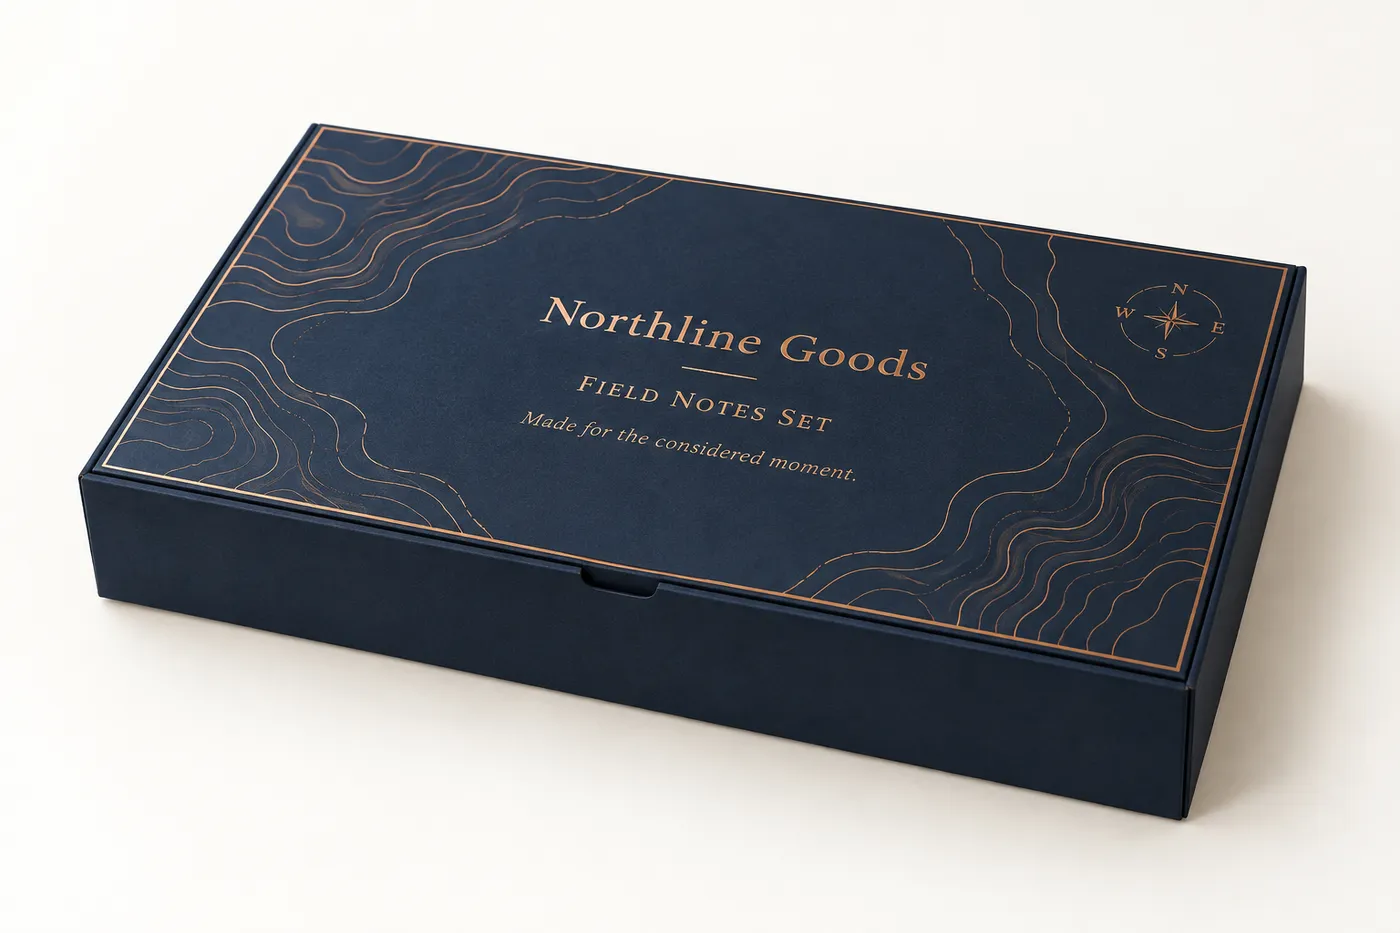
Map the lid, base, side walls, interior, fold lines, and any insert-facing panel before artwork is approved. Show the folded layout and an assembled view so print orientation can be checked in both states. The pictured print is an example of artwork placement. Production artwork should use the buyer's approved identity and required copy.
The digital proof is the point to review the joint positions, assembled proportions, lid clearance, seam placement, printed panel orientation, insert relationship, and finish locations. Look at the box as an object rather than only as a flat spread. If the product size, component count, or opening direction changes, review the structure and artwork again instead of assuming the same fold pattern applies.
Include the folded footprint, assembled length, width, height, packed weight, quantity, product orientation, photos or sketches, insert or divider requirements, preferred material direction, print coverage, finish ideas, assembly route, and destination. Orders start at 50 units, production is from 7 business days after digital proof approval, and Free US shipping is included on the standard fulfillment path. A sample kit has a $44.99 USD shipping charge credited toward the first order, and quote requests are typically answered the same business day and always within 24 hours.
A clear brief lets the reviewer connect the fold pattern, rigid walls, cavity, wrap, artwork, assembly step, and shipping route before production. The result is a collapsible rigid box that saves flat-storage volume without losing the deliberate opening and stable presentation expected from rigid packaging.
Proof points
The useful proof connects the product inside to the fold pattern, rigid walls, insert, and customer-facing print so the storage and opening sequence can be judged together.
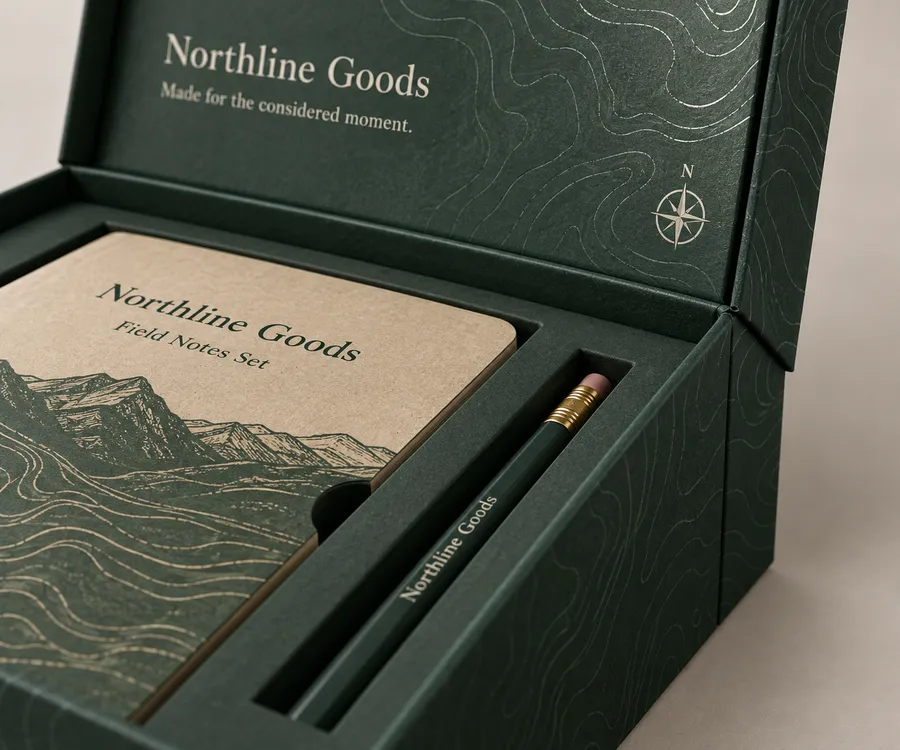
The collapsible format reduces empty-box storage and shipping volume before assembly, then presents a stable rigid structure after the panels and joints are set. The folded layout, assembled cavity, lid relationship, insert, and printed wrap still depend on the packed product and handling route.
Empty boxes can be stored flat and set up near pack-out when the product needs a rigid presentation at the final handoff.
Several coordinated pieces can be arranged with a divider, riser, or shared cavity when the set order matters during opening.
A printed lid and planned insert can organize a small product, card, and supporting component in one assembled presentation pack.
The assembled rigid form can sit inside an outer shipper while the folded state helps manage empty-box storage before fulfillment.
Use the broad lid and base panels for clear brand information, then select surface treatments that support the reading angle, touch, or contrast of the specific artwork without placing critical copy on a fold or seam.
A concise packaging brief keeps the review focused on flat storage, assembly, opening, cavity, printed surface, and shipment rather than an empty sample box.
Provide the finished product length, width, height, weight, component count, orientation, folded footprint, and expected stack or storage method.
Describe where the box is assembled, how often it is handled, the lid or tray direction, and the insert or divider idea.
State the lid, base, side, interior, fold, and seam panels, plus the material direction, print coverage, and finish details to check on the assembled pack.
The fastest review starts with the packed product and folded storage plan, then ends with a proof that shows the joint, support, opening, and printed wrap together.
Share product dimensions, weight, component count, orientation, folded footprint, storage stack, photos or sketches, destination, and desired handoff.
Note the collapsible construction, lid or tray preference, cavity or insert idea, material, print coverage, finish, and assembly route.
Check the fold lines, joints, assembled squareness, cavity, seam, artwork orientation, insert relationship, and shipping footprint before approving production.
Once the specification and proof are approved, the order can proceed from the quoted quantity and agreed production route.
Need help with structure, materials, or production planning? See how we manufacture custom packaging.
A sample kit can help compare fold-flat storage, panel setup, insert direction, and finish treatment before the product-specific proof. Shipping is $44.99 USD and is credited toward the first order.
Shipping charge: $44.99. Credited toward your first order.
Request a Sample KitFind clear answers about fit, materials, and ordering below.
It is a rigid presentation structure designed to occupy less space before assembly. The panels, fold lines, joints, cavity, and printed wrap are specified around the packed product and the assembly route.
Send the packed length, width, height, weight, widest points, orientation, folded footprint, expected stack, and any sleeve or insert that remains inside. The assembled wall and lid clearance are then reviewed with the actual arrangement.
It can suit a compact set when the components, order, and support needs are clear. A shared cavity, divider, riser, or separate insert may be considered depending on the set and assembly route.
Matte Lamination, Gloss Lamination, Foil Stamping, Embossing/Debossing, and Spot UV are category directions; the final choice and placement depend on the artwork, fold lines, seams, and assembled box.
The standard fulfillment path starts at 50 units, with production from 7 business days after digital proof approval. Your final unit price is confirmed in a quote because the folded layout and assembled specification set the unit cost.
Orders start at 50 units and scale up to 500,000 for bulk runs, with pricing from $0.23 per unit on larger quantities. Standard production is from 7 business days after digital proof approval.
Common uses include fulfillment-site assembly, compact gift sets, launch and limited-edition kits, and direct-to-customer unboxing. The final specification is set by the packed product and how it will be handled.
Compare nearby products and request the format that best fits your next run.
Available product
Available product
Available product
Available product
Ready to scope the flat-to-rigid format?
Tell us how the empty box will be stored, how it should assemble, what sits inside, and which printed surface you want to review. Easy Box Packaging can then shape the fold pattern, support, and artwork discussion around the actual pack.
Add your product details to see a quote summary.